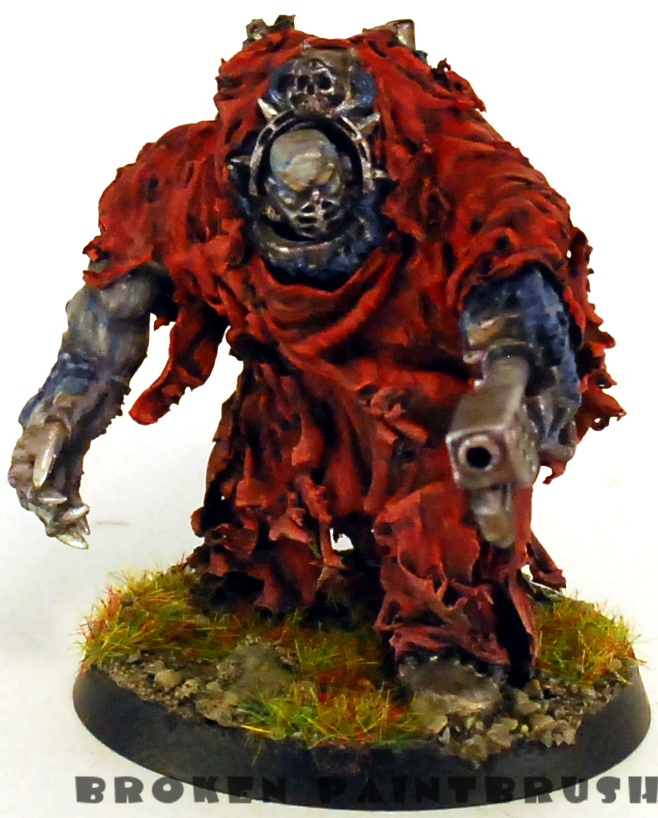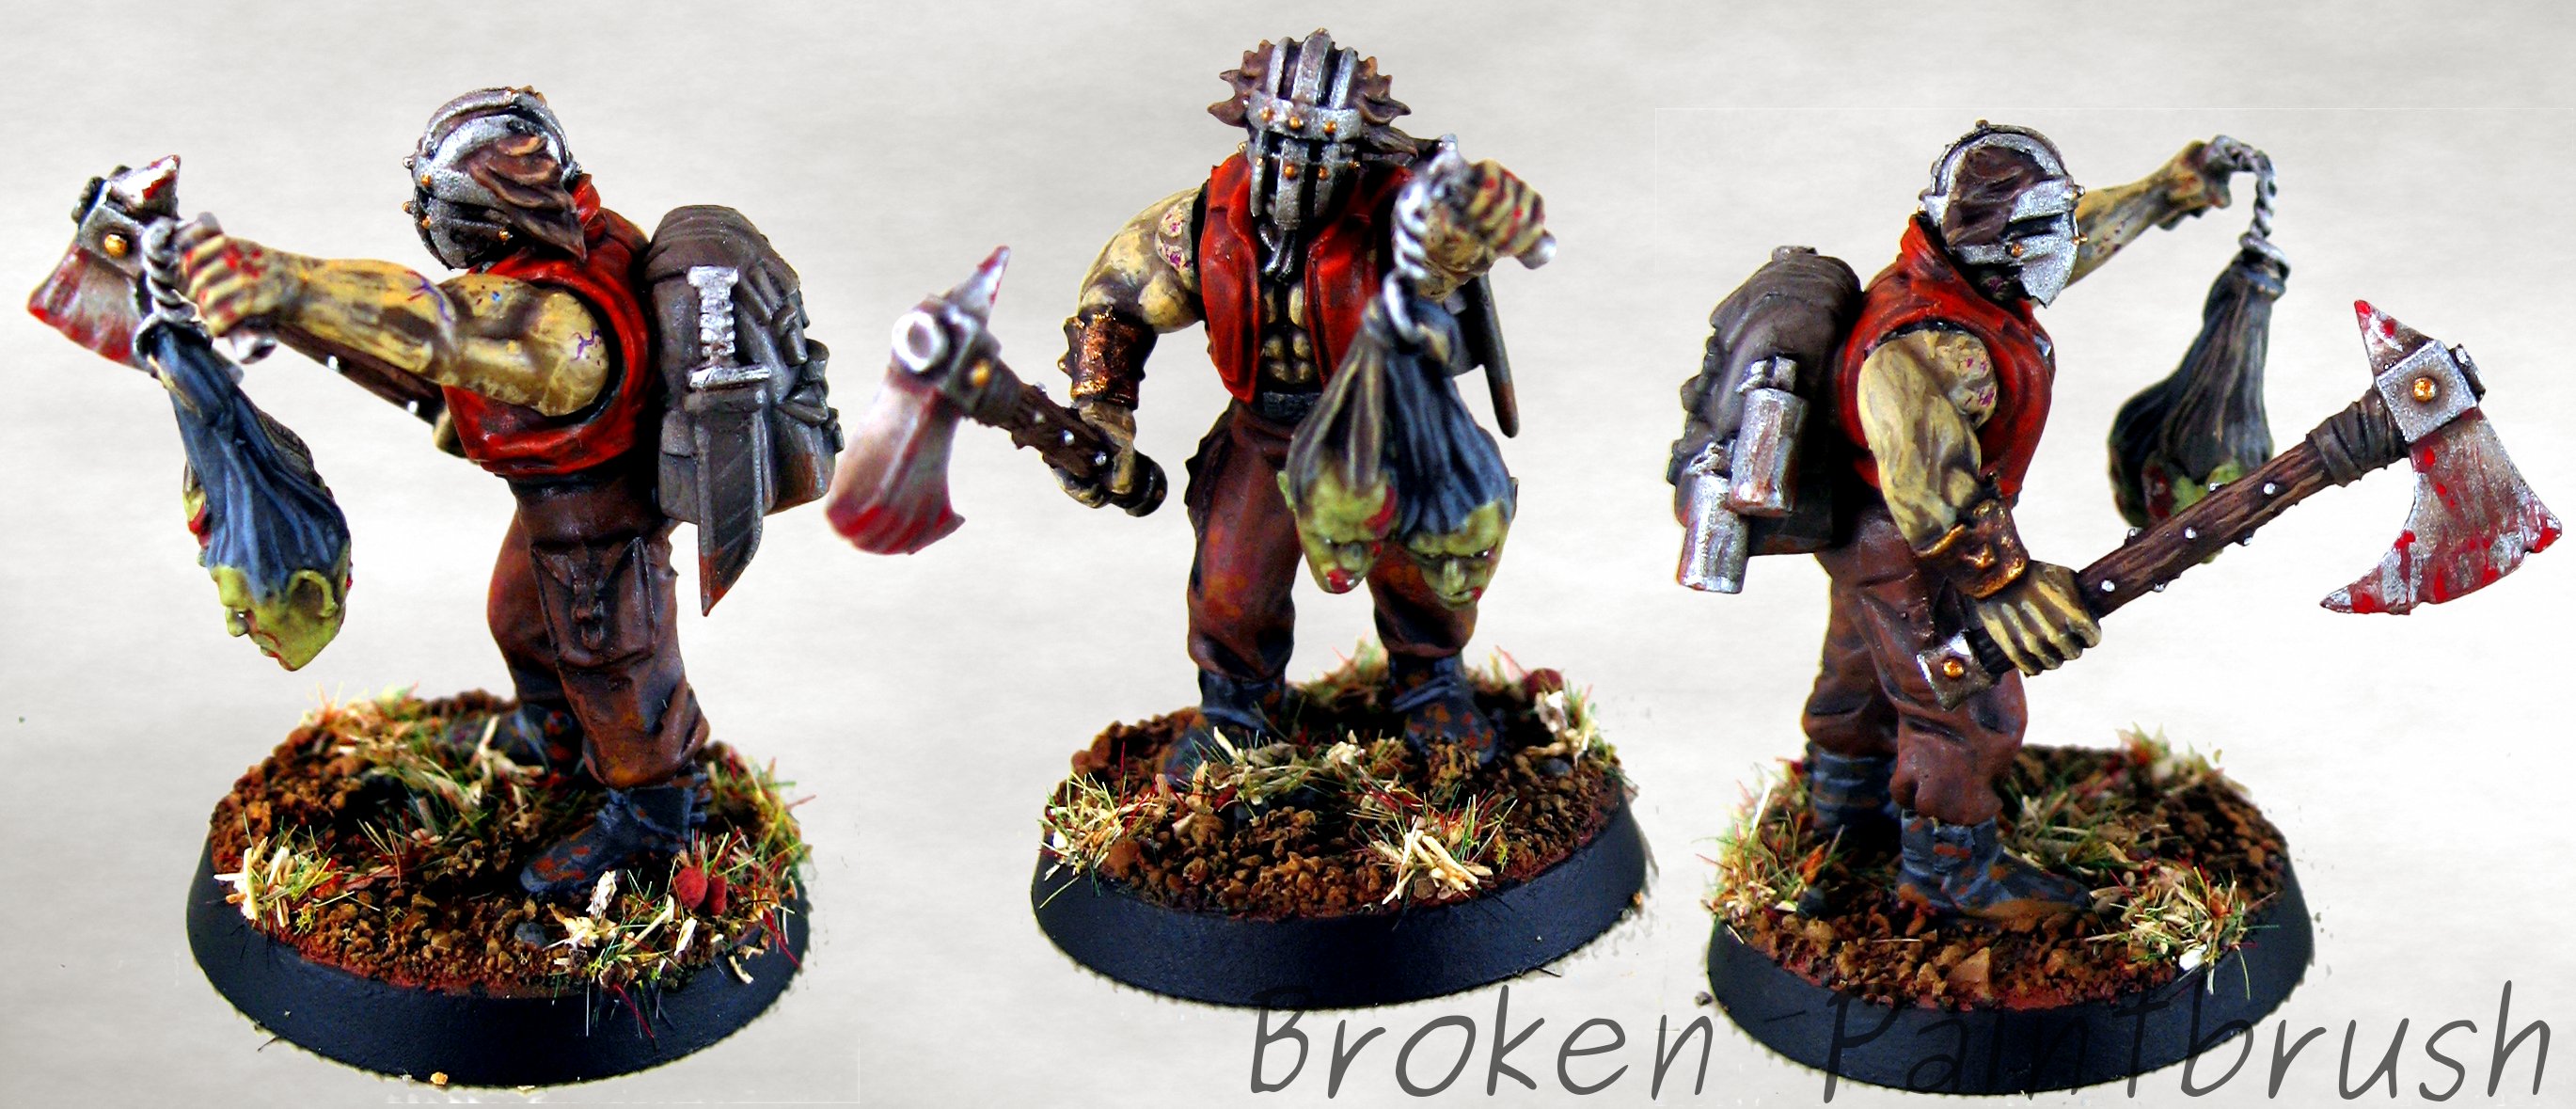
Traitor Guard Veteran Squad
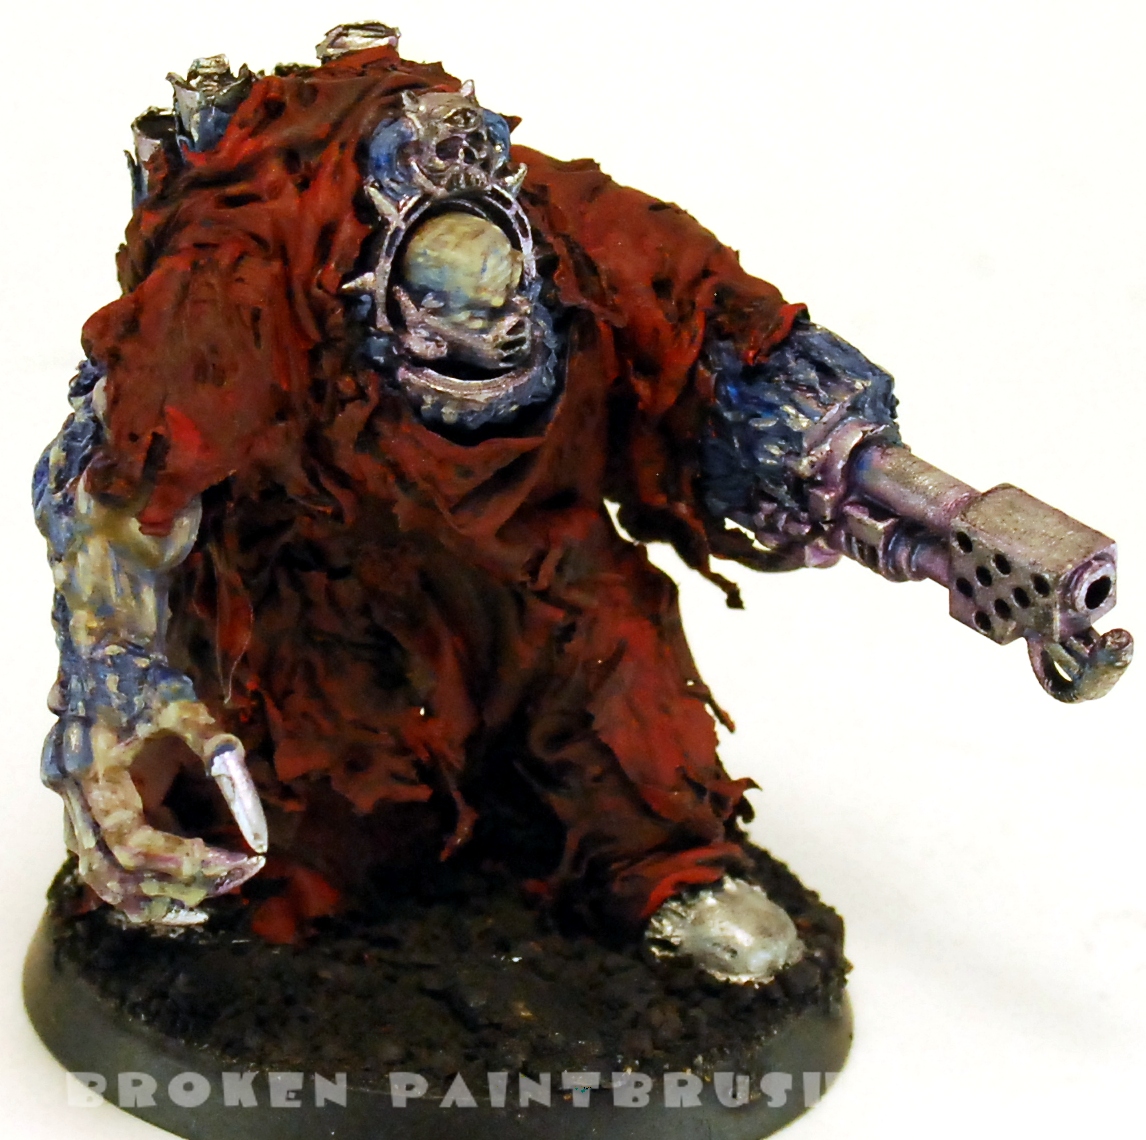
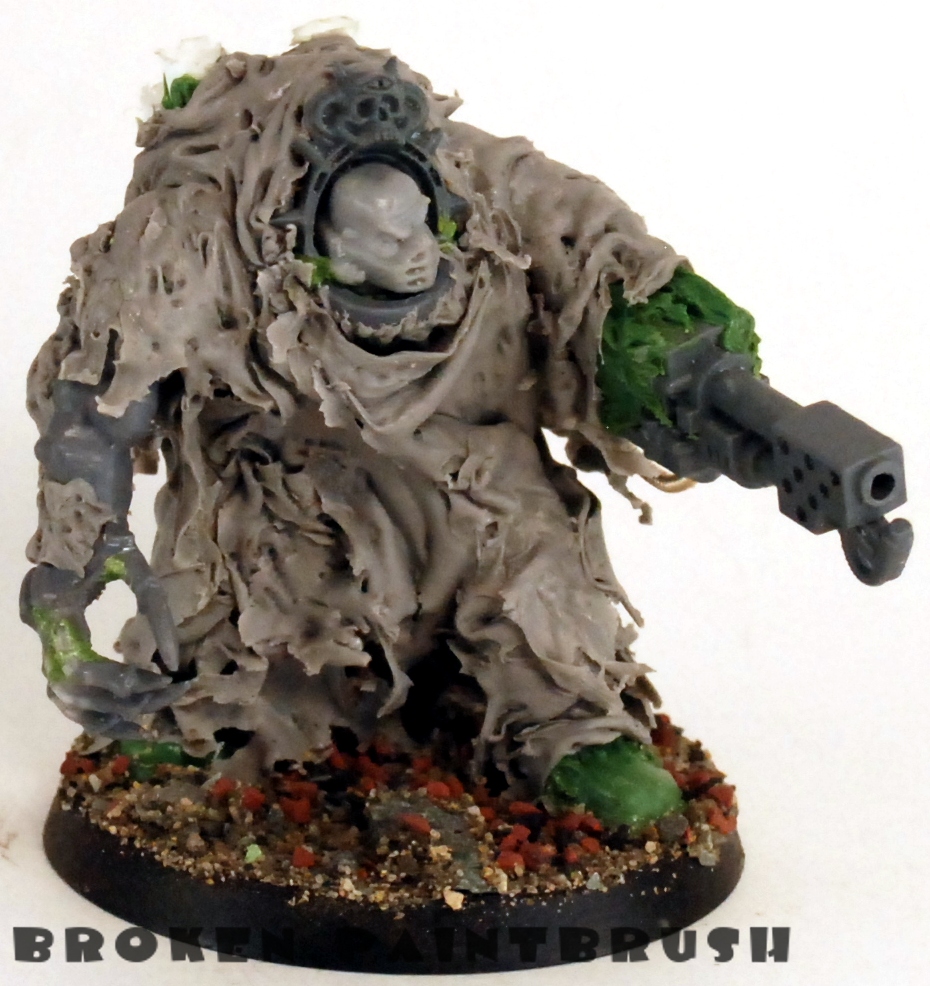
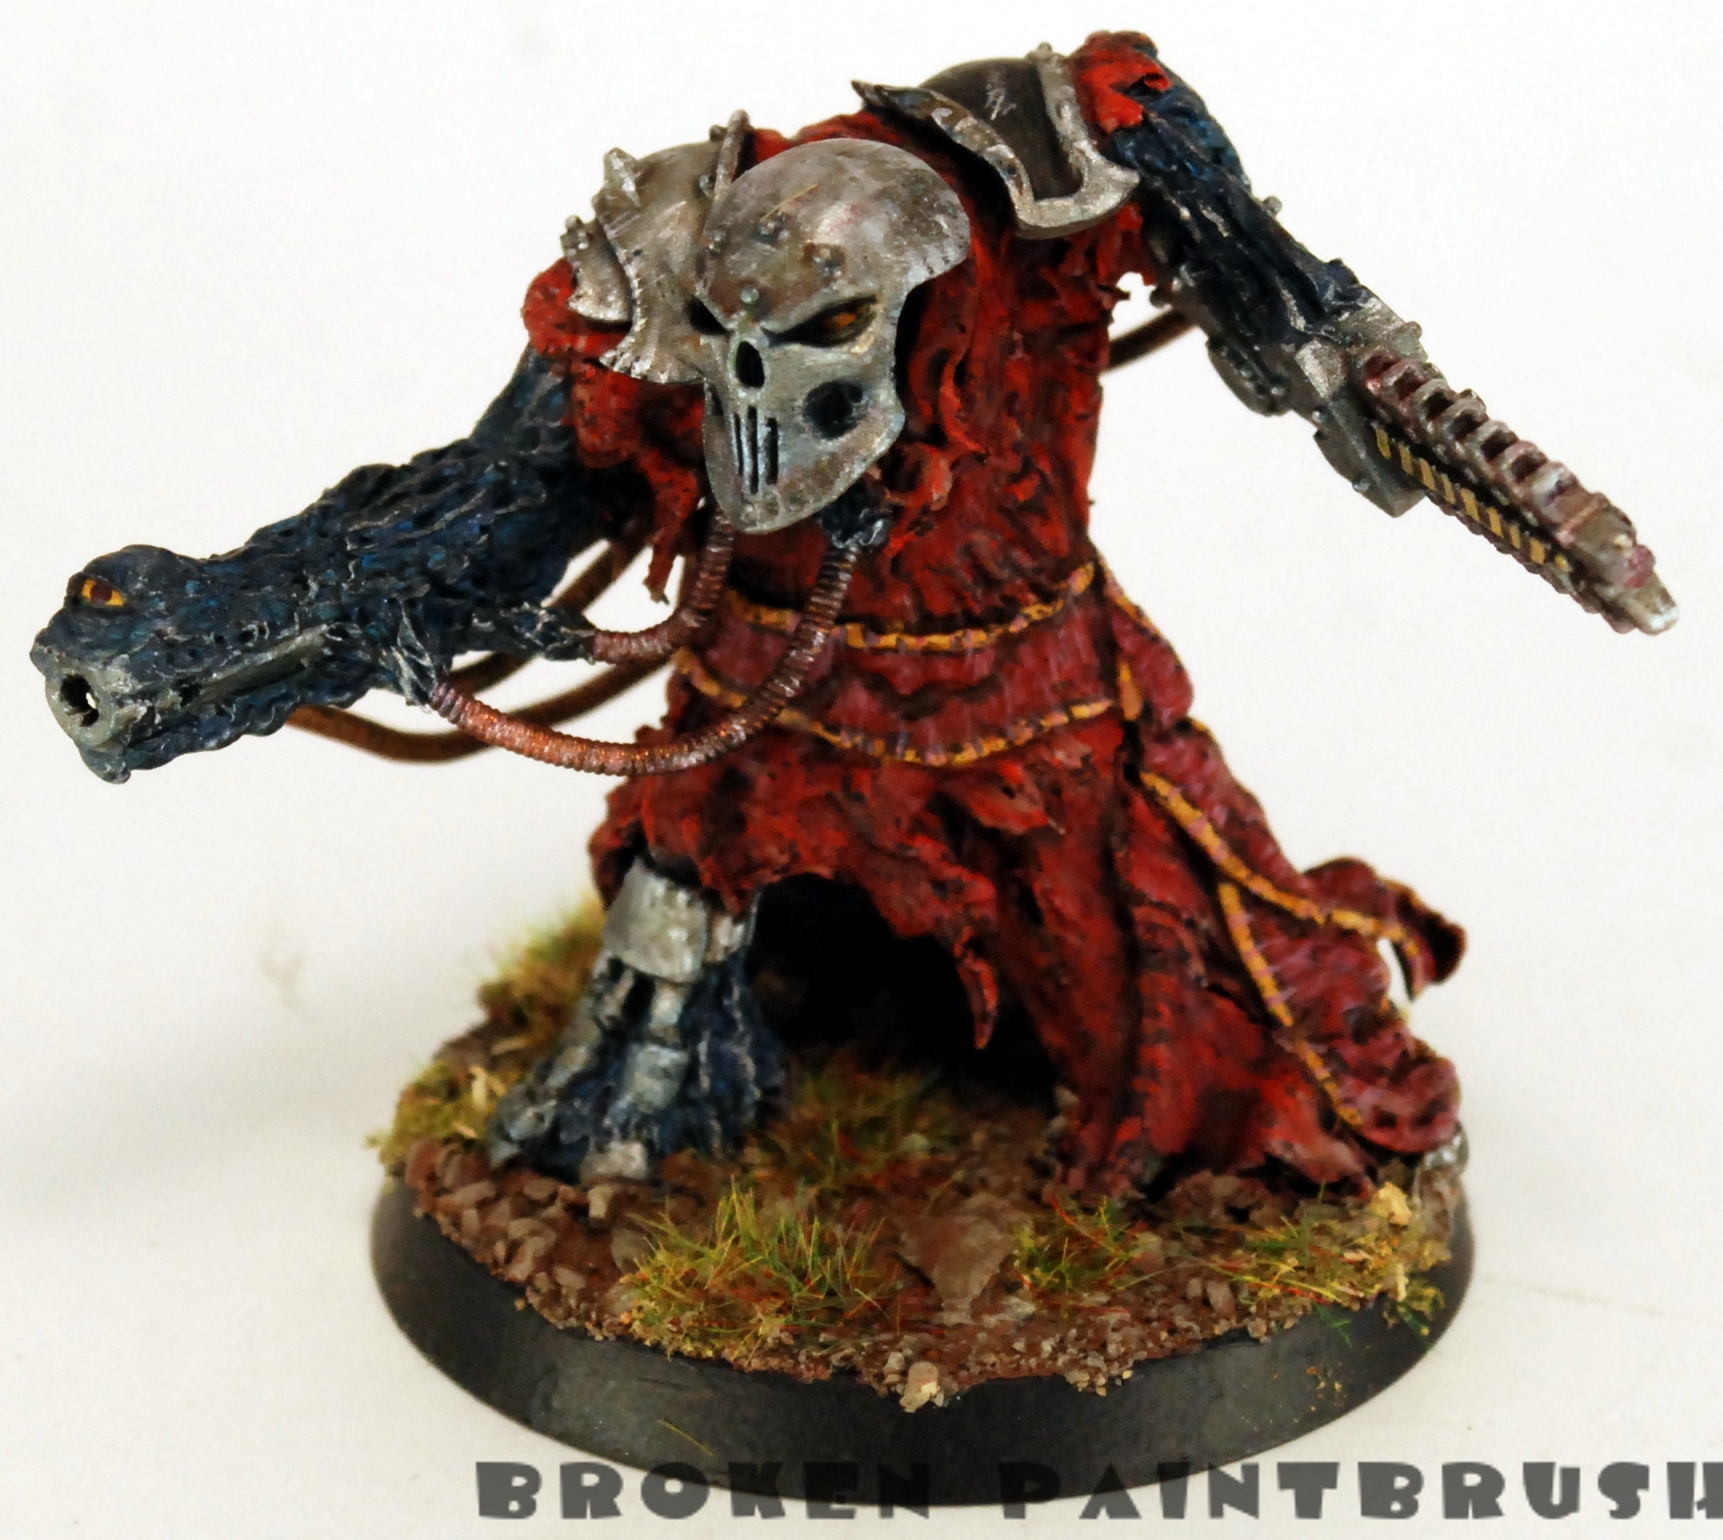
These have been done for a while but it has taken a bit to put the pictures and this post together. In my crazy attempt to build a full foot guard army I built up a squad of Traitor Guard Veteran Squad to provide some anti-infantry support as well as additional color to the army. I started with three snipers to increase chances of taking out special troopers. A heavy bolter gives a multi-shot, medium strength to the unit, and I topped it with Harker with a second heavy bolter. I liked the way Santa Cruz Warhammer took before and after pictures of each model so I’m copying the idea here. First up is the Sargent, count as Harker. The torso is from the warriors of Chaos, the Heavy Bolter is from the CSM kit, with the remaining bits are from various guard kits. I wanted the dress robes on the legs to match up to something on the bear-chested torso so I added a over-the-shoulder sash/robe. Next up is the first sniper. I wanted to give the squad …