All posts tagged: painting

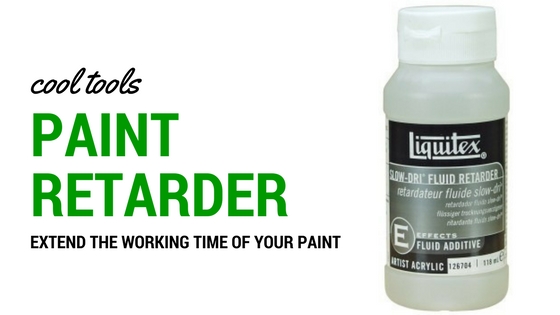
Liquitex Acrylic Paint Retarder

Cool Tools: Acrylic Paint Retarder

Following up on the importance of thinning your paints with airbrush medium, how do you keep the paints wet long enough to work on a large project? I was struggling with this on a hot summer day a few years back and posed that same question to my readers. The two solutions that were provided was a wet pallet and paint retarder. Today I use both options, the wet pallet if I’m painting at the desk or doing blending and the paint retarder when using a standard pallet on the couch. You add a drop or two to your mix and it significant increases the drying time of the paint. This keeps the paint on the pallet usable for longer stints without having to rewet the paint. I have also used it to help with wet blending – though admittedly I am still working on this skill. Since the drying time is increased, you have more time to add the additional colors and work them together. A bottle of the Liquitex brand is only $10 on Amazon …
Liquitex Airbrush Medium

Cool Tools: Airbrush Medium

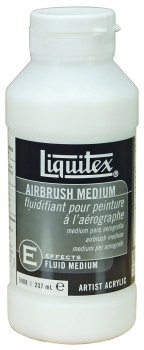
One of the tips that nearly every Intro to Painting starts with is: thin your paints. It makes sense, the paint pots are fairly thick for one reason or another and painting straight onto your mini can create a thick coat, covering fine details. So what does everyone do? They add a drop or two of water, stir it in and make it work. When GW introduced the Lahmian Medium technical paint it opened a whole new world for me in terms of thinning paints, without making them watery. Adding a bit of medium would dilute the pigment a bit, but wouldn’t turn the paint into a watery, uncontrollable soupy mess. After using up my first pot of the medium I released that $4 for a little little 12ml bottle would quickly kill my painting budget. I then found a bottle of acrylic matte medium at a local painting store and thought I hit the jackpot. It only cost a few bottles of Lahmian but was way bigger. I quickly realized though that artist matte medium is …

How to Paint a Carnifex Finished

Getting to Happy Painting Tutorial – How to Paint a Carnifex of Hive Fleet Behemoth

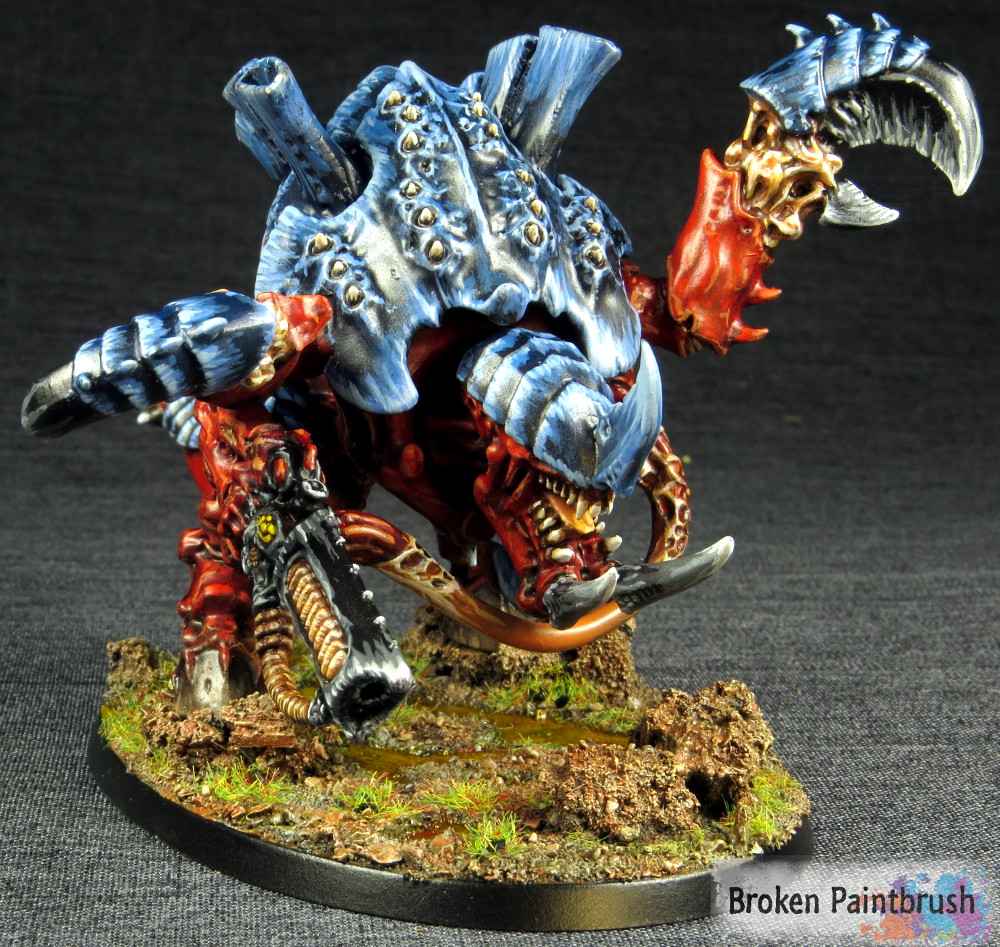
I have put together my step-by-step tutorial on How To Paint a Carnifex, in my case one of Hive Fleet Behemoth. For the finished gallery, check out the post here. This Behemoth painting guide would be helpful for any Tyranid monstrous creature. Step 1 – Prime I’ve gone back and forth on my projects between black primer, white primer, and even tried brown. What I have settled on is a good black coat with an upper dusting of white. This leaves all the recesses dark (which helps with painting those pesky nooks) but provides a subtle shadow/highlight to the base coats. The dusting also emphasizes the details which make it easier to apply the base colors. The Base Coats Step 2 – Base Red For the Tyranids, I used my spray gun to give a nice coverage of Mephiston Red to all the skin areas. This saves a lot of time not having to paint them by hand. I also chose red over the base blue of the carapace because the blue covers red much easier …

Cool Tools Brush Soap to Restore Paint Brushes

Cool Tools: Brush Soap

I abuse my brushes. Yes, I admit it, I am a brush abuser. But fortunately, there is brush soap to save the day. There are many ways in which I abuse my brush. From using too small of a brush to accomplish my painting to letting the paint dry on the bristles. Not only does using a detail brush slow my progress,  using it to cram color into areas would be easier with a larger brush. With two little ones running around the house, it has been on more than one occasion that I didn’t fully clean the brush before chasing after them. Thankfully I found about brush soap a long time ago and has saved me way more than its cost in not having to buy as many new brushes. The Masters Brush Cleaner The most common brand of brush soap is The Masters Brush Cleaner which comes in a little plastic container. Inside is filled with a particular type of soap. The small 2.5oz container is only $5 on Amazon and will last forever. …

Acrylic Flow Aid

Cool Tools: Flow Aid Medium for Custom Washes

I love using washes. Nearly every army I paint involves a black or brown wash. In the interest of saving a truckload of cash on these bottles of wash, I tried making my own using varnishes, soaps, and acrylic medium but they all acted a bit funny – and nothing like the GW washes. In the end, I bought a couple of bottles of Vallejo washes($8 on Amazon), but I was still trying to experiment, so I also grabbed a bottle of flow aid.  Flow Aid medium This is a transparent medium similar to GW’s Lahmian Medium except it has some extra magic that breaks the surface tension and allows the paint to flow much easier. Surface tension [Wikipedia] is the physical attribute of liquids to cling to things rather than flowing freely. When using a wash, the surface tension of the acrylic paint – along with its thickness – keeps it in a little droplet of pooled paint. Releasing the surface tension will allow it to release and flow about – what you are usually looking for in …

Death Skull Ork Trukk

How to Paint an Ork Trukk

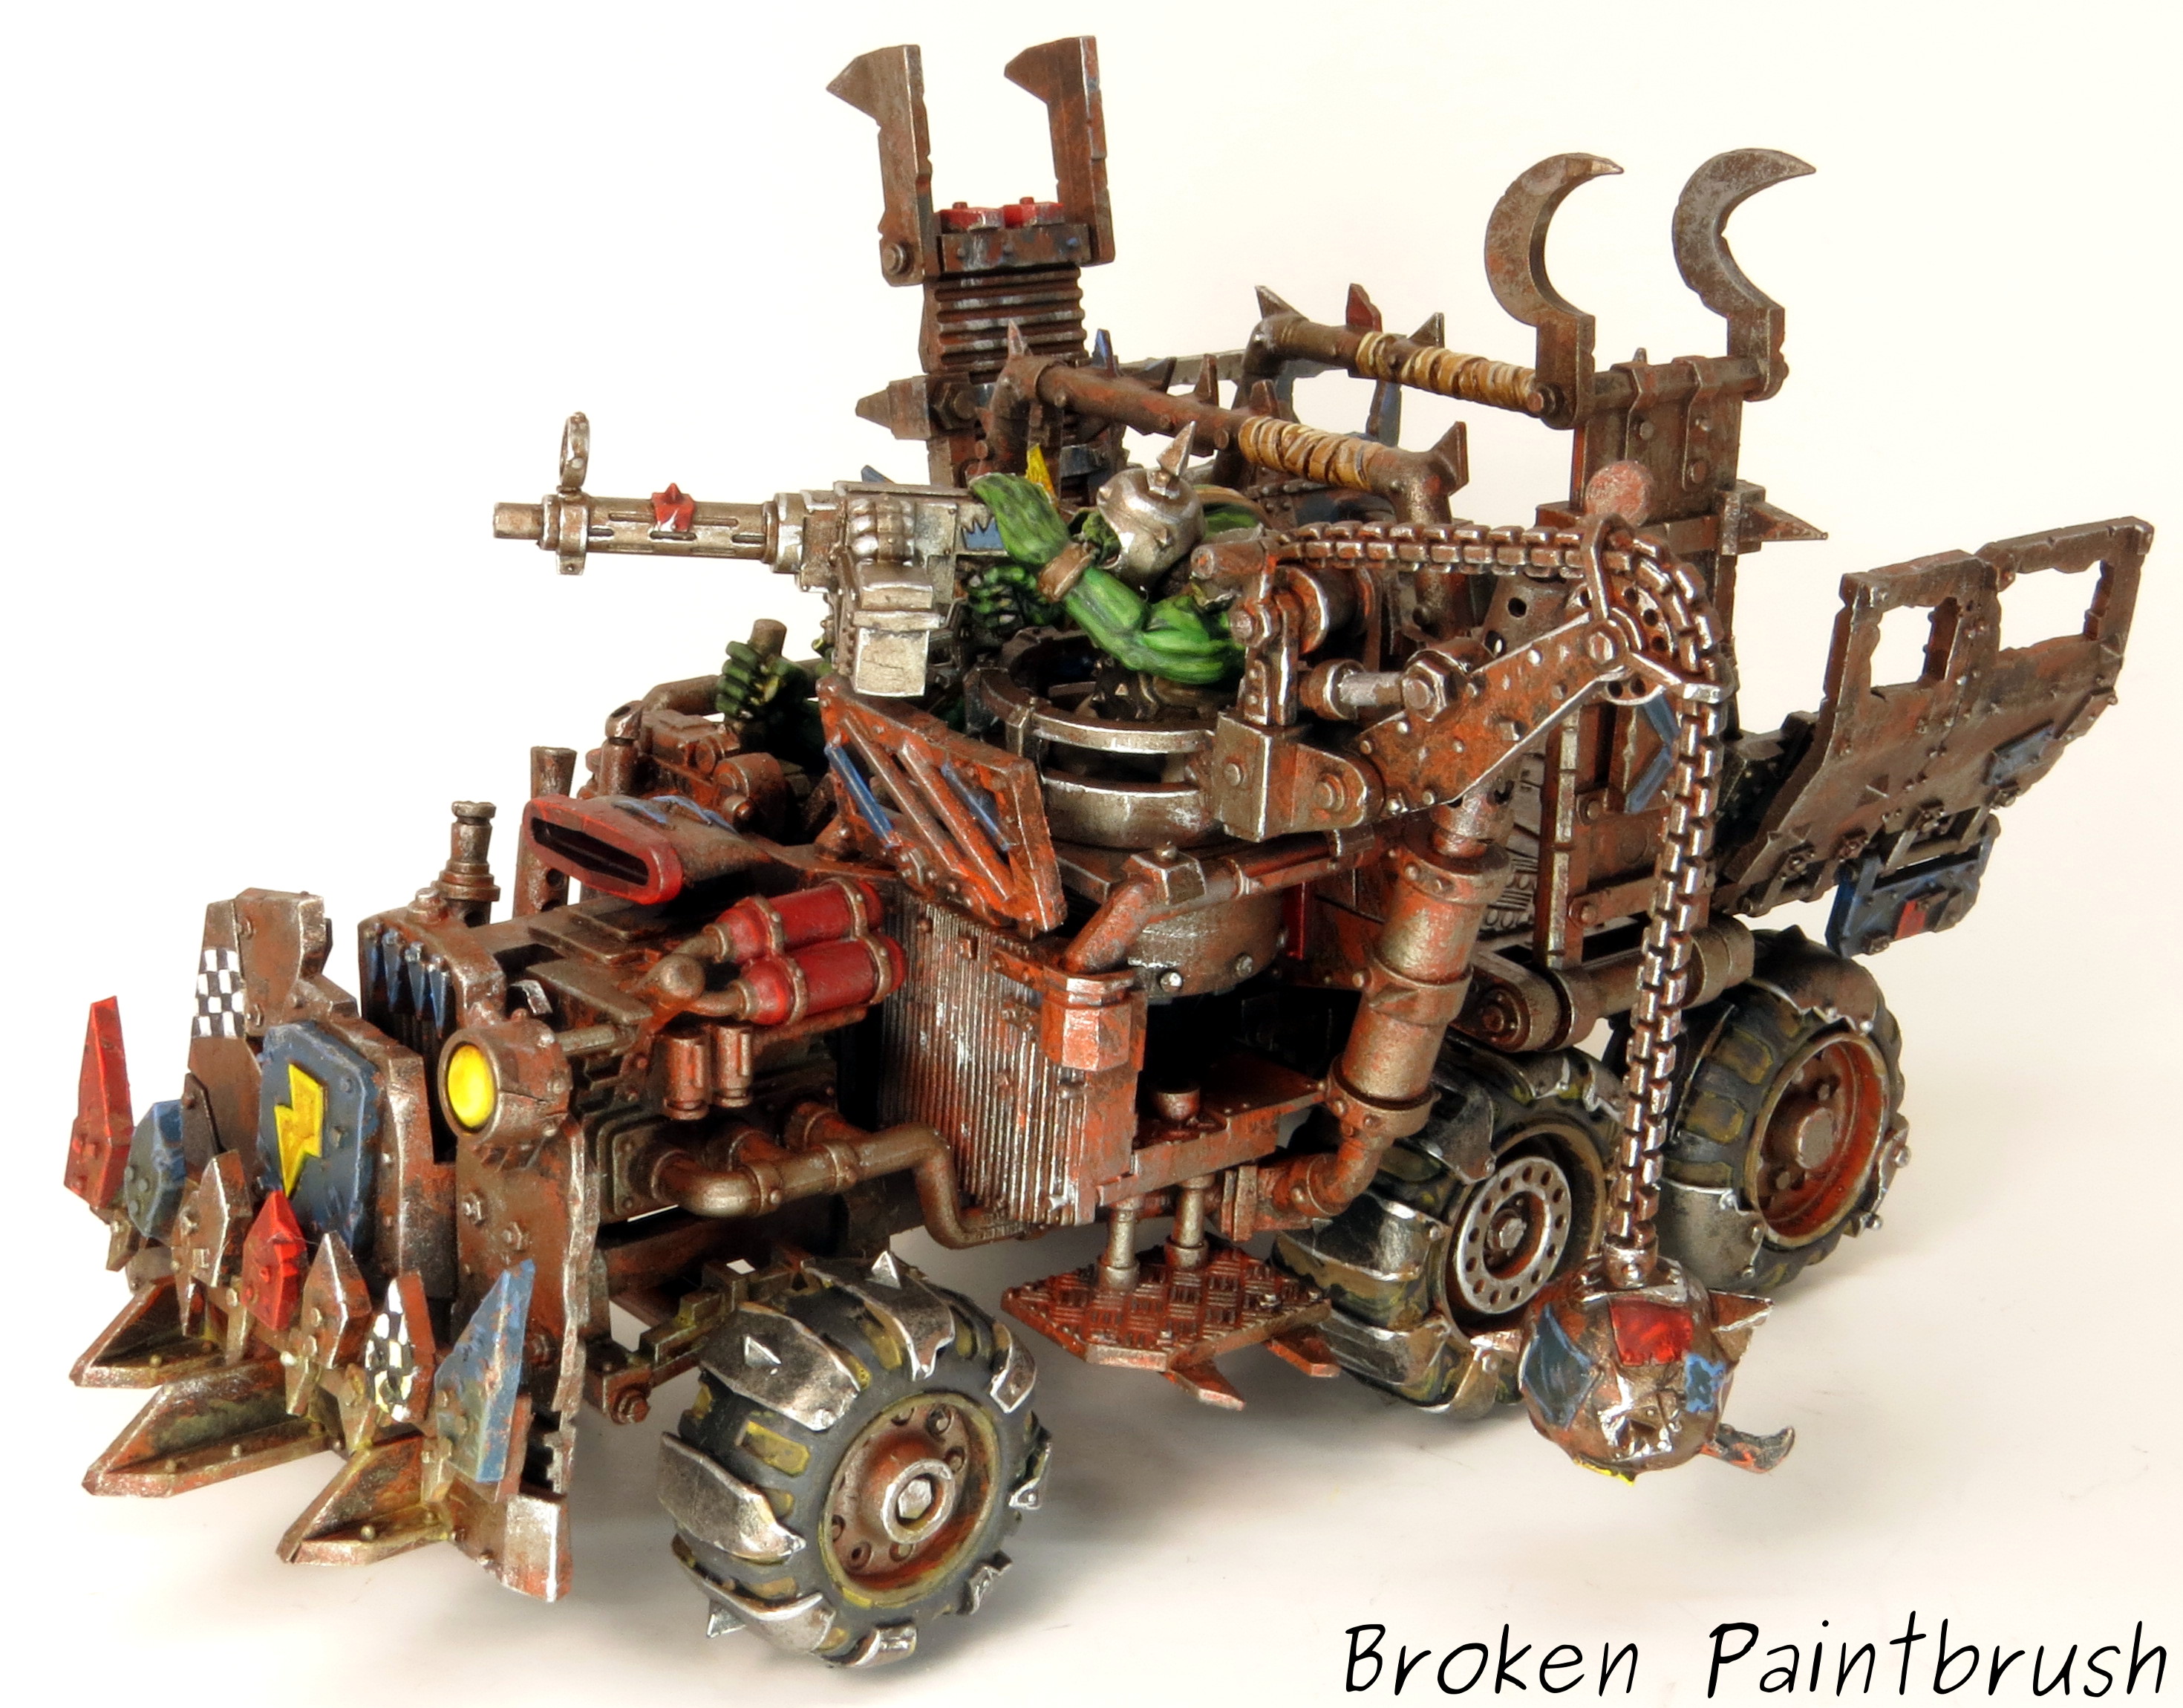
So after painting up my Killa Kans, Deffdread, and two trucks – I’ve put together my process on how I how to paint an Ork Trukk. My goal for painting the ork vehicles was to be quick, rusty, and characterful. To make it quick I used lots of dry brushing, and very little highlighting. They clearly won’t win any painting awards, but I like how they turned out and I was able to finish them quickly. The rusty metal look was from combinations of brown and orange beneath the metal dry brush and the characterful-ness is the various colored panels that make it orky. Step 1: Brown Spray Paint. As you can see in the photo below I left out the driver, gunner, and wrecking ball assembly. The wheels were also left of and painted separately. The model was primed with black primer to give a nice dark shadow. After drying I then hit the top side with an over-spray of white to just lighten it up a bit. The whole model was then given a …

How to Weather Wheels and Tires

How to Paint Ork Trukk Wheels

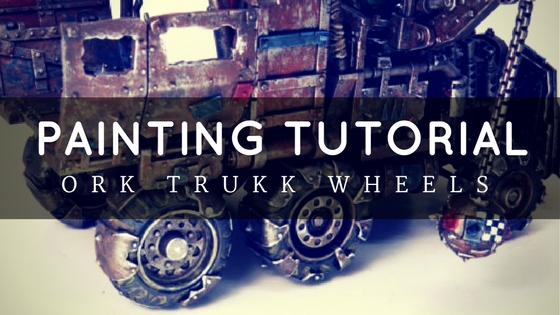
Over the years I have been painting, I love coming across a tutorial on something I haven’t done yet and gleaning just a little bit of information off of it. So here is my second how-to of the year – following up on my Ork Warboss – and a chance to give a little something back t0 the community. I have another tutorial on the rest of the Trukk, but here I want to focus on the wheels. As you can see below, I kept the wheels, crew, and wrecking ball separate from the main truck body to make it easier to paint. The crew and wrecking ball were lightly glued to scrap bases, and I found the wheels hubs were the perfect fit for the penny nails I use for pinning. Using some old corks I could paint the wheels and allow them to dry without touching any painted surface. Painting the Trukk Wheels Step 1: The Metal The wheel was left black from the primer, and all the metal areas were coated with Leadbelcher. Ryza rust was …

Painting Death Skull Warboss

Painting the Ork Warboss

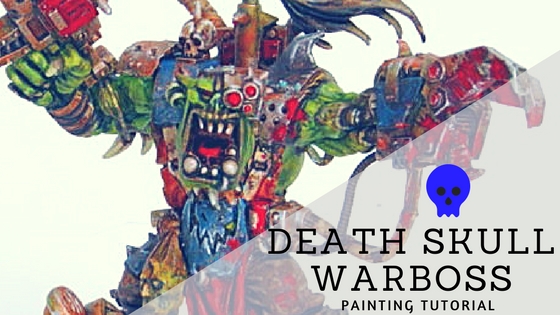
For my recently posted Ork Warboss, I took a few in progress shots to provide some how-to content. I hope this post on painting a Death Skull Warboss helps get your Wagghh! going. Step 1 – White Base Coat First up is a nice, white base coat. White is nice for creating those bright blues and gory reds. The problem with a full white undercoat is that you need to paint EVERY thing, otherwise it is very stark and apparent, black base coats are able to hide this by making ‘shadows’ Step 2 – Green Skin Next up is painting the various base coats such as the Warboss Green for the skin. All the colors are kept fairly bright at this point to allow for shades that will darken the look. Step 3 – Blue Base Coat The blues were also blocked in with Alaitoc Blue, it doesn’t need to be tidy as the shades and highlights will clean up the mess. Step 4-10: More Base Coats and Wash This is where I must apologize, I skipped …

Deff Skulls Ork Warboss

Death Skull Warboss

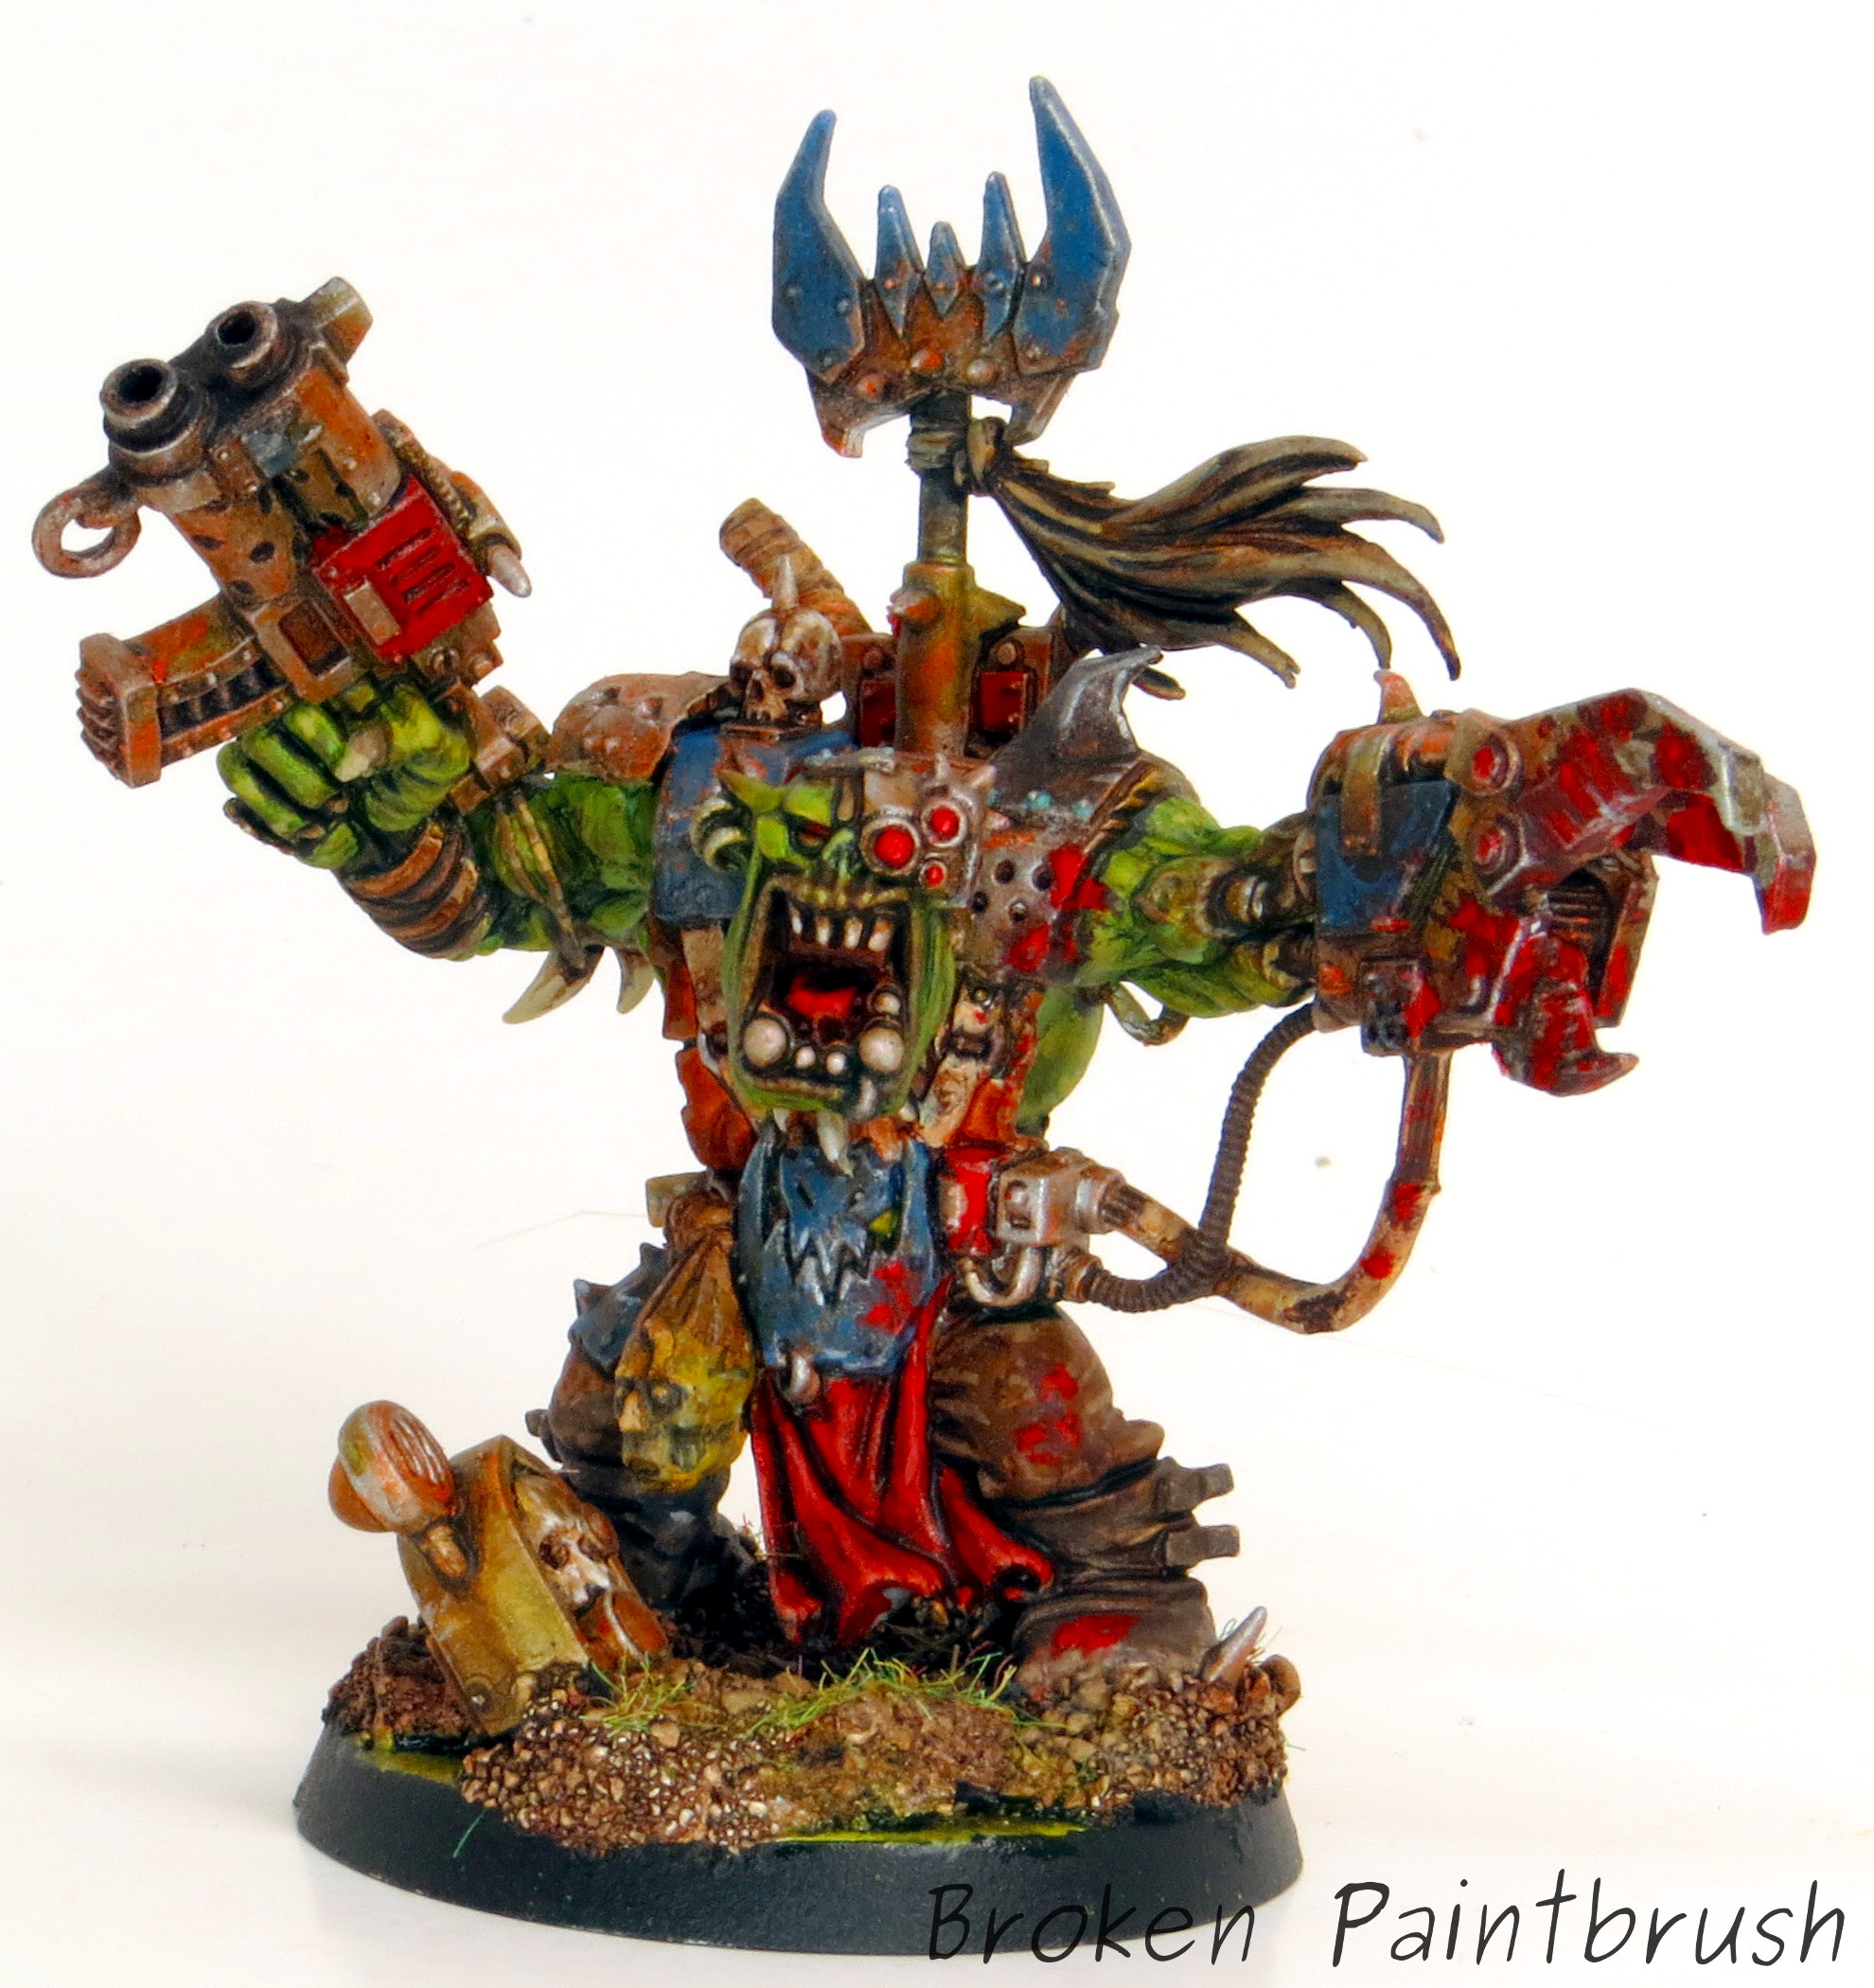
To lead my growing Ork hoard, it needed a good Warboss to knock some heads around. Enter the Death Skull Warboss from Assault on Black Reach, which is very suitable for a head-crunchin’. With a simple adjustment to the right arm, I tipped it out a bit and opened up the model. The gap was filled with green stuff, and I added an extra shoulder guard from the Nobz kit. I figured the power klaw should be suitably messy and covered in gore. The rest of the metal is suitably rusted up and worn out. I also added a nasty looking trophy head and slightly tilted the head towards the Klaw. The missing neck was also filled in with some green stuff and smoothed into place. The blues add a nice contrast to the green skin and the bloody red. Want to paint an Ork just like him? I’ve got you covered with a painting tutorial! The tutorial has the step-by-steps I used for this guy, including the skin and bloody mess. He has so …

Hacking Custom Decals

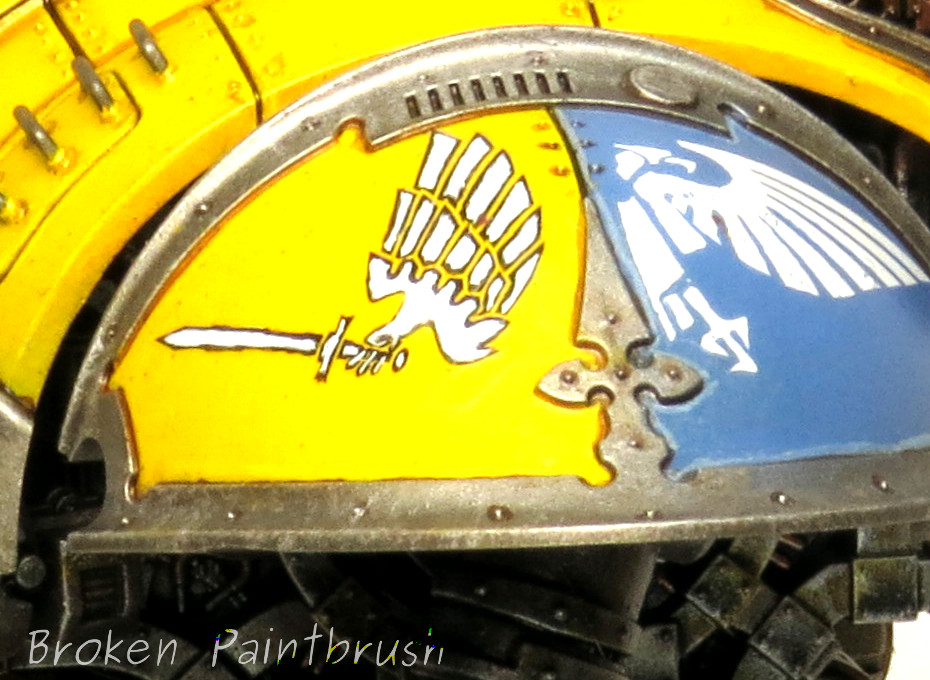
So on my Knight Titan I had decided to create my own house, which meant custom house insignia. Now, I’m not a great free hand painter (yet), and since the pattern would need to be repeated multiple times over the model, I needed to turn to water transfers. While I haven’t tried it yet, I have heard that Testors Decal Paper can work really well if you have a design in mind. After searching through my pile of transfers from Space Marines, Chaos, IG, tanks, the knight titan, and even the Ork and Eldar sheets that I had, I finally settled on the winged sword from the Baneblade to create my custom decal. The only problem was that the two transfers on the Baneblade sheet were only big enough for the shins and as i wasn’t confidant that I could hand paint a larger version for the shoulder, I turned back to the decals at hand. Looking at the Hawkshroud icon, it would give me a great wing once the head was removed and the wing turned 180, …

Chaos Bastion WIP - Front

New Models for 6th Edition

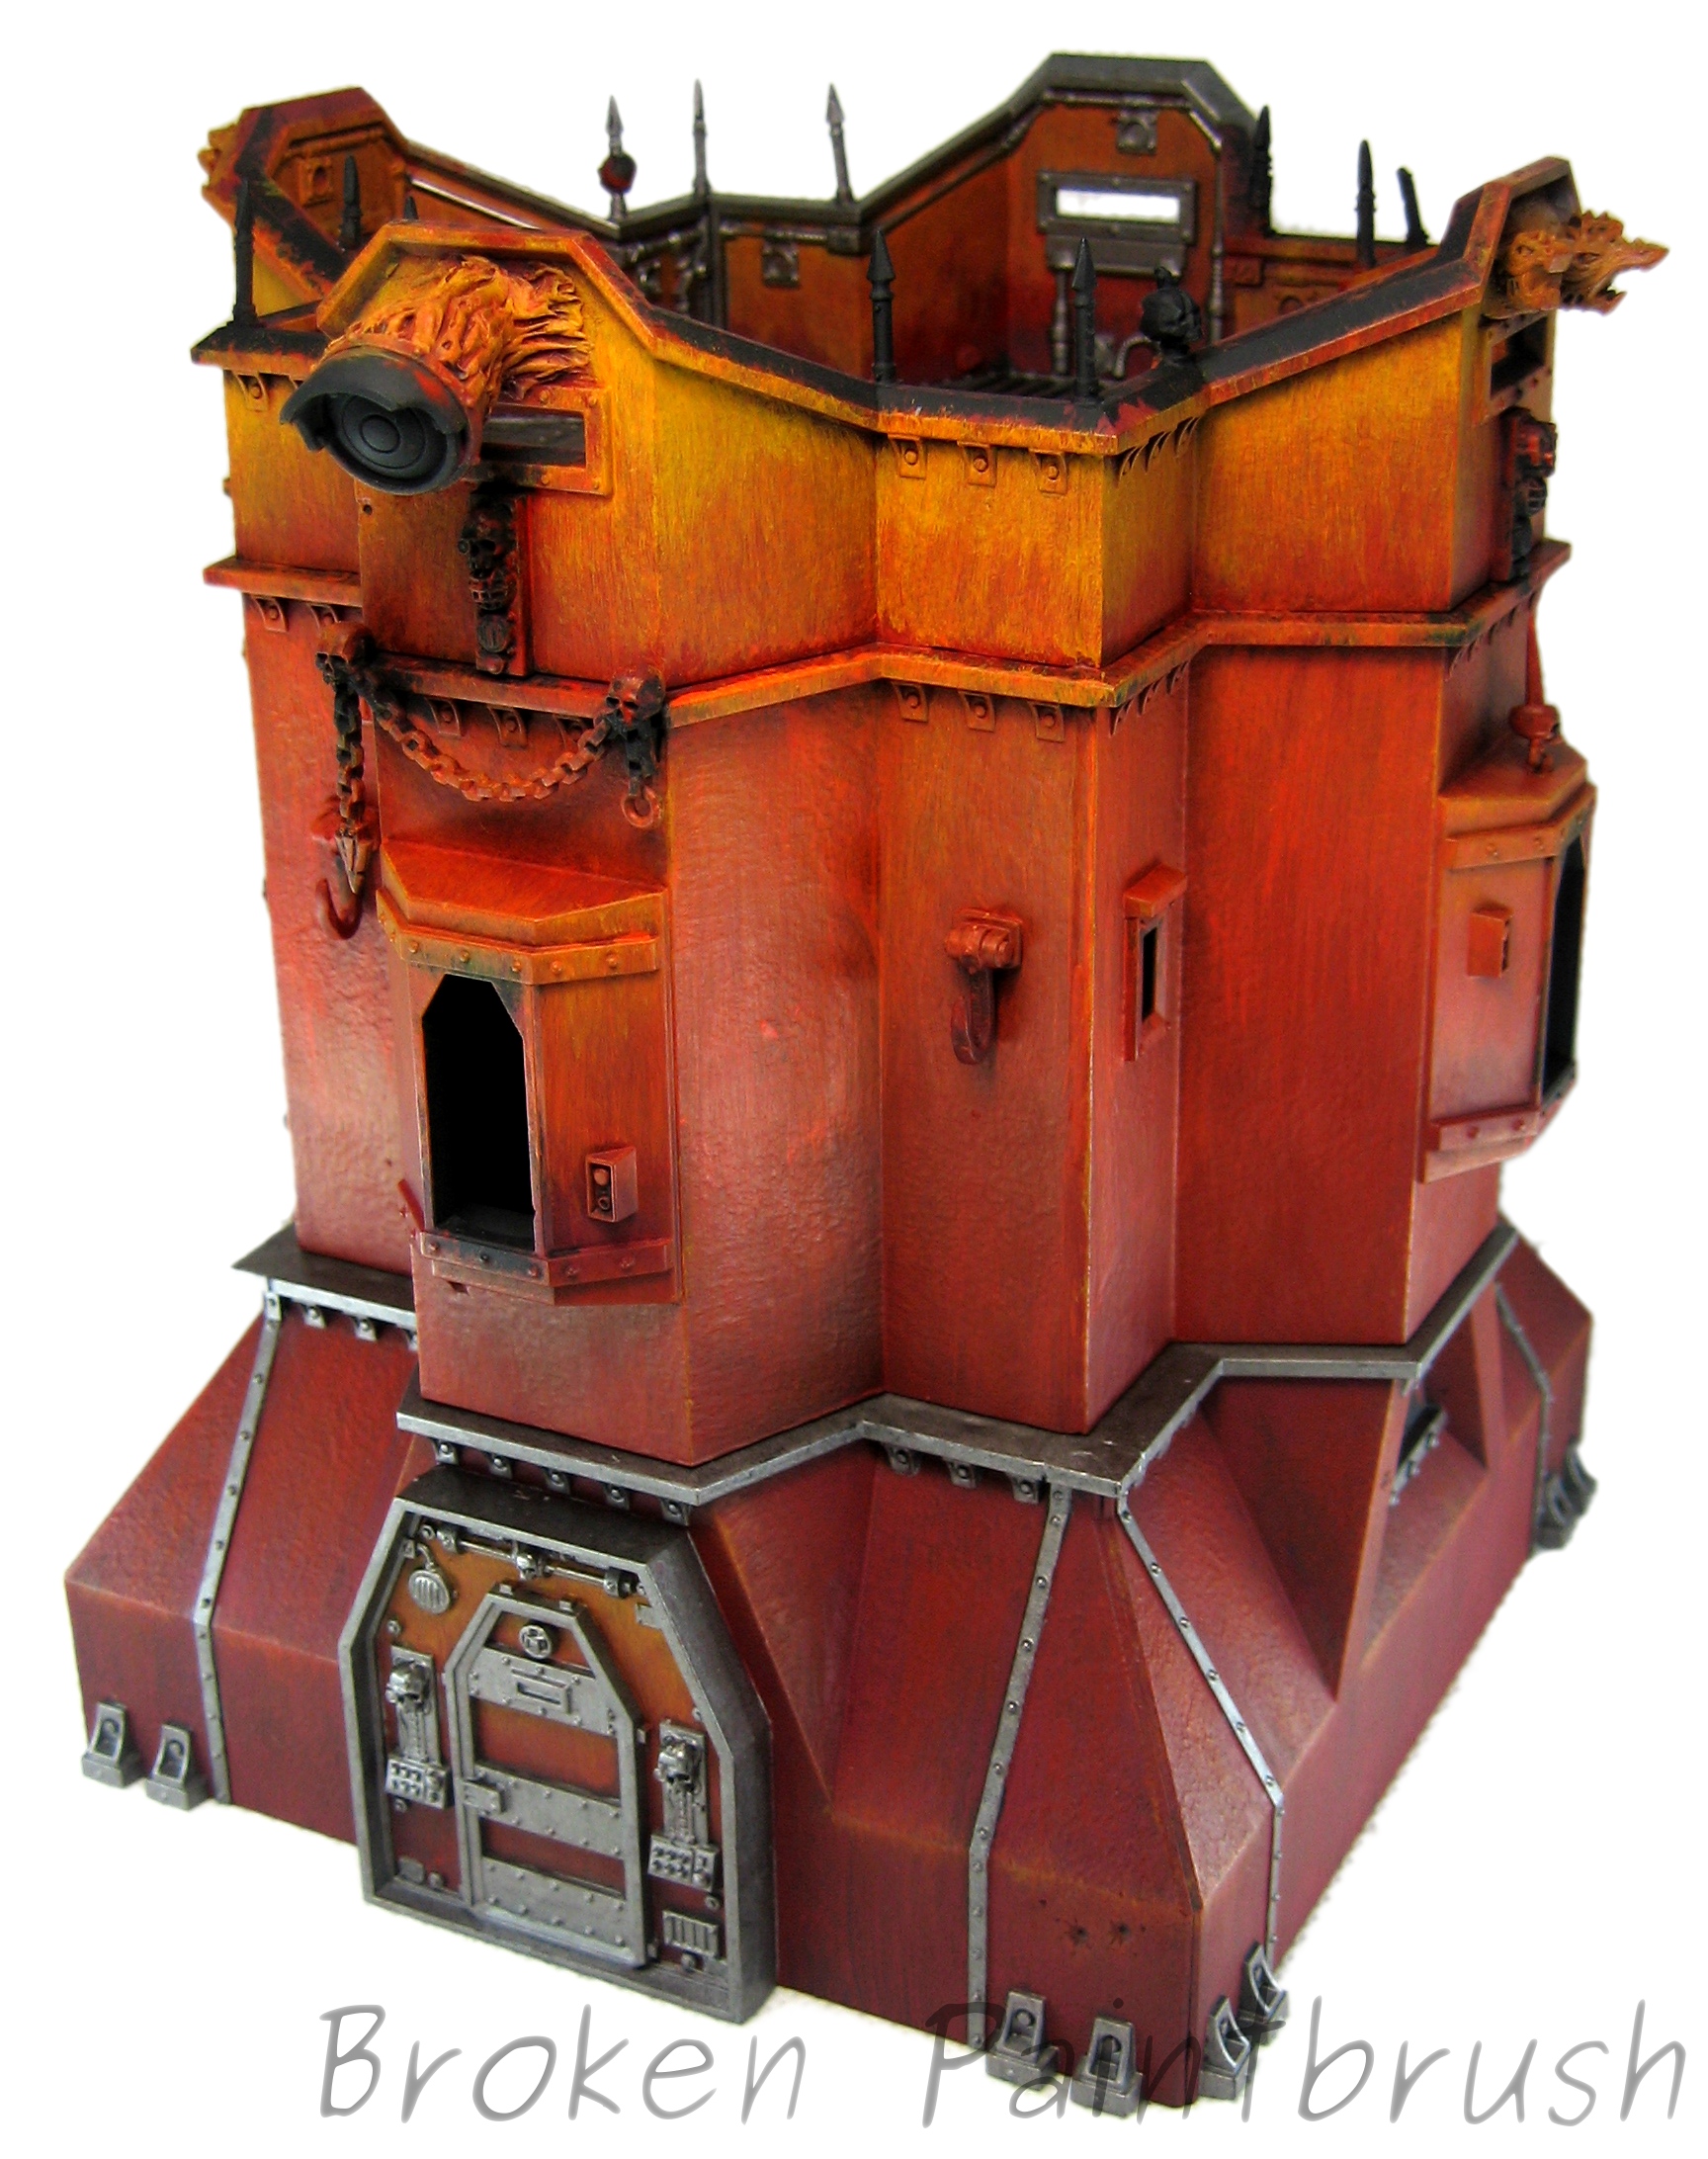
I’ve been pouring over the 6th edition rules the last couple of weeks now, and overall I’m excited for the changes. I especially like the idea of over-watch giving my pour renegade guardsmen some protection against assaults. All the minor changes are going to take some time I think to settle out their benefit/cost to the game. From a hobby standpoint and someone who isn’t into the competitive side, I like the idea of the new army structure including allies and structures. Will it get abused? of course, but so will any rule set put out. I’m working on more posts about my guard and Iron Warriors in 6th but as I was reading the rulebook I remembered I had this in the closet of doom (tm mordian 7th): I had bought one of these when they had come out thinking of actually playing a planet strike game with it (anyone actually plan that expansion?). After hours of scrapping off those blasted Aquillas and gluing the upper walls together wrong, I started painting the Bastion …

WIP Sculpted Obliterator - part 4

My First Sculpt Pt 4: An Obliterator – Long Over Due Post

So it has been a while since I picked up the brush… well continuing on then. Did some more details on my Obilterator which brings him to a nearly finished state. I still need to finish the base and perhaps something more on the robe, but not yet sure what. I had thought about adding the XIV to the shoulder plate but remembered that oblits don’t have an allegiance and just fight for who ever pays them the best. Instead I opted for the yellow chevrons on the chain blade to tie in with the rest of my army. I was struggling with separating the sash and robe since they are supposed to both be red. I have tried using different temperatures of red along with the yellow border to separate them. The sash was highlighted and shaded with cooler shades of red, the highlight was almost more blue than red actually. The robe used warmer shades of red to highlight and shade. I’m not sure if I like how it turned out, but perhaps it is just that the robe doesn’t …