All posts tagged: iron warriors

Sculpted Obliterator Final - front

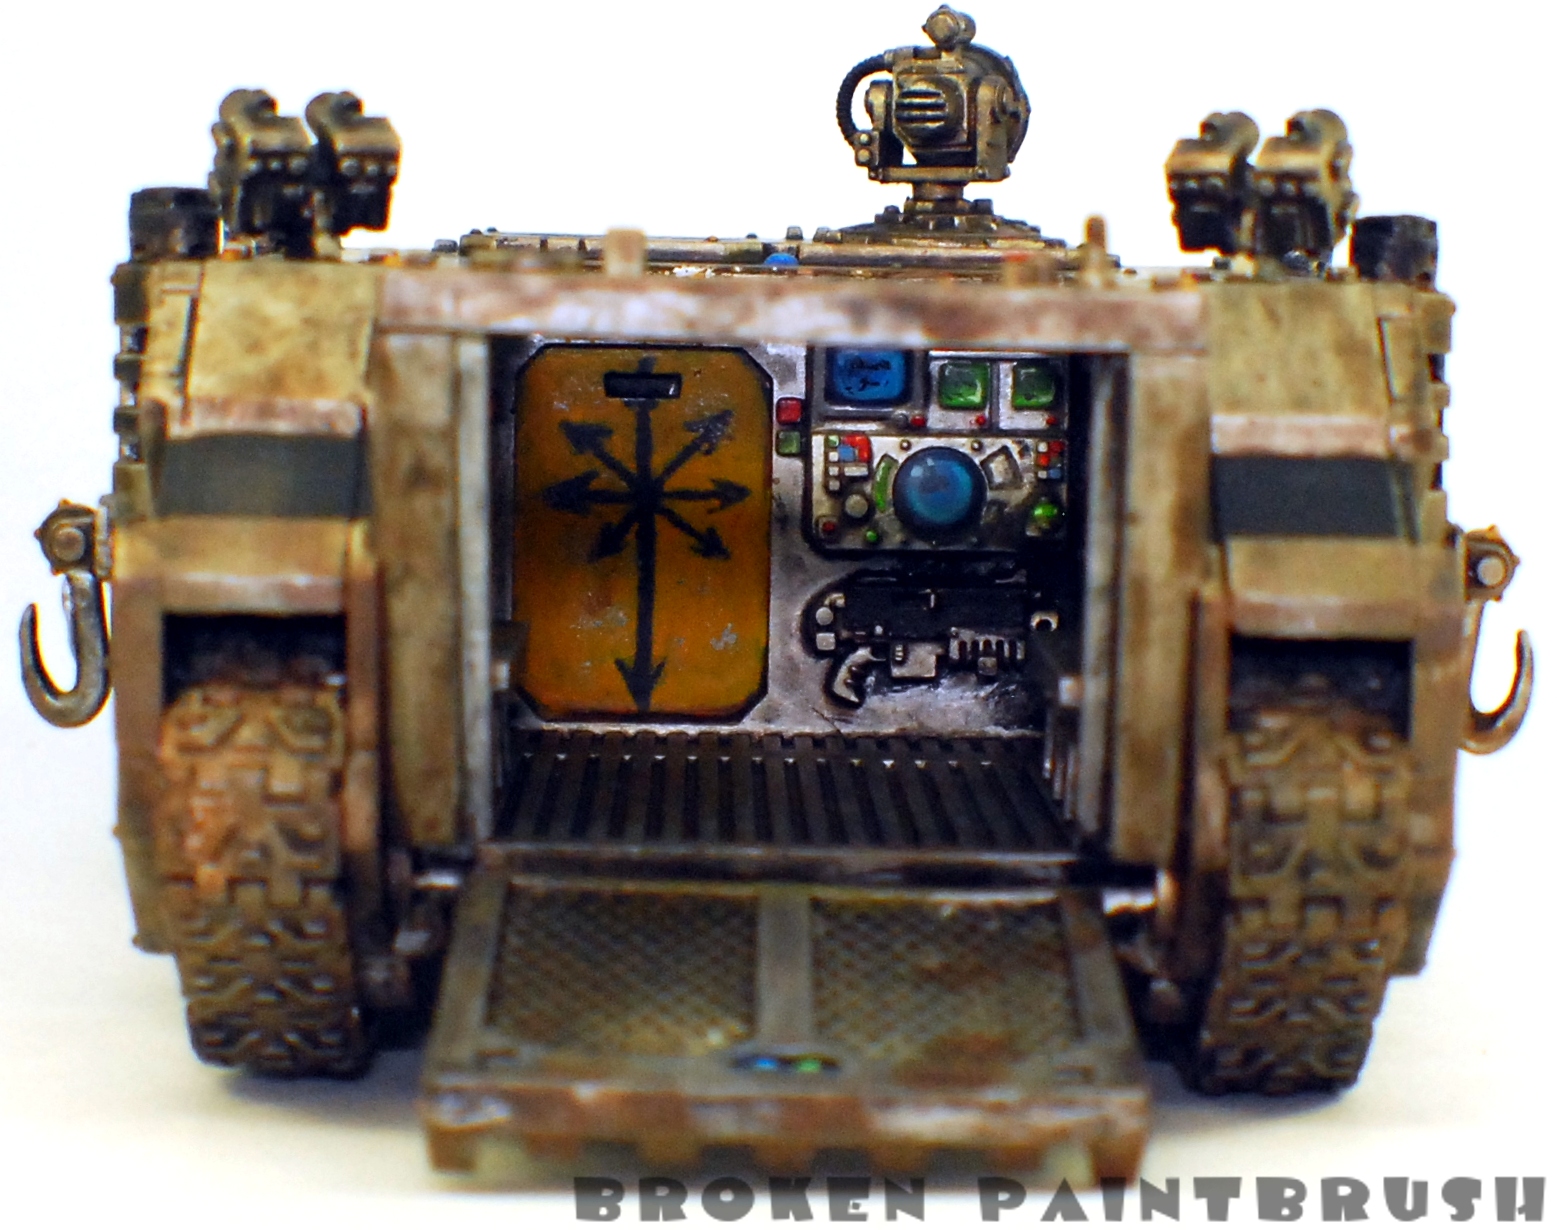
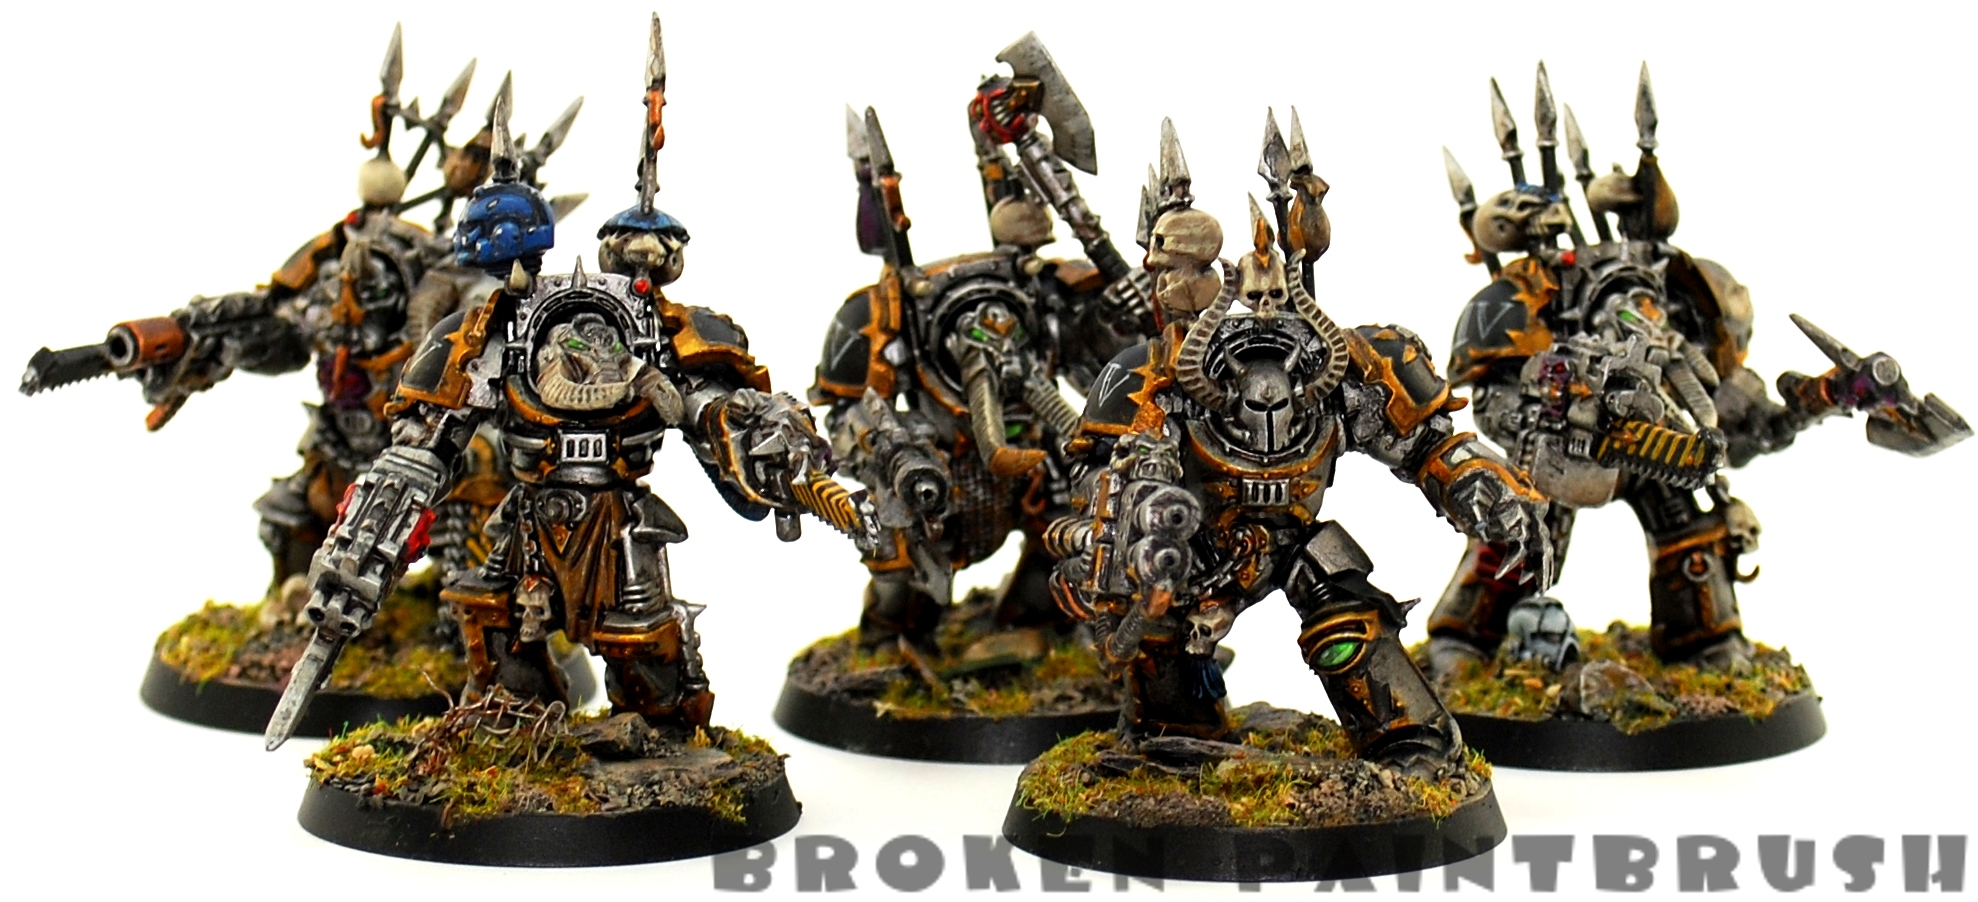
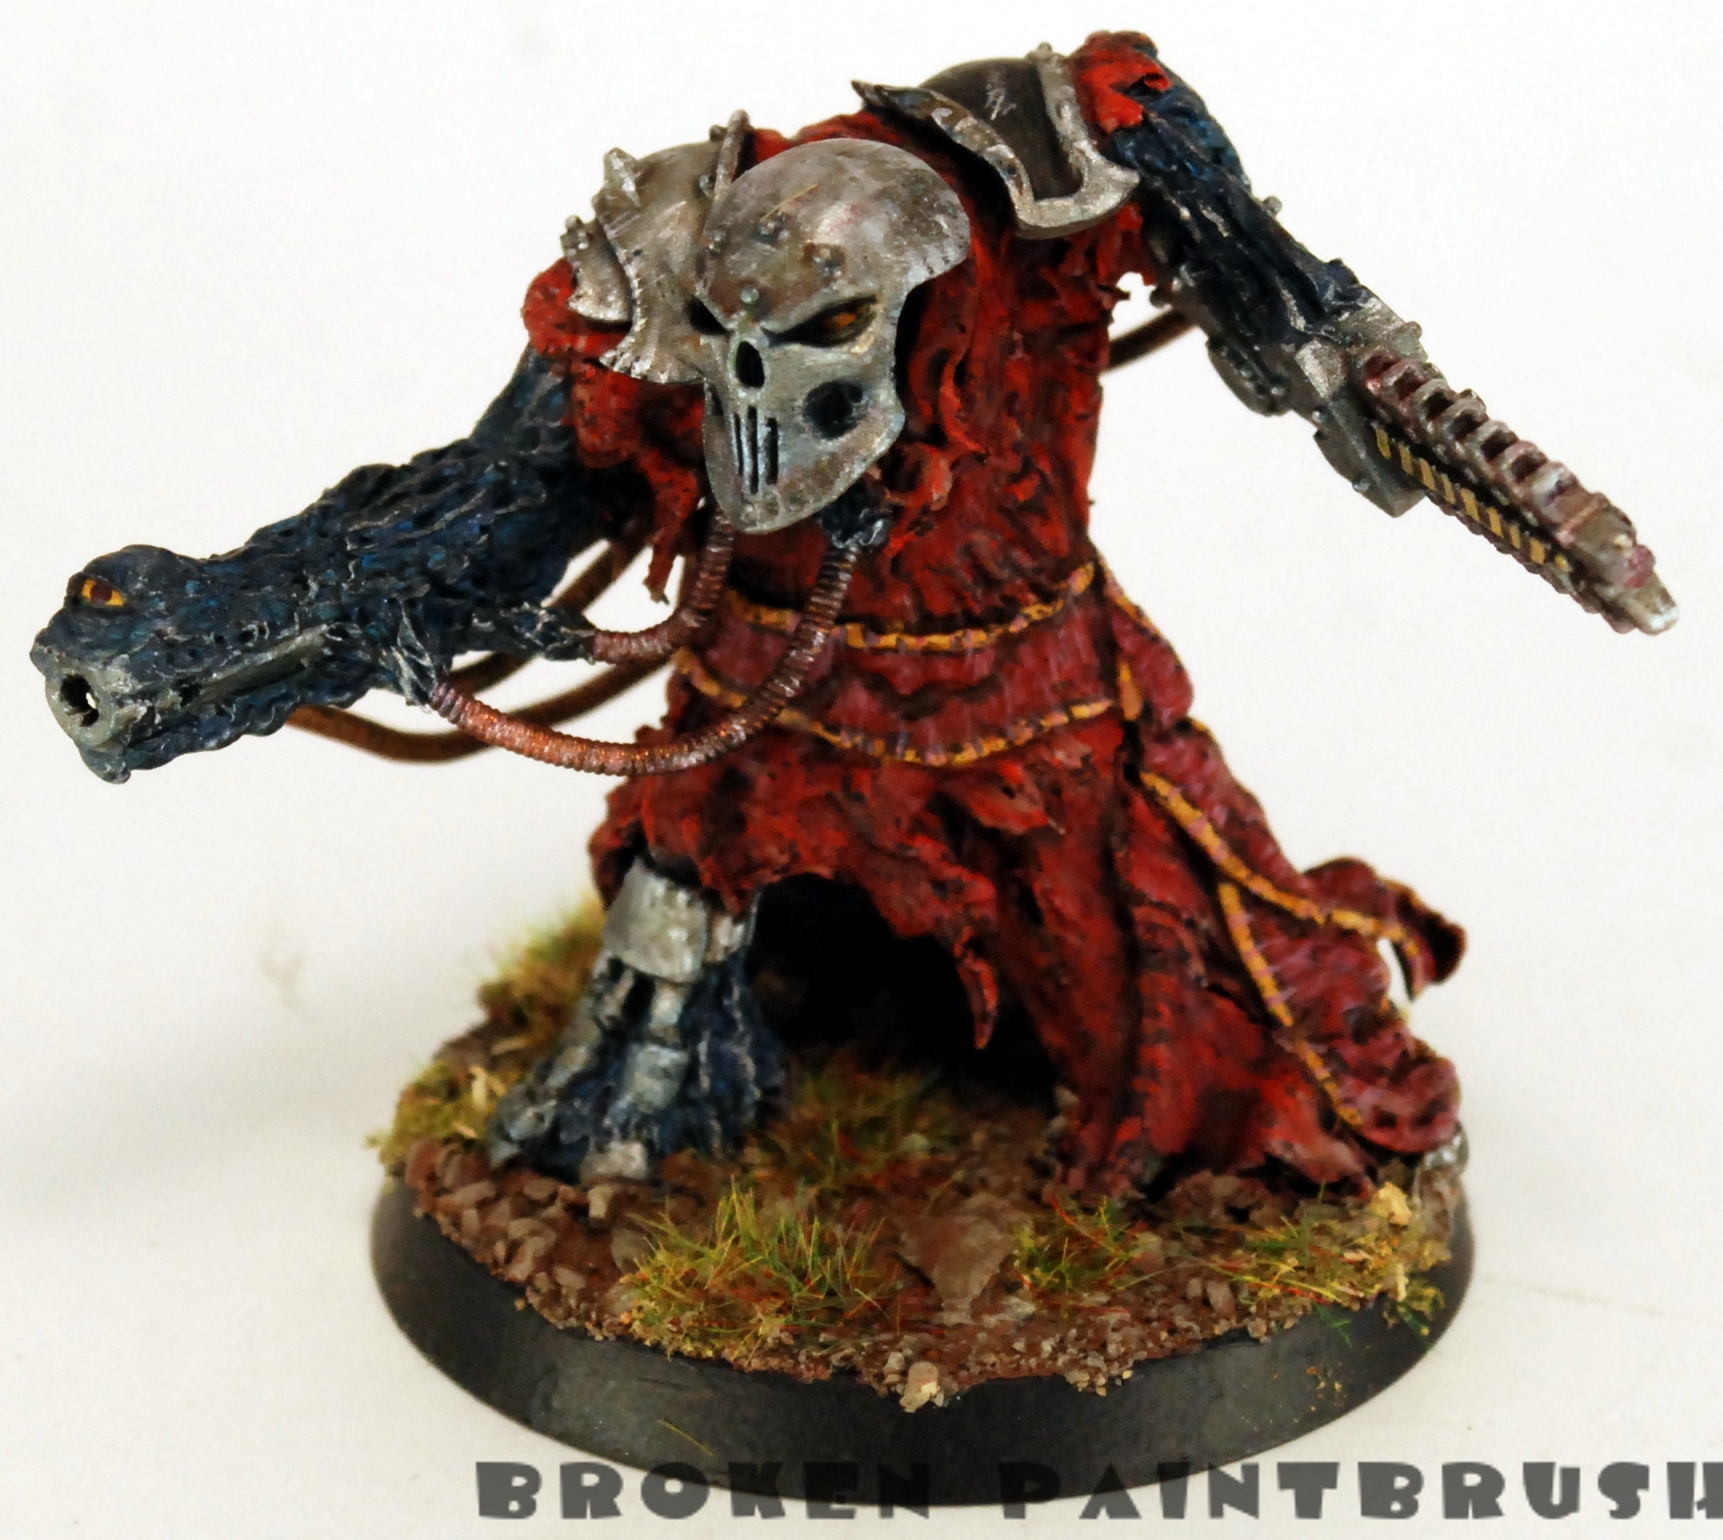
My First Sculpt Pt 5: An Obliterator – Finished!

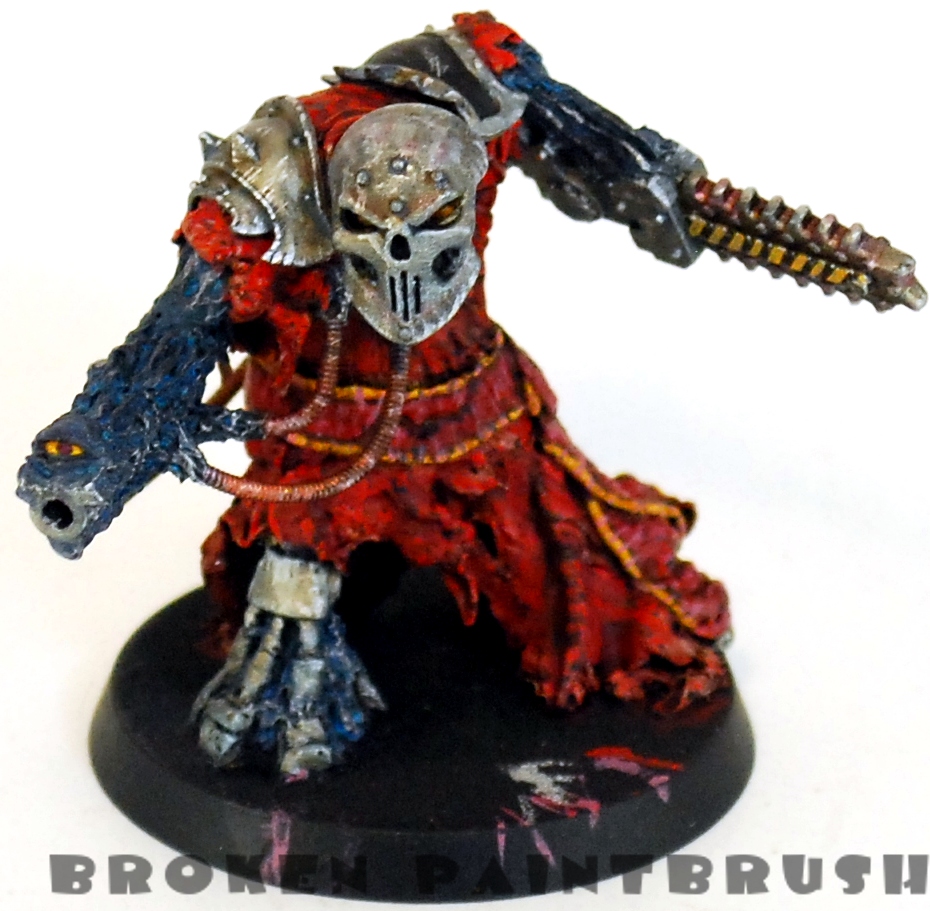
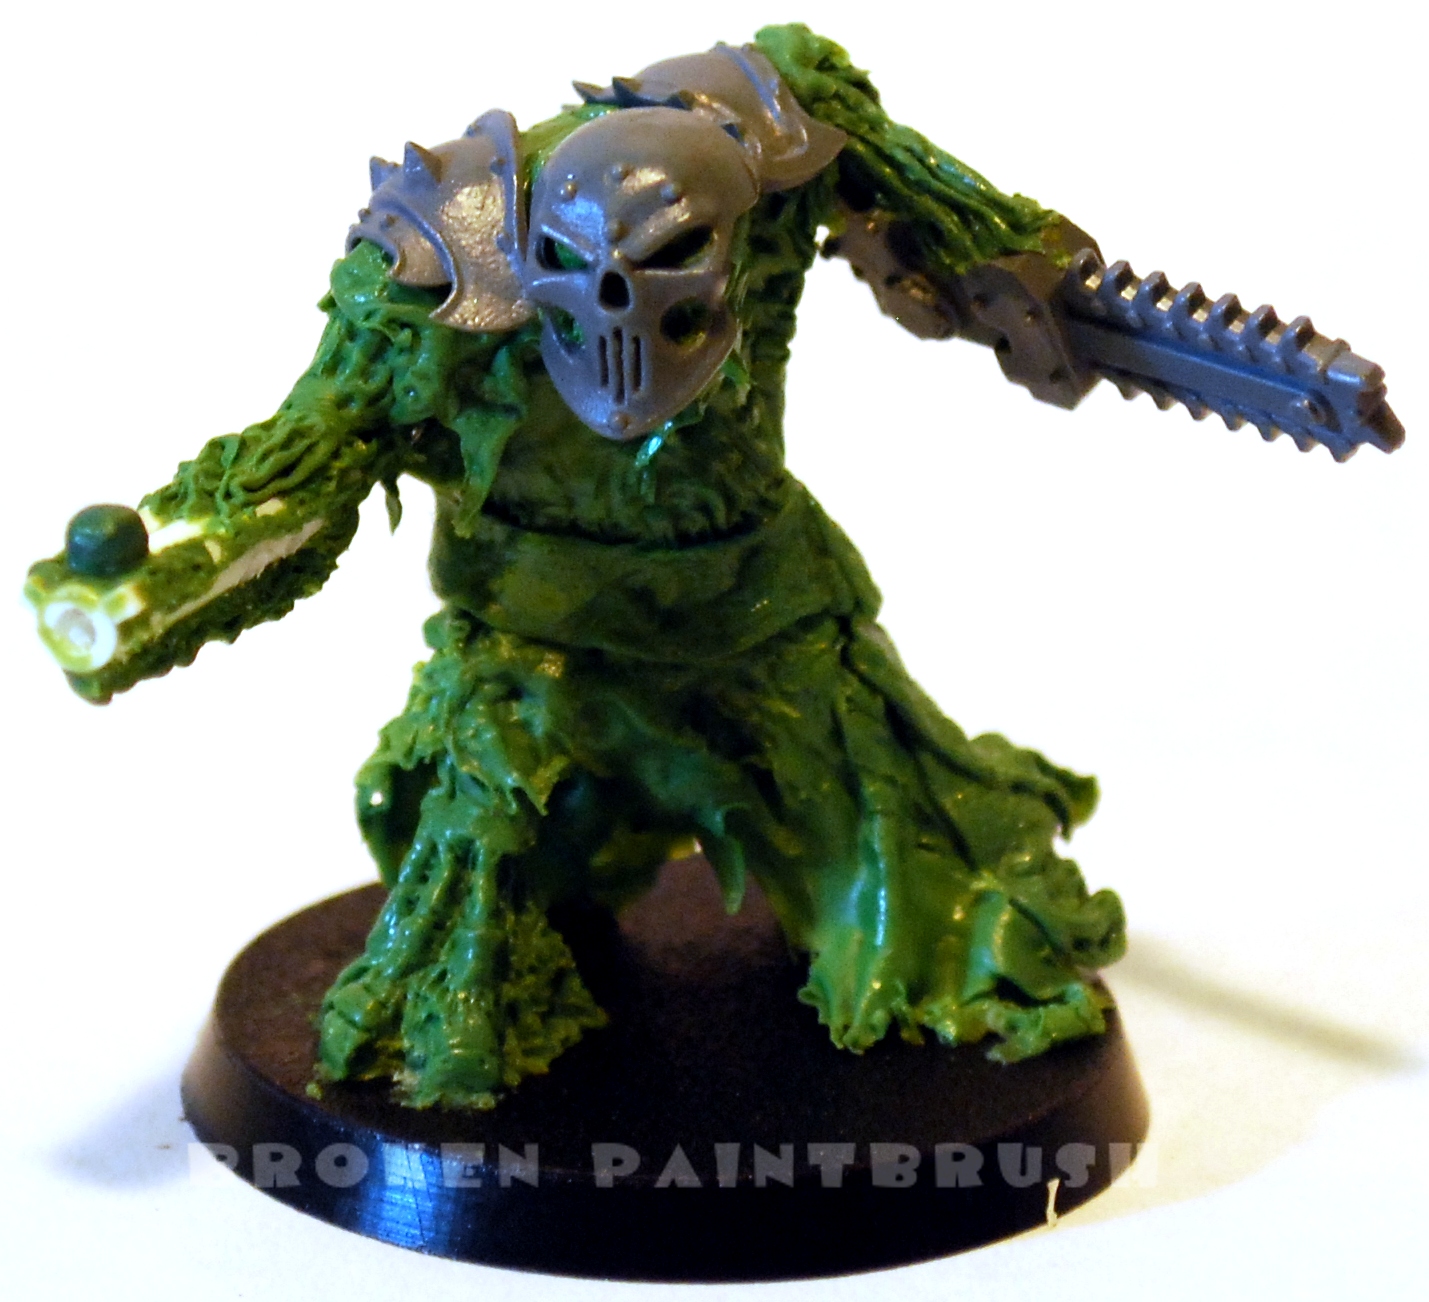
With some nice time off from work I was able to finish the Obliterator that I had sculpted. Paint wise there wasn’t much left to do, just some touch-ups and finish the base. The skull mast came from the defiler kit, the chain arm from the sentinels, and the shoulder plates from the marauders. I spent a lot of time trying to blend the organic, blue tissue into the metal by high lighting the flesh with silver tones and washing the metal with blue. I had also started the second obliterator a few days ago while waiting for some paint to dry. For Christmas my wonderful wife got me a package of Procreate Putty which I have to say is a fantastic alternative to green-stuff. The procreate is not nearly as sticky as green stuff is but adheres very well to the model. It is also stiffer than gs which made creating the robe much easier as I didn’t have to ‘paint’ super glue onto the end of the tatters to keep them in place. Here is …

WIP Sculpted Obliterator - part 4

My First Sculpt Pt 4: An Obliterator – Long Over Due Post

So it has been a while since I picked up the brush… well continuing on then. Did some more details on my Obilterator which brings him to a nearly finished state. I still need to finish the base and perhaps something more on the robe, but not yet sure what. I had thought about adding the XIV to the shoulder plate but remembered that oblits don’t have an allegiance and just fight for who ever pays them the best. Instead I opted for the yellow chevrons on the chain blade to tie in with the rest of my army. I was struggling with separating the sash and robe since they are supposed to both be red. I have tried using different temperatures of red along with the yellow border to separate them. The sash was highlighted and shaded with cooler shades of red, the highlight was almost more blue than red actually. The robe used warmer shades of red to highlight and shade. I’m not sure if I like how it turned out, but perhaps it is just that the robe doesn’t …

WIP Obliterator Sculpt 9 - Blue Painted

My First Sculpt Pt 3: An Obliterator – Base Coat Done

Spent some time painting the Obliterator. After priming it black, it is amazing how all the details (and mistakes) pop out. I then did the base coat of all the colors to block it out. Mechrite Red for the robes, Mithril Silver to the steel, Dwarven Bronze for the piping, and Ice Blue for the metallic flesh. The whole model was then washed with Devlan Mud.  The blue ended up looking nasty, dirty bubble gum, but thats ok since I will be repainting it anyway. Which I did next. I wanted to try a blue, lava-like texture that blends into the metal. Not sure of the result, it looks too shiny. Any ideas for fixing it? Next up is the red robe, which will the much more difficult piece to paint as I am hoping to do some freehand trim.

WIP Sculpted Obliterator - 4

My First Sculpt Pt 2: An Obliterator – sculpt nearly finished

Got some more work done on my Obliterator sculpt. I filled in more of the front foot by adding pistons to each of the toes. I also added the upper robe and shoulder blades from the Fantasy Chaos Knights box. The ball on the end of the gun will shortly become an eye ball. Also need to add the wiring from the arms to the back. I also photoshop’d the image to get an (rough) idea of what the coloring will look like. I’m not sure how I’m going to paint the flesh-metal but it will probably be a dark gray or purple, any ideas would be appreciated 😉

My First Scupt: An Obliterator – WIP – and why I had Green Stuff

So I’ve developed this habit: when I try something new, I go all out and skip to the hard stuff. See my Mentor Legion post when I wanted to try painting white armor. See my WIP (kinda dead-in-progress right now) Scratch built Titan. Well the newest thing I decided to ‘try out’ is sculpting. I’ve done some green stuff work to fill gaps and create some honor badges for my Iron Warrior Chosen, but I haven’t done any true sculpting.Well after scouring FTW, The Painting Corp, and Massive Voodoo for how to sculpt and digging through the Chaos Codex (all three editions), Horus Heresy: Collected Visions, and Iron Warrior for ideas I grabbed my tools and got to work. Below are some very rough WIP shots of the first Obliterator (eventually I will do three). Obviously, there is still plenty of work to do on the upper half, but eventually the robe will continue on his upper half, including a draping hood. The left arm (the one with the chain blade) is not attached so …

Iron Warriors Rhino #2 - Done - Front

Iron Warriors Rhino 2 Done

Finished the third and final (for now) Rhino for my Iron Warriors army (see the first and second here). This one I tried a few new things. The first is the scratched metal. I tried using an old, terrible brush and splayed the bristles to create parallel streaks. I don’t think they all work out well, but it is something to build off of. The second is the free-hand Chaos star on the top hatch. I took the design from one I found in the 4th edition Codex showing the dual rings and 3d shape. I don’t think I pulled it off how I wanted, but for a first attempt, I’m happy with it. For this tank, I decided to put the stripes on the outer faces of the smoke stacks. Keeping it simple was needed to retain the tank from becoming too busy with the start, chain and skulls and havoc launcher. And here is all three in their finished states (click for a bigger picture!). I have a couple of random projects I …

Iron Warriors Rhino 4 - Right Side

Iron Warriors Rhino #4 Done

This is my fourth Iron Warriors Rhino finished. Complete with plenty of chevrons and looking fittingly dirty. Finished up the details on Rhino #4 which mostly entailed the stripes and spotlight. After the last Rhino’s attempt at doing the strips freehand I decided to cheat a bit on this one and mask the black areas off with scotch tape. I started by taping all the area around where I wanted black so I could spray it. I then took some clear masking fluid and sponged it into the area. This way I could take an eraser to it and uncover the metal area underneath. I then sprayed it black, waited for it to dry and then covered it with scotch tape. After marking out each strip, I cut it apart with the handy knife and removed the tape where I wanted the yellow. After painting up the yellow, I removed the tape and washed the whole thing with a sepia wash. Once that was dry, I rubbed off the clear masking fluid to finish the worn effect. Overall I’m …

Iron Warriors Rhino #1 - back

Iron Warriors Rhino #3 Finished

Decided to finish each of the Rhinos one at a time, so here is the first. I credit Wienas for the idea o f hazard strips on the front panel, so thanks for that! I think they turned out ok. I made the mistake of deciding to paint the interior and although it turned out ok, the amount of work that went into something that may never been seen any way… not so sure.

Iron Warrior Terminator Squad 4

Iron Warriors Terminator Squad 4 Complete

So as I continue to balance between completing old units and finishing new ones (see the Mentor Legion guys I just finished) I have put the finishing touches on my 4th Iron Warriors Terminator squad (WIP shots here). There wasn’t much left to finish on this squad. I finished the base using my new style and painted on the XIV to mark them as part of the 14th Grand Company. Standard bolter and power ax with the obligatory Space Marine helmet. Heavy flamer and power fist with the cool helmet from the Sorcerer Lord kit. Chainfist time and a trophy rack with my Brother-in-law’s Hive Fleet Behemoth head on display. Combi-flamer and another power ax. This is by far the coolest chainfist, fitting I also give him the combi-meltagun.One more squad off the painting table and marked green in the status page! Next up is the rhinos…

Rhino of 14th Grand Company

Iron Warrior Rhinos – WIP

The ever faithful Rhinos! These are 3 of the 4 rhino transports currently possessed by the 14th Grand Company with the 4th being an ancient piece needing some fierce care before being shown to the public. All three are in various states of near-done. Mostly it is the various copulas that need to be finished and details added. Oh, and this one is now missing the roof, some how got left at the LFGS and never found, teaches me to not just seal it up and hide the inside. I made heavy use of the washes for all three tanks, perhaps too heavy. I wanted to give a worn, weathered look which is often hard for ‘silver’ areas as they don’t have paint chips. Instead they came off a bit blotchy and may need some touch ups… we’ll see. [amazonify]B0009JJZ2G[/amazonify]

Iron Warriors Vindicator

Iron Warriors Vindicator

So this is one that I’ve have done for a long time but seem to have failed to capture it on film. Personally I really like the vindicator and put it in nearly every army list. Sure it is a one-trick pony with its one big gun but no matter what it hits, it is gonna hurt. In objective missions I’ll often leave the vindicator in reserve to give the enemy time to move towards my objectives. Once the tank rolls on it should be able to find a nice juicy target to demolish. [amazonify]B0010A1AHQ[/amazonify]

How to Paint Iron Warriors

How to Paint Iron Warriors a Painting Tutorial and Guide

The Iron Warriors were my first 40k army. I picked them in part because they had a simple painting guide int he 3rd edition Codex. Both my painting skills, as well as the hobby, have changed since then. But here is my updated guide to how to paint Iron Warriors. I’ve broken down how I paint Iron Warriors in six detailed sections on the specific parts of the model. How to Paint Iron Warriors Part 1: The Metals Following on my step-by-step paint guides for my Sorcerer and Fabius Bile I figured it was time to do one for the bread and butter of my army: the Iron Warrior. I’ve broken this down into multiple parts to give more detail in each step. So first up is the metals. This is the prominent feature of any Iron Warrior: iron/silver armor and gold trim. It is also the messiest stage which is why I always do it first. Step 1: Primer I always prime my Iron Warriors black. If anyone has tried to paint metallic over …