All posts filed under: WIP

Pictures and posts containing my works in progress. This may become my most frequent category.

Chaos Bastion WIP

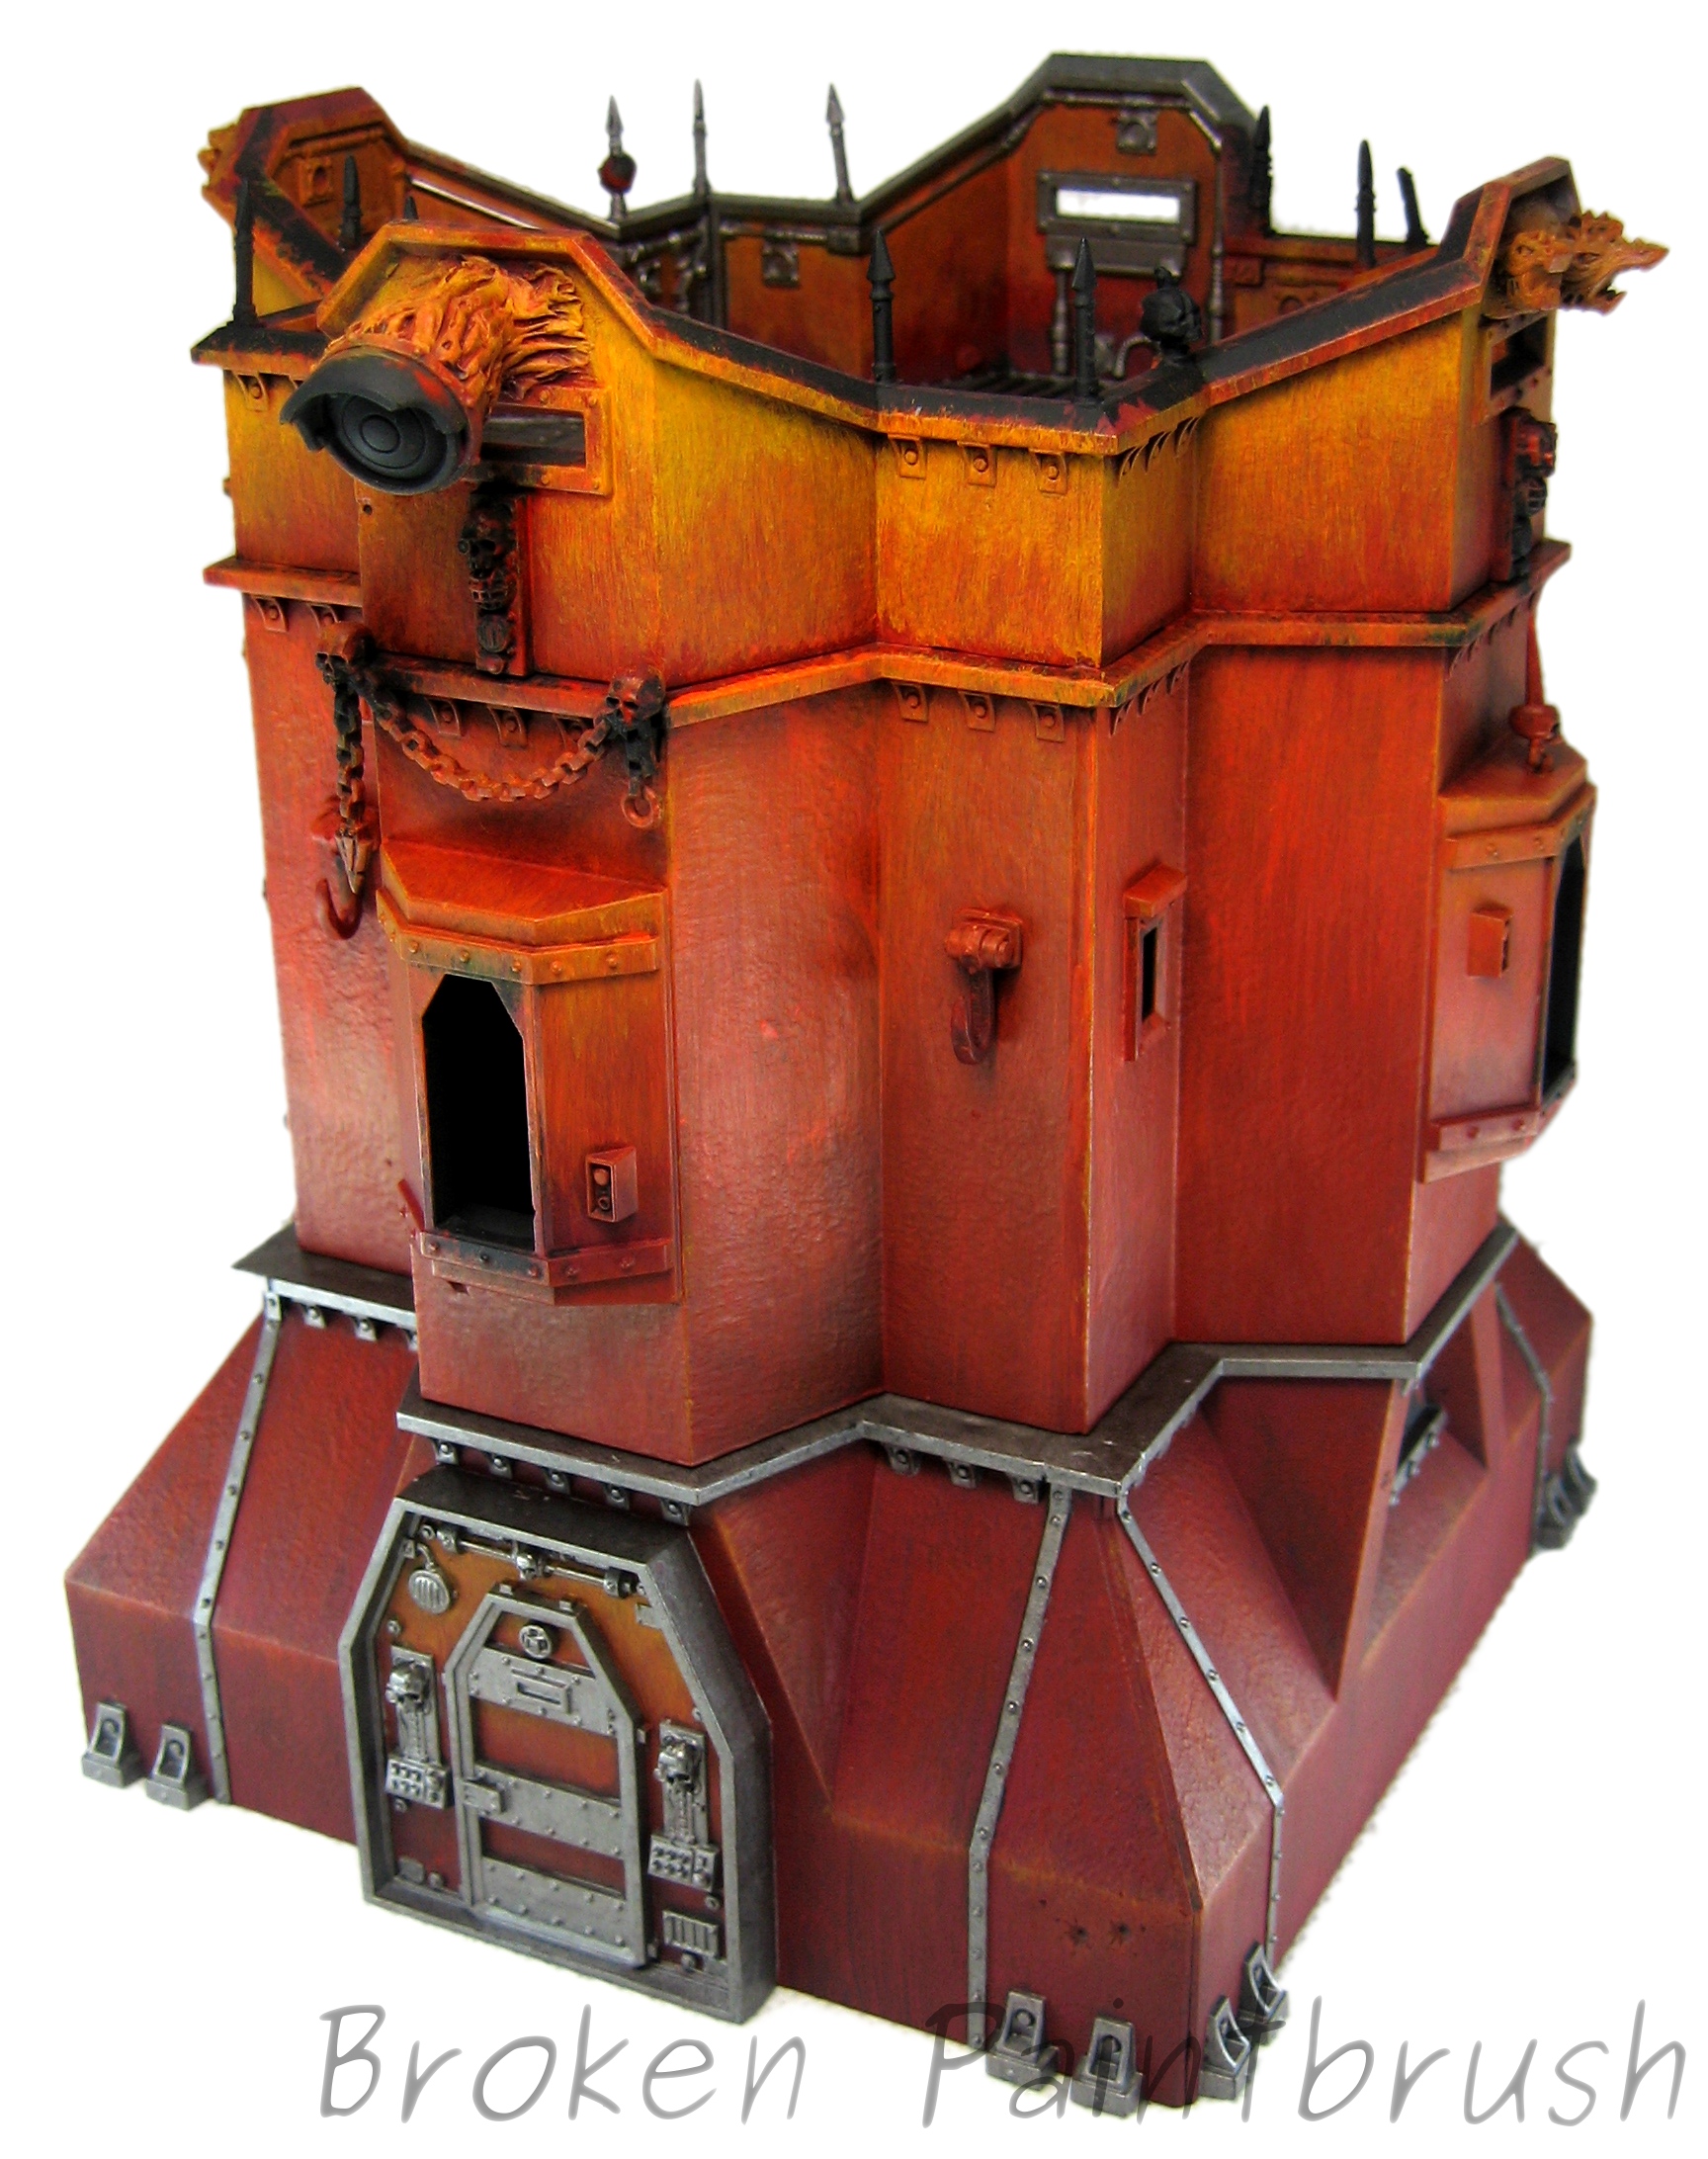
Bastion Progress: Nearly There

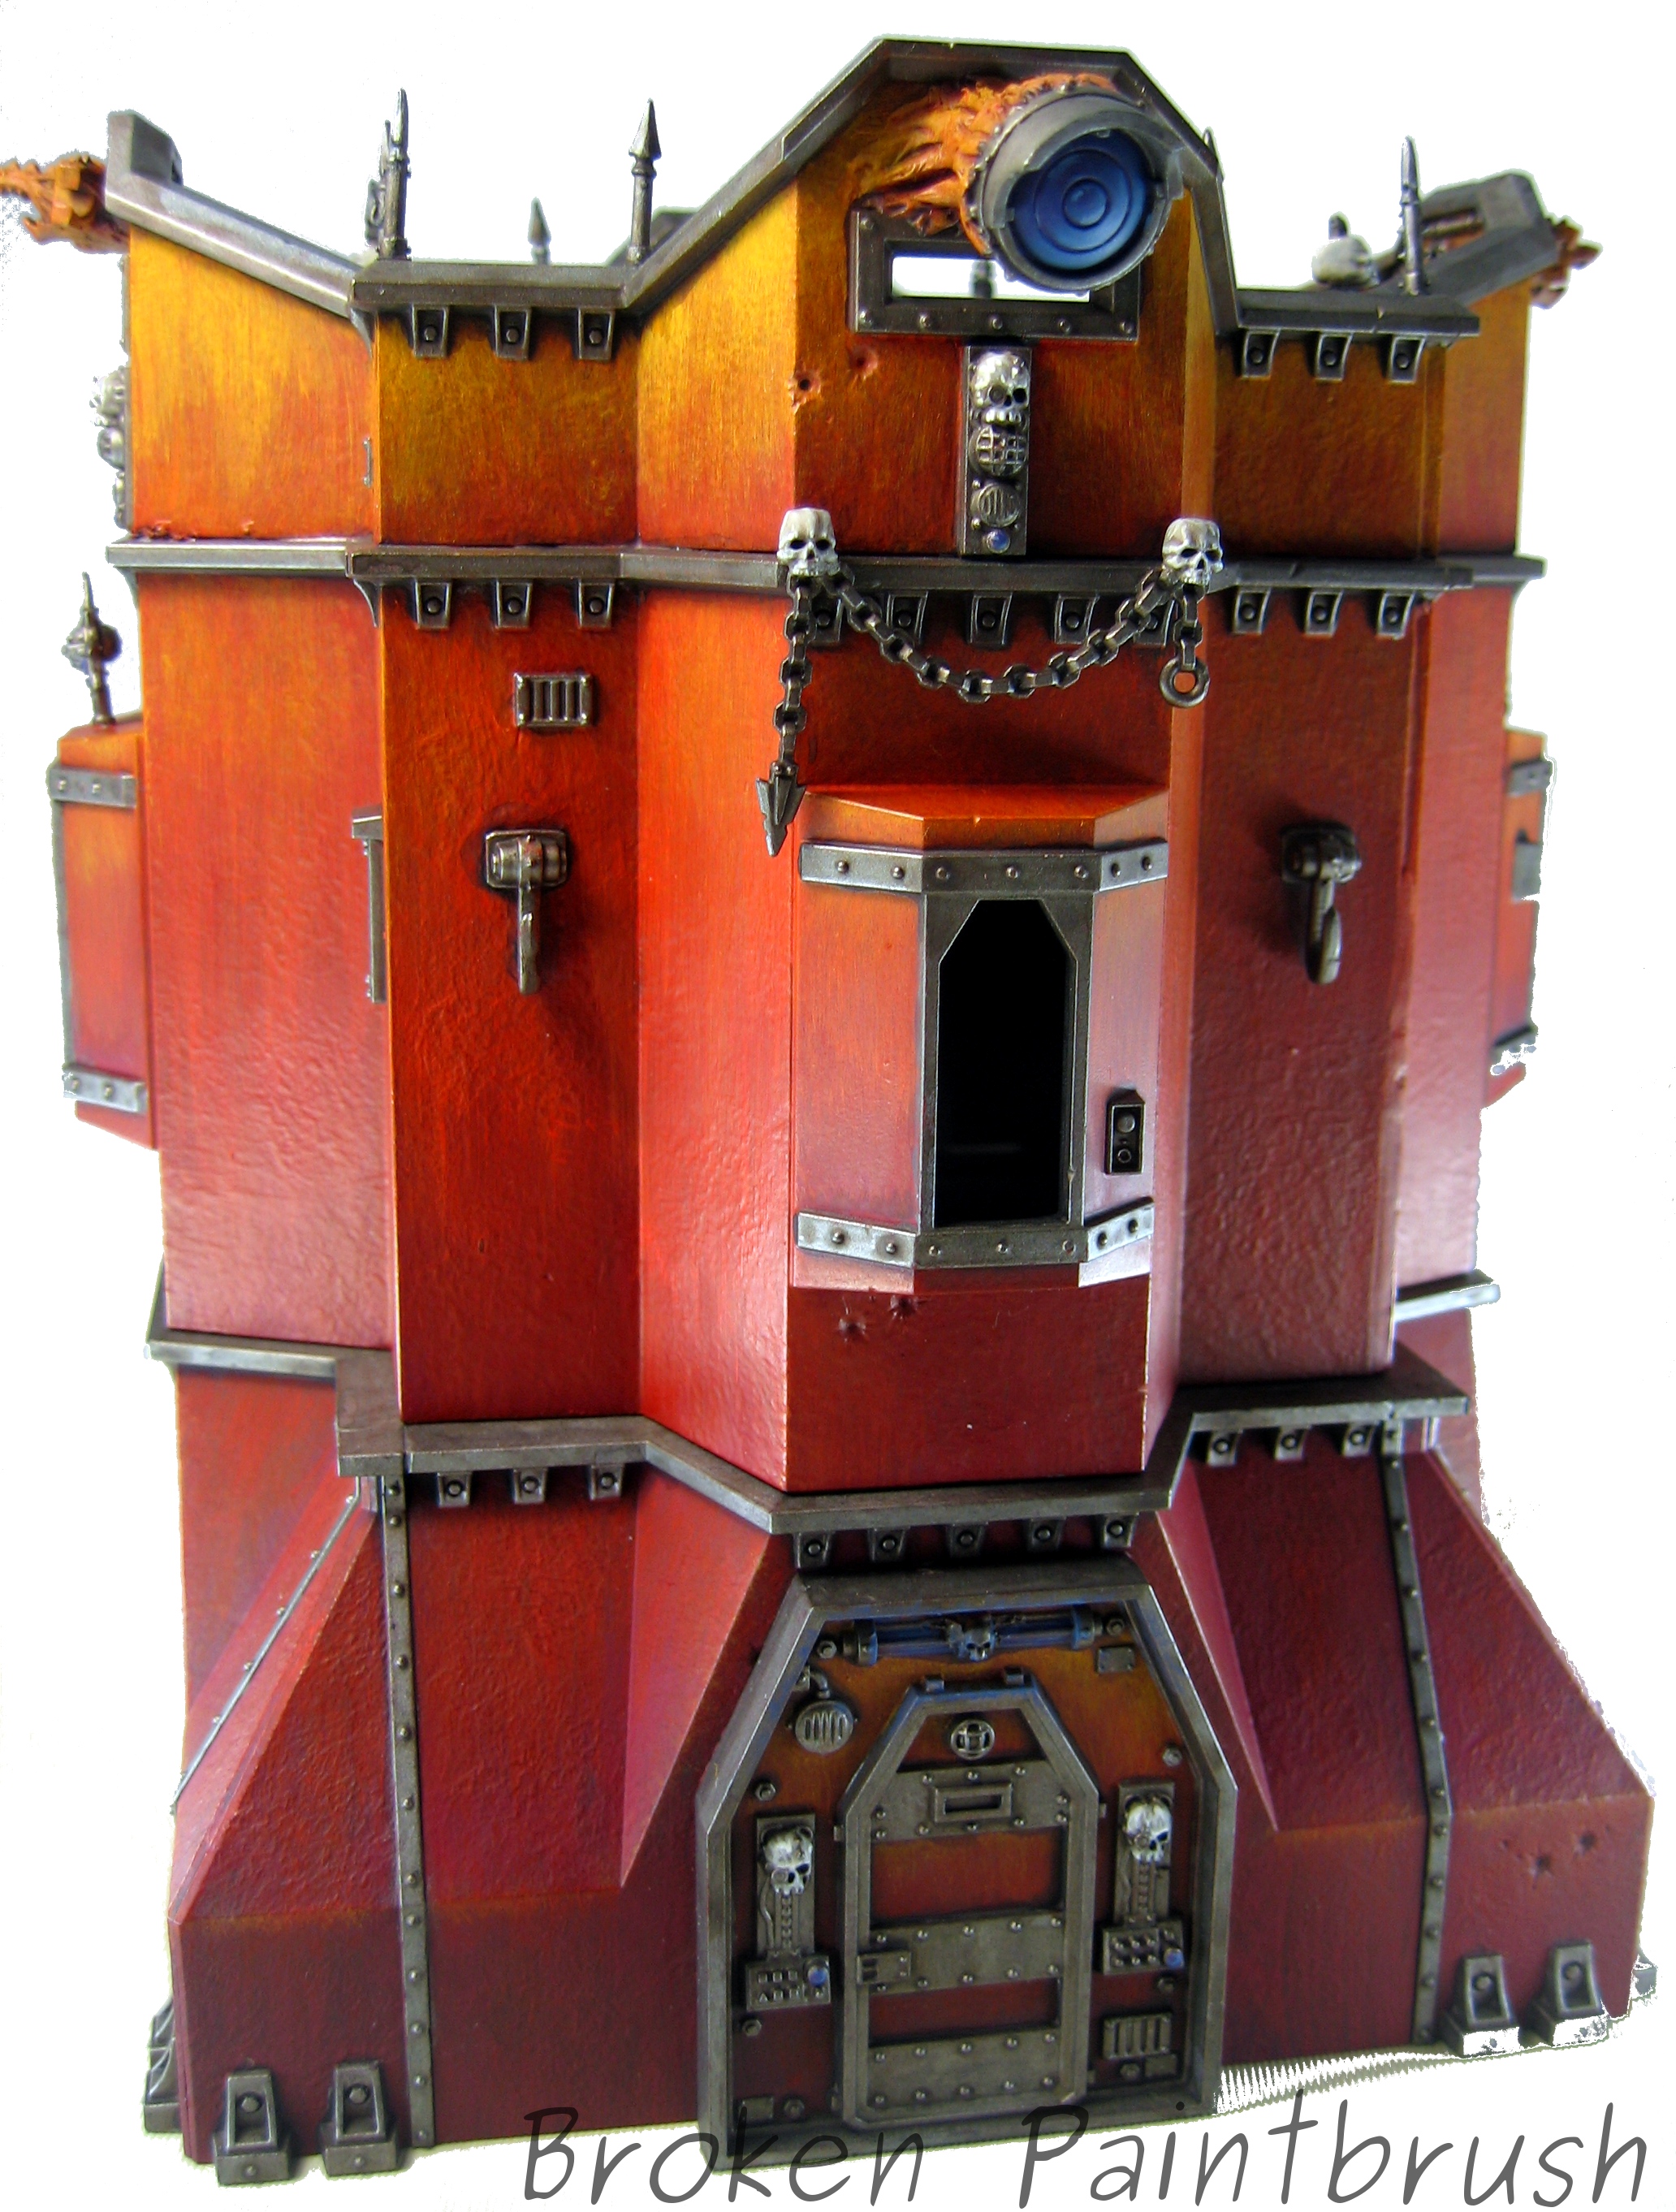
I have made a bit more progress on the Chaos Bastion of the few weeks. I started to regret painting the brackets supporting the horizontal trims metal as they seemed to take forever, but I like how it turned out in the end. The gun emplacements are still separated but are already painted the metallic. Still left to do is the weathering and chaos stars similar to the Russes. The stars will be interesting as they will most likely cover multiple sides so it may be a bit of a change to balance the number and size of them. The defensive walls are also in progress and I actually used the spray gun to paint the red/orange on some. I will post them up soon with notes on the air brush.   [amazonify]B002G21PC2[/amazonify]
Chaos Bastion WIP - Front

New Models for 6th Edition

I’ve been pouring over the 6th edition rules the last couple of weeks now, and overall I’m excited for the changes. I especially like the idea of over-watch giving my pour renegade guardsmen some protection against assaults. All the minor changes are going to take some time I think to settle out their benefit/cost to the game. From a hobby standpoint and someone who isn’t into the competitive side, I like the idea of the new army structure including allies and structures. Will it get abused? of course, but so will any rule set put out. I’m working on more posts about my guard and Iron Warriors in 6th but as I was reading the rulebook I remembered I had this in the closet of doom (tm mordian 7th): I had bought one of these when they had come out thinking of actually playing a planet strike game with it (anyone actually plan that expansion?). After hours of scrapping off those blasted Aquillas and gluing the upper walls together wrong, I started painting the Bastion …

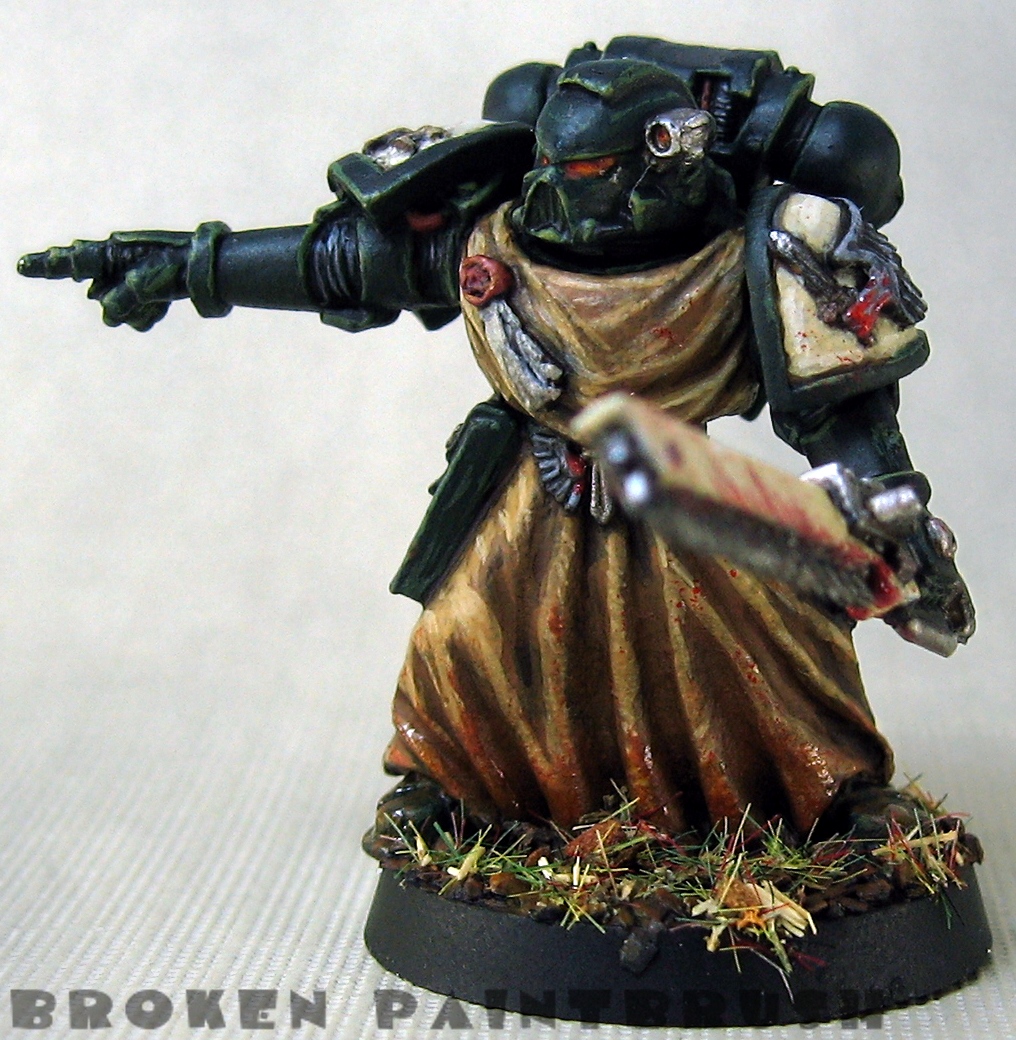
Fallen Angel Chaos Space Marine - 1 - Front

The Fallen, or nearly Forgotten Models (Part 1)

As promised in my last post I’ve been working on something that old timer Chaos players may remember: Fallen Angels. These are the secret that the Dark Angels do not want any one to know about. They are the followers of the mysterious Cypher which was a special character option in the 3rd edition Chaos Space Marine Codex. I’ve had these models kicking around my closet for years (Cypher since 3rd edition even) and never got around to painting them up until this last week. After priming and laying down the base coat on all the models I decided to do a test model first to see how it turned out. As there is no official Fallen models I am using normal Dark Angel models for the squad with bits from the command squad. I could not find any special markings to set them apart from the loyal brothers so I just added some blood to the wings, symbolizing them being torn off. Although this model is 90% done I still have markings left to …

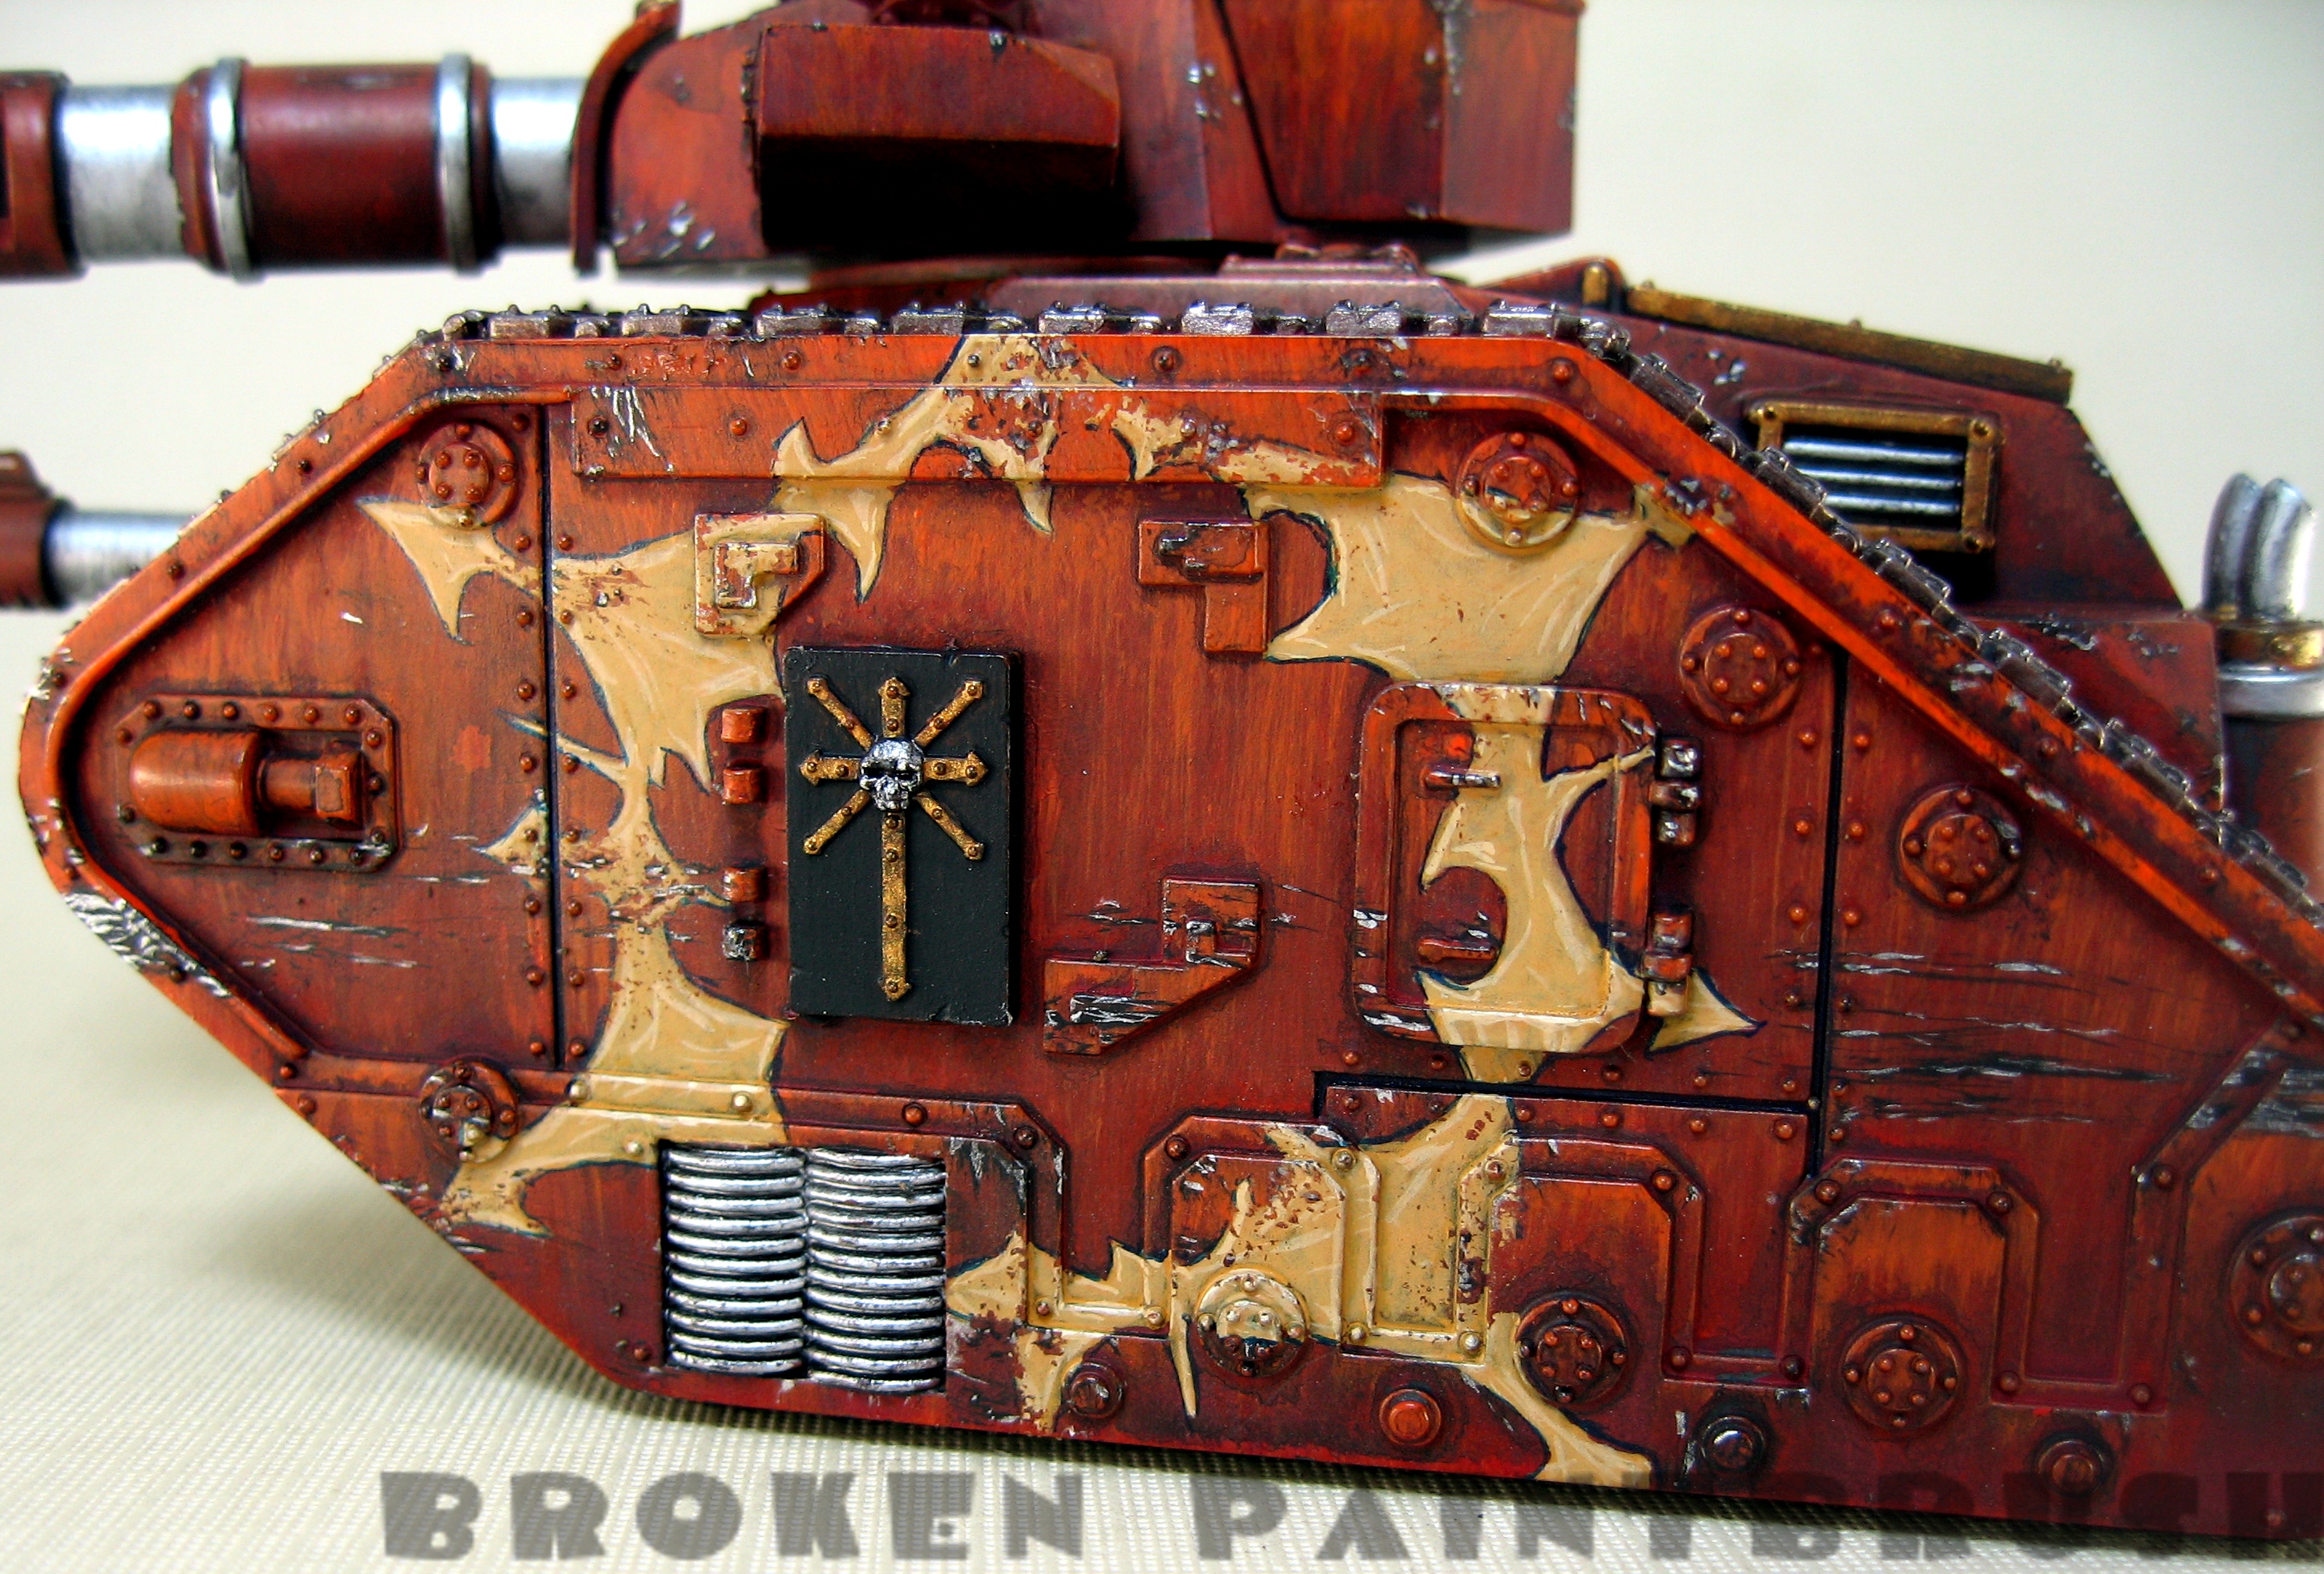
Traitor Leman Russ WIP - Sign of Chaos - right

Traitor Russ WIP (4) – Second Mark Completed

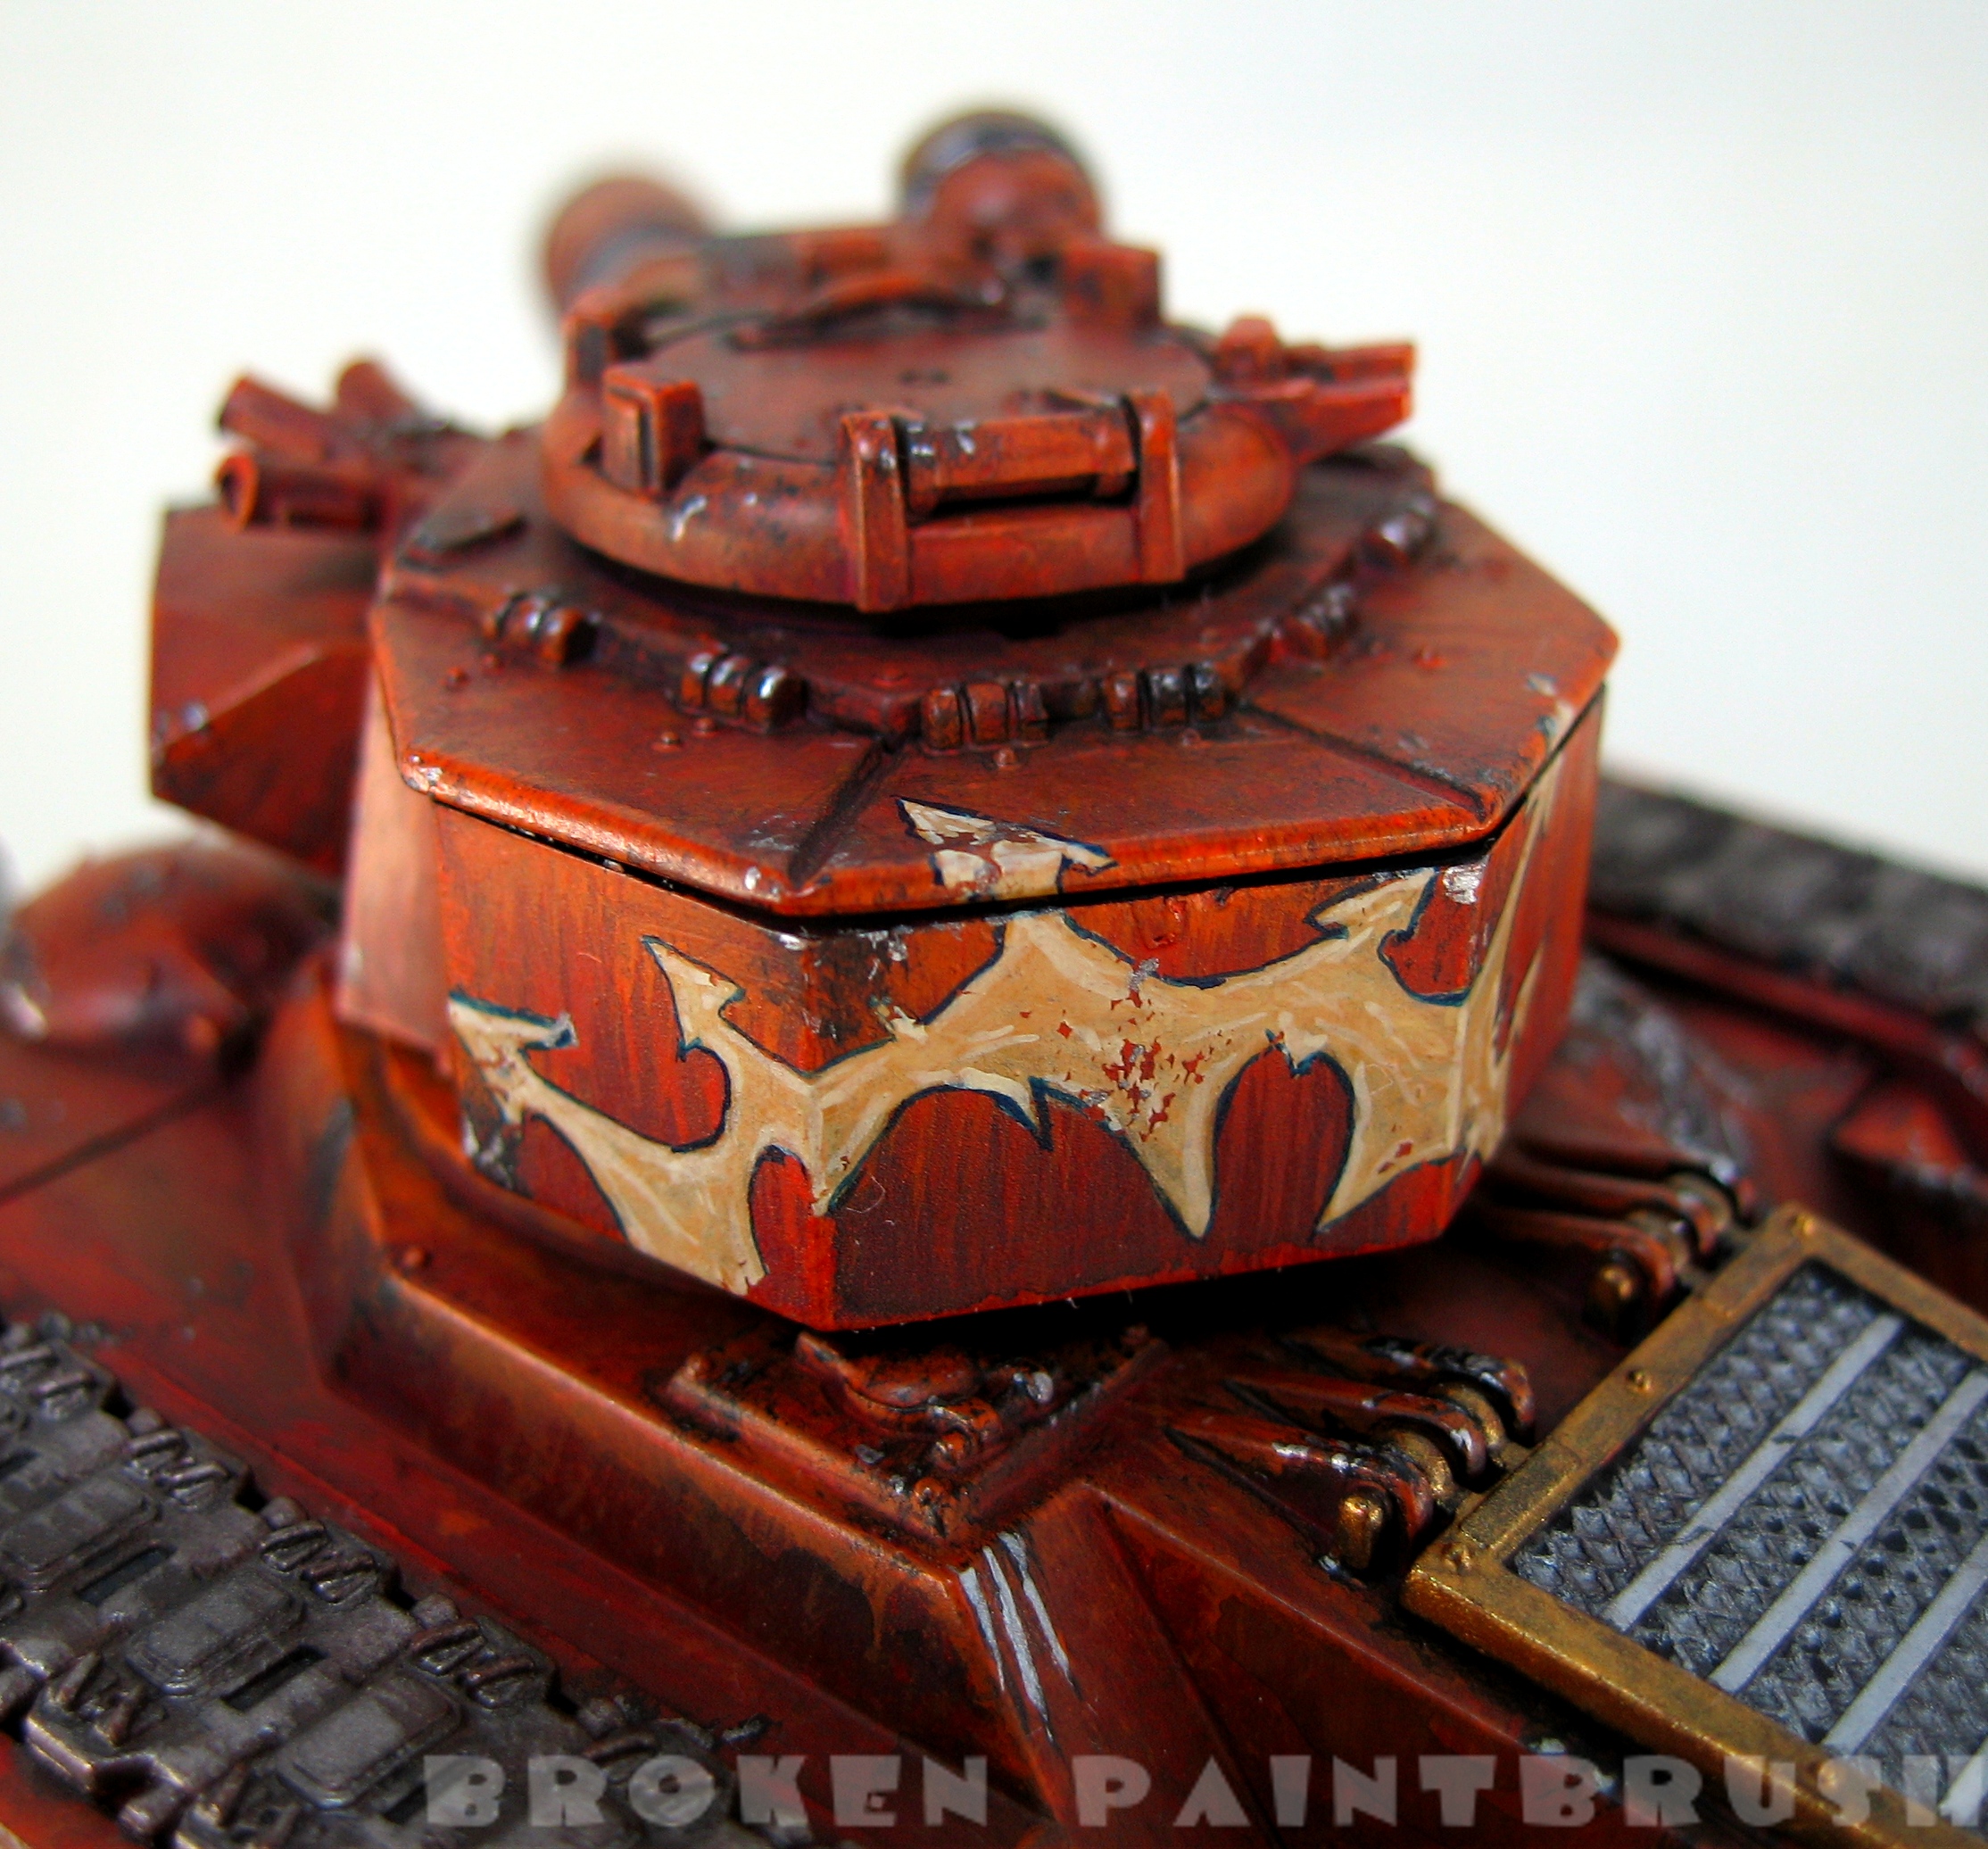
So the second Russ went a lot faster even though I did a bigger Chaos star. I also was more careful with not rubbing the masking medium and it paid off. In trying to keep the stars more free-form and chaotic I choose different centers and angles for each but kept the same size to give some coherency. Next up is some more detailing and the final weathering (dust/mud splatter) [amazonify]B002ICAXLY[/amazonify]

Lemun Russ WIP - Back Side w/ Markings

Traitor Russ WIP (3) – Slow and Steady

So I’m hoping that I’m starting to pick up the pace a bit now that I’m getting back into the painting but it still feels like I’m slogging along. Anyway, on to the new work: I spent this last week to add a chaos star to the tank to add some color and break up the large side. As I said in the last post the idea came from the amazing Dave Taylor’s work and tutorial. The base coat is Tausept Ocher, then adding Dheneb Stone and finally Skull White for the highlights. I wanted to set off the yellow from the red as the two colors somewhat blue together at the edges so I added a fine line of Necron Abyss. I wanted to add some wear to the markings but without having to go back and repainting it on so I tried using a masking medium that “paints” on and once dry allows you to paint over it, and when done just rub it off. It didn’t seem to work to well on this tank as …

Sculpted Obliterator 2 - Flesh Painted

Second Sculpted Obliterator (2) – Painting has started

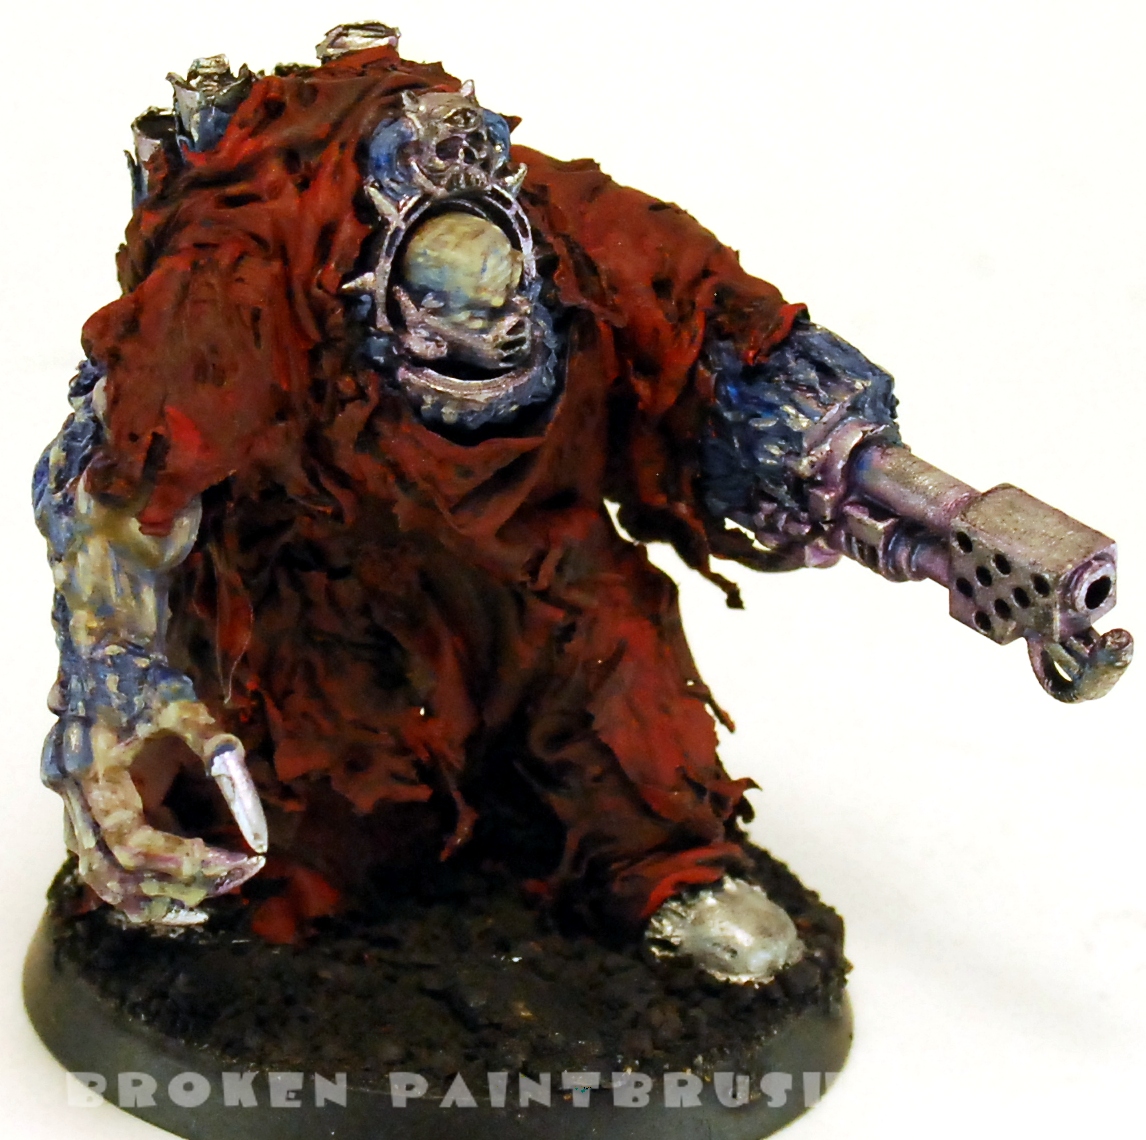
I was able to get some paint done on the second obliterator. It is amazing what a bit of primer can do for a sculpted piece… Next up was the base coat. This was mostly to block out the colors and give a base coat to the follow up colors. Ugly at this stage is ok… After a black wash to deepen the shadows I focussed on the flesh, both the daemonic as well as the human(ish). The skin was a mix of ice blue, space wolf gray, grave yard earth, and elf flesh. The blue was a mix of ice blue, space wolf gray and mordian blue. The blue was then highlighted with a mix of blue and mithril silver to blend it into the actual metal. Next up is the metal areas and then the robe. As always, comments and suggestions are appreciated.

Second Sculpted Obliterator - The Build Up - The Robe is Added - front

Second Sculpted Obliterator (1) – The Build Up

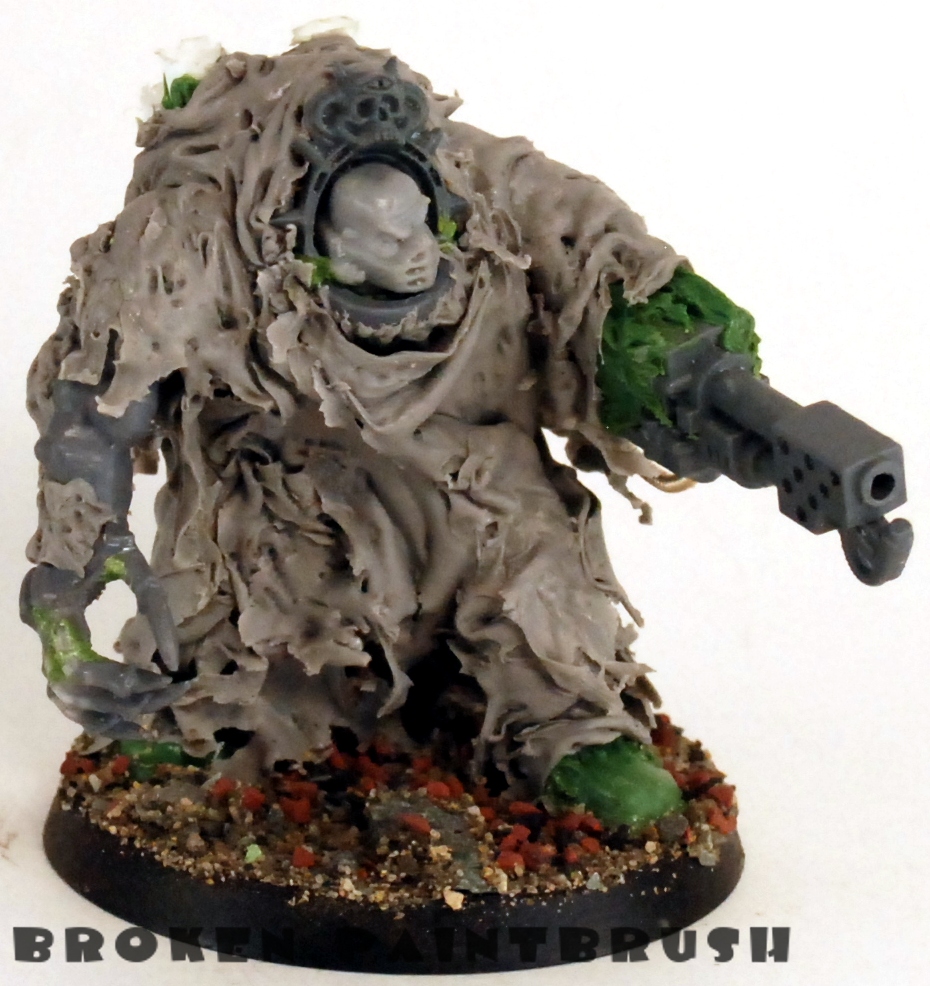
As promised, here is some build up shots of my second obliterator. One of the things I wanted to change on the second guy was adding more bulk to the body. I wanted it to look closer to a full terminator suit rather than a scarecrow with a robe. I started with bending a couple paper clips to create the wire-frame with proportions of a terminator, including the width and hight of the square body section. I added the arm bits and the head. The coper wire was used to hold different paper clips sections together. I then started to bulk up the wire with blobs of green stuff. I added in some bitz around the head from an extra terminator front (from the lord box I think). I also added some exhaust pipes to the back using some plastic tubes. The daemon claw hand was cut and bent to close it up a bit, gs was added to fill the gaps. After letting the first layer of green stuff dry more was added to the legs …

Sculpted Obliterator Final - front

My First Sculpt Pt 5: An Obliterator – Finished!

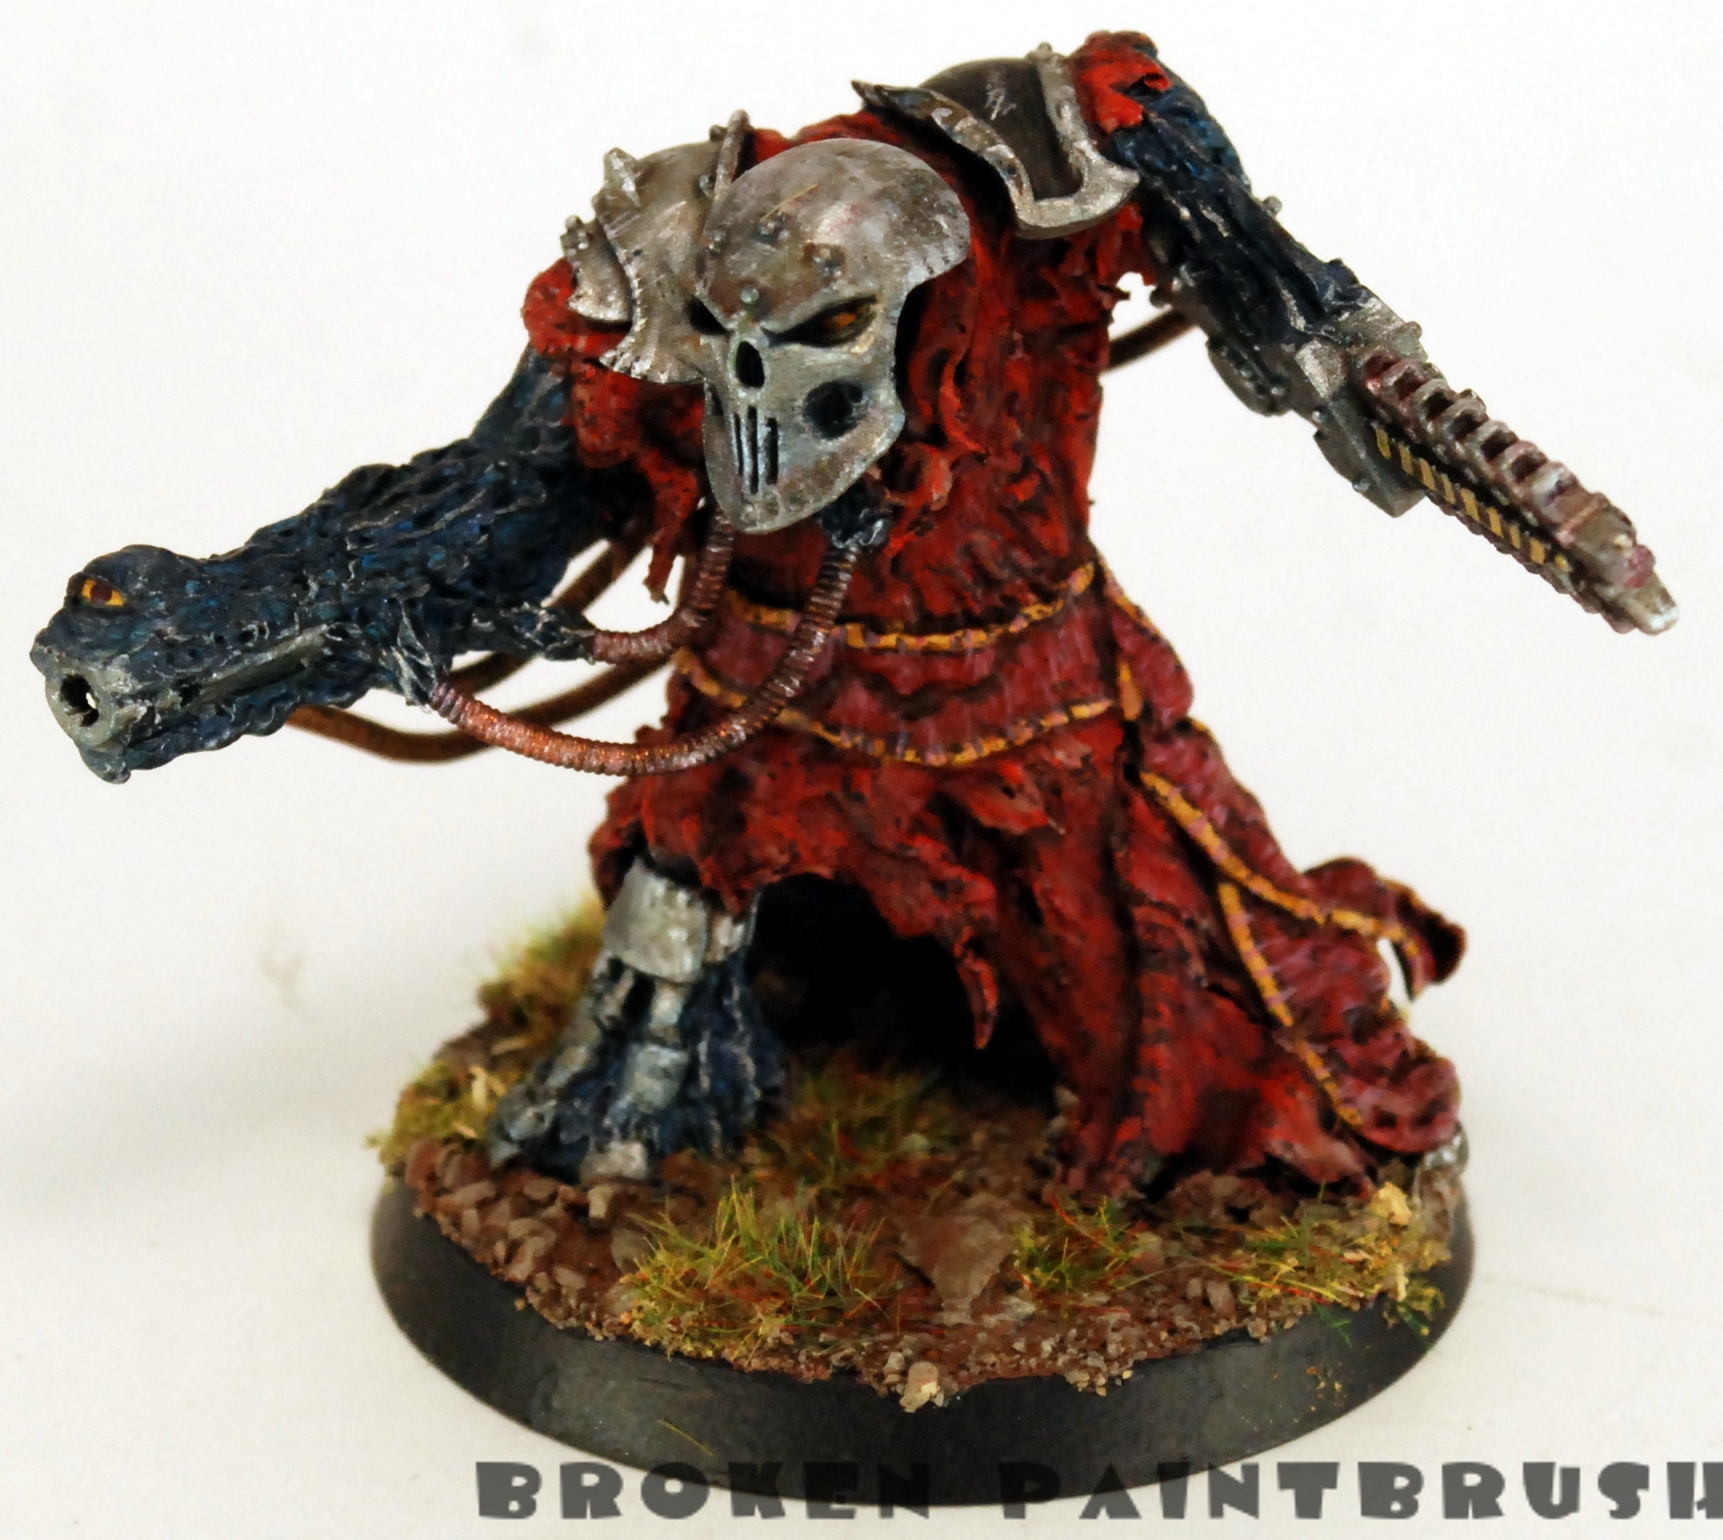
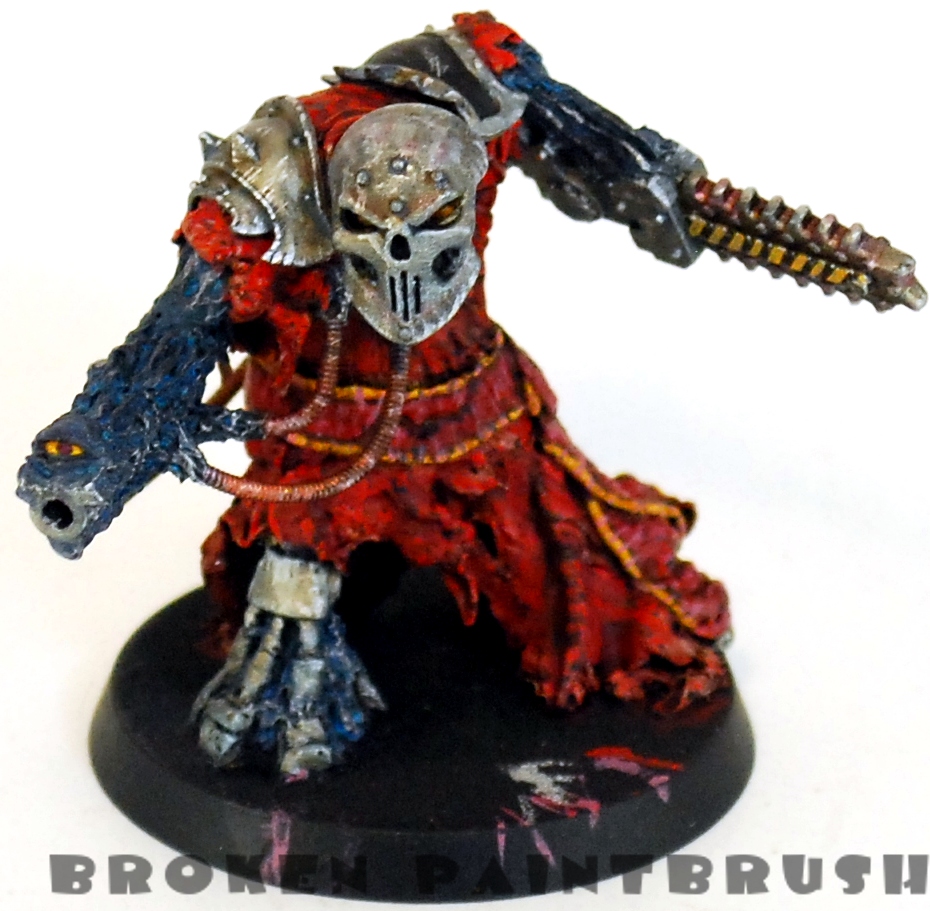
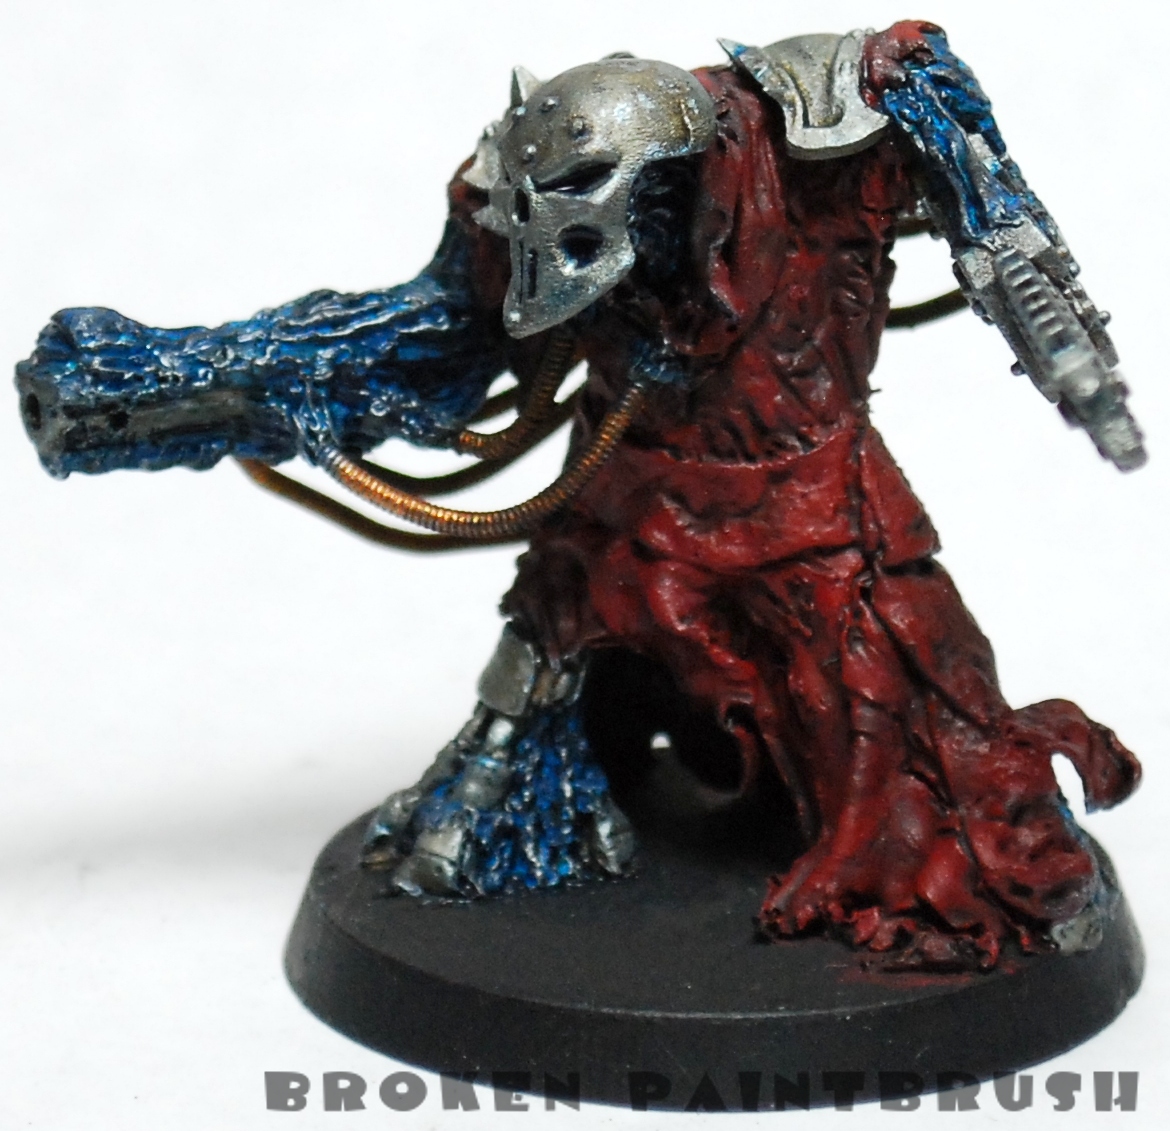
With some nice time off from work I was able to finish the Obliterator that I had sculpted. Paint wise there wasn’t much left to do, just some touch-ups and finish the base. The skull mast came from the defiler kit, the chain arm from the sentinels, and the shoulder plates from the marauders. I spent a lot of time trying to blend the organic, blue tissue into the metal by high lighting the flesh with silver tones and washing the metal with blue. I had also started the second obliterator a few days ago while waiting for some paint to dry. For Christmas my wonderful wife got me a package of Procreate Putty which I have to say is a fantastic alternative to green-stuff. The procreate is not nearly as sticky as green stuff is but adheres very well to the model. It is also stiffer than gs which made creating the robe much easier as I didn’t have to ‘paint’ super glue onto the end of the tatters to keep them in place. Here is …

WIP Sculpted Obliterator - part 4

My First Sculpt Pt 4: An Obliterator – Long Over Due Post

So it has been a while since I picked up the brush… well continuing on then. Did some more details on my Obilterator which brings him to a nearly finished state. I still need to finish the base and perhaps something more on the robe, but not yet sure what. I had thought about adding the XIV to the shoulder plate but remembered that oblits don’t have an allegiance and just fight for who ever pays them the best. Instead I opted for the yellow chevrons on the chain blade to tie in with the rest of my army. I was struggling with separating the sash and robe since they are supposed to both be red. I have tried using different temperatures of red along with the yellow border to separate them. The sash was highlighted and shaded with cooler shades of red, the highlight was almost more blue than red actually. The robe used warmer shades of red to highlight and shade. I’m not sure if I like how it turned out, but perhaps it is just that the robe doesn’t …

WIP Obliterator Sculpt 9 - Blue Painted

My First Sculpt Pt 3: An Obliterator – Base Coat Done

Spent some time painting the Obliterator. After priming it black, it is amazing how all the details (and mistakes) pop out. I then did the base coat of all the colors to block it out. Mechrite Red for the robes, Mithril Silver to the steel, Dwarven Bronze for the piping, and Ice Blue for the metallic flesh. The whole model was then washed with Devlan Mud.  The blue ended up looking nasty, dirty bubble gum, but thats ok since I will be repainting it anyway. Which I did next. I wanted to try a blue, lava-like texture that blends into the metal. Not sure of the result, it looks too shiny. Any ideas for fixing it? Next up is the red robe, which will the much more difficult piece to paint as I am hoping to do some freehand trim.

WIP Sculpted Obliterator - 4

My First Sculpt Pt 2: An Obliterator – sculpt nearly finished

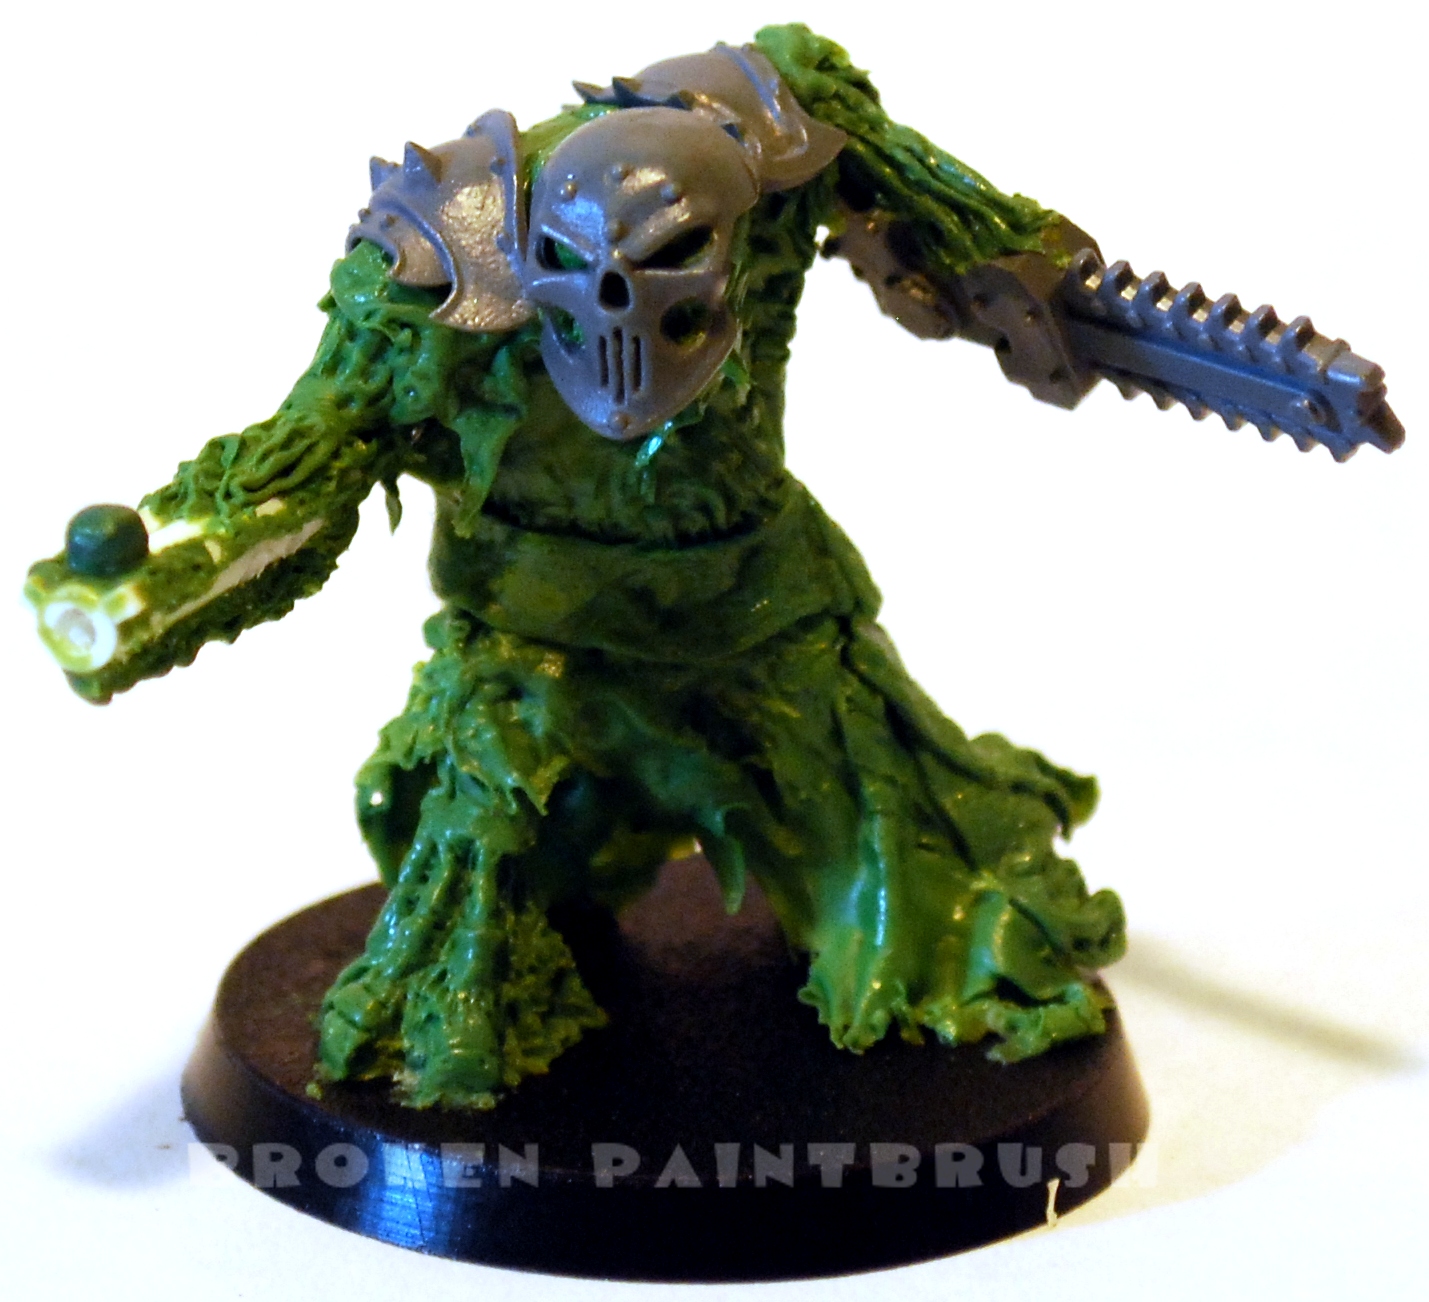
Got some more work done on my Obliterator sculpt. I filled in more of the front foot by adding pistons to each of the toes. I also added the upper robe and shoulder blades from the Fantasy Chaos Knights box. The ball on the end of the gun will shortly become an eye ball. Also need to add the wiring from the arms to the back. I also photoshop’d the image to get an (rough) idea of what the coloring will look like. I’m not sure how I’m going to paint the flesh-metal but it will probably be a dark gray or purple, any ideas would be appreciated 😉