All posts filed under: Finished Works

Once I finish a model or unit I will post pictures here

Defiler Pictures

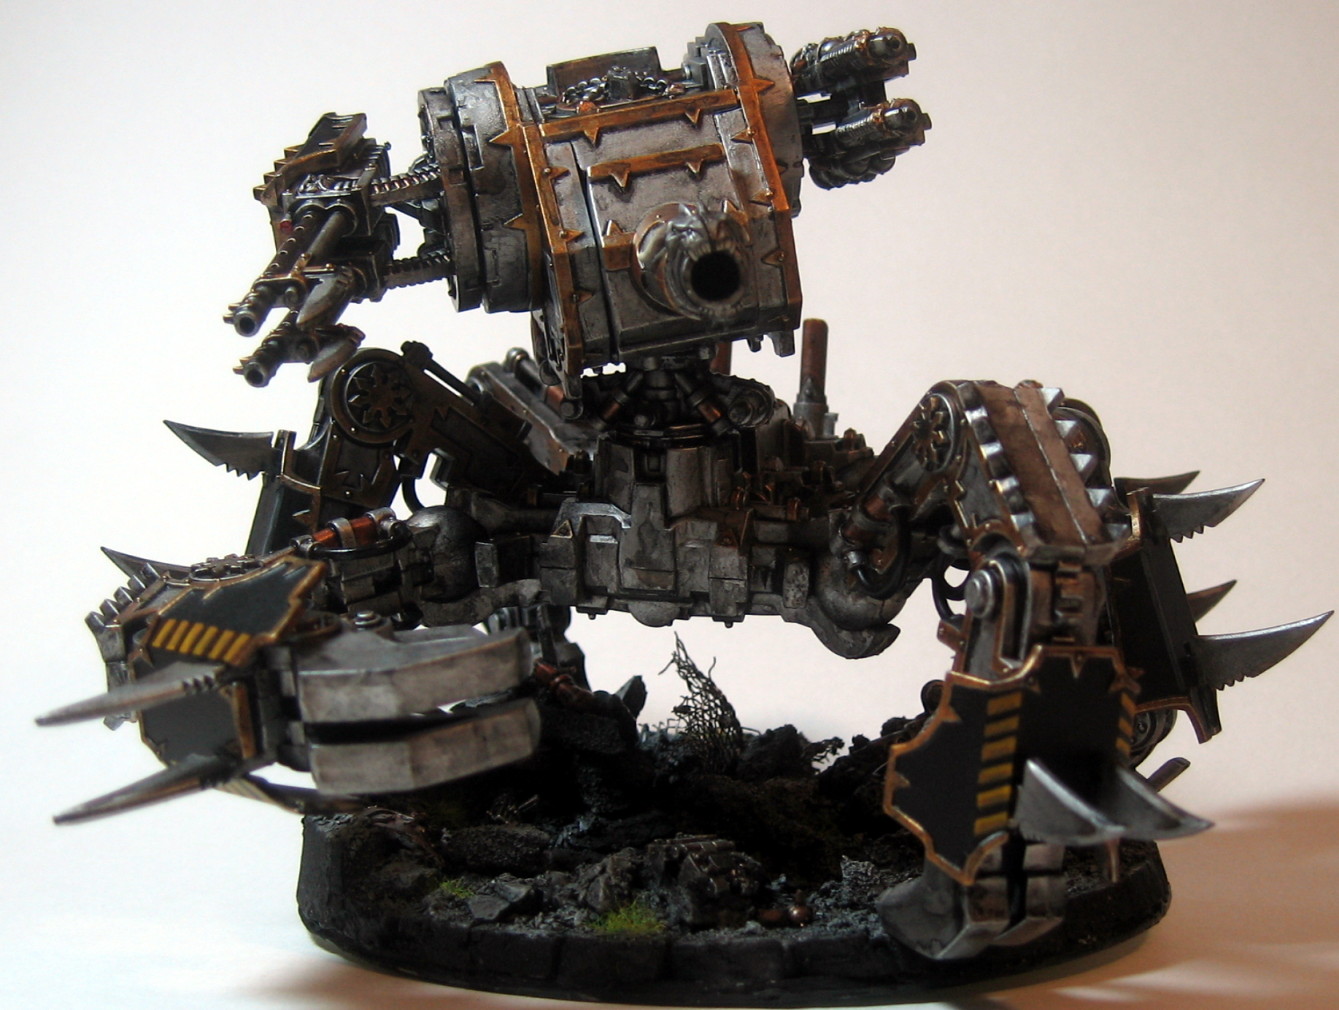
Finally, here are the pictures of my Iron Warrior Defiler. I entered this two weeks ago in a painting competition at my local GW store. This didn’t place, but I had a great time painting it (and the competition gave me a good excuse to finish it!). I didn’t do much conversion to the model, but I did build up a base for it from an old CD. Now that this model is finally built and painted I need to get him into a game and blow away all those silly loyalists! The guns are magnetized so if I later decide to go dual close combat arms or replace the flamer with a havoc, it will be a snap I also tried to magnetize the torso to the legs but it was too heavy for my little magnets so I had to pin it. The top still comes off for storage and transportation, but it can’t rotate during a game. The base is an old CD that I glued a layer of pink Styrofoam onto. …
Traitor Guard Basilisk Squadron – The Moirae

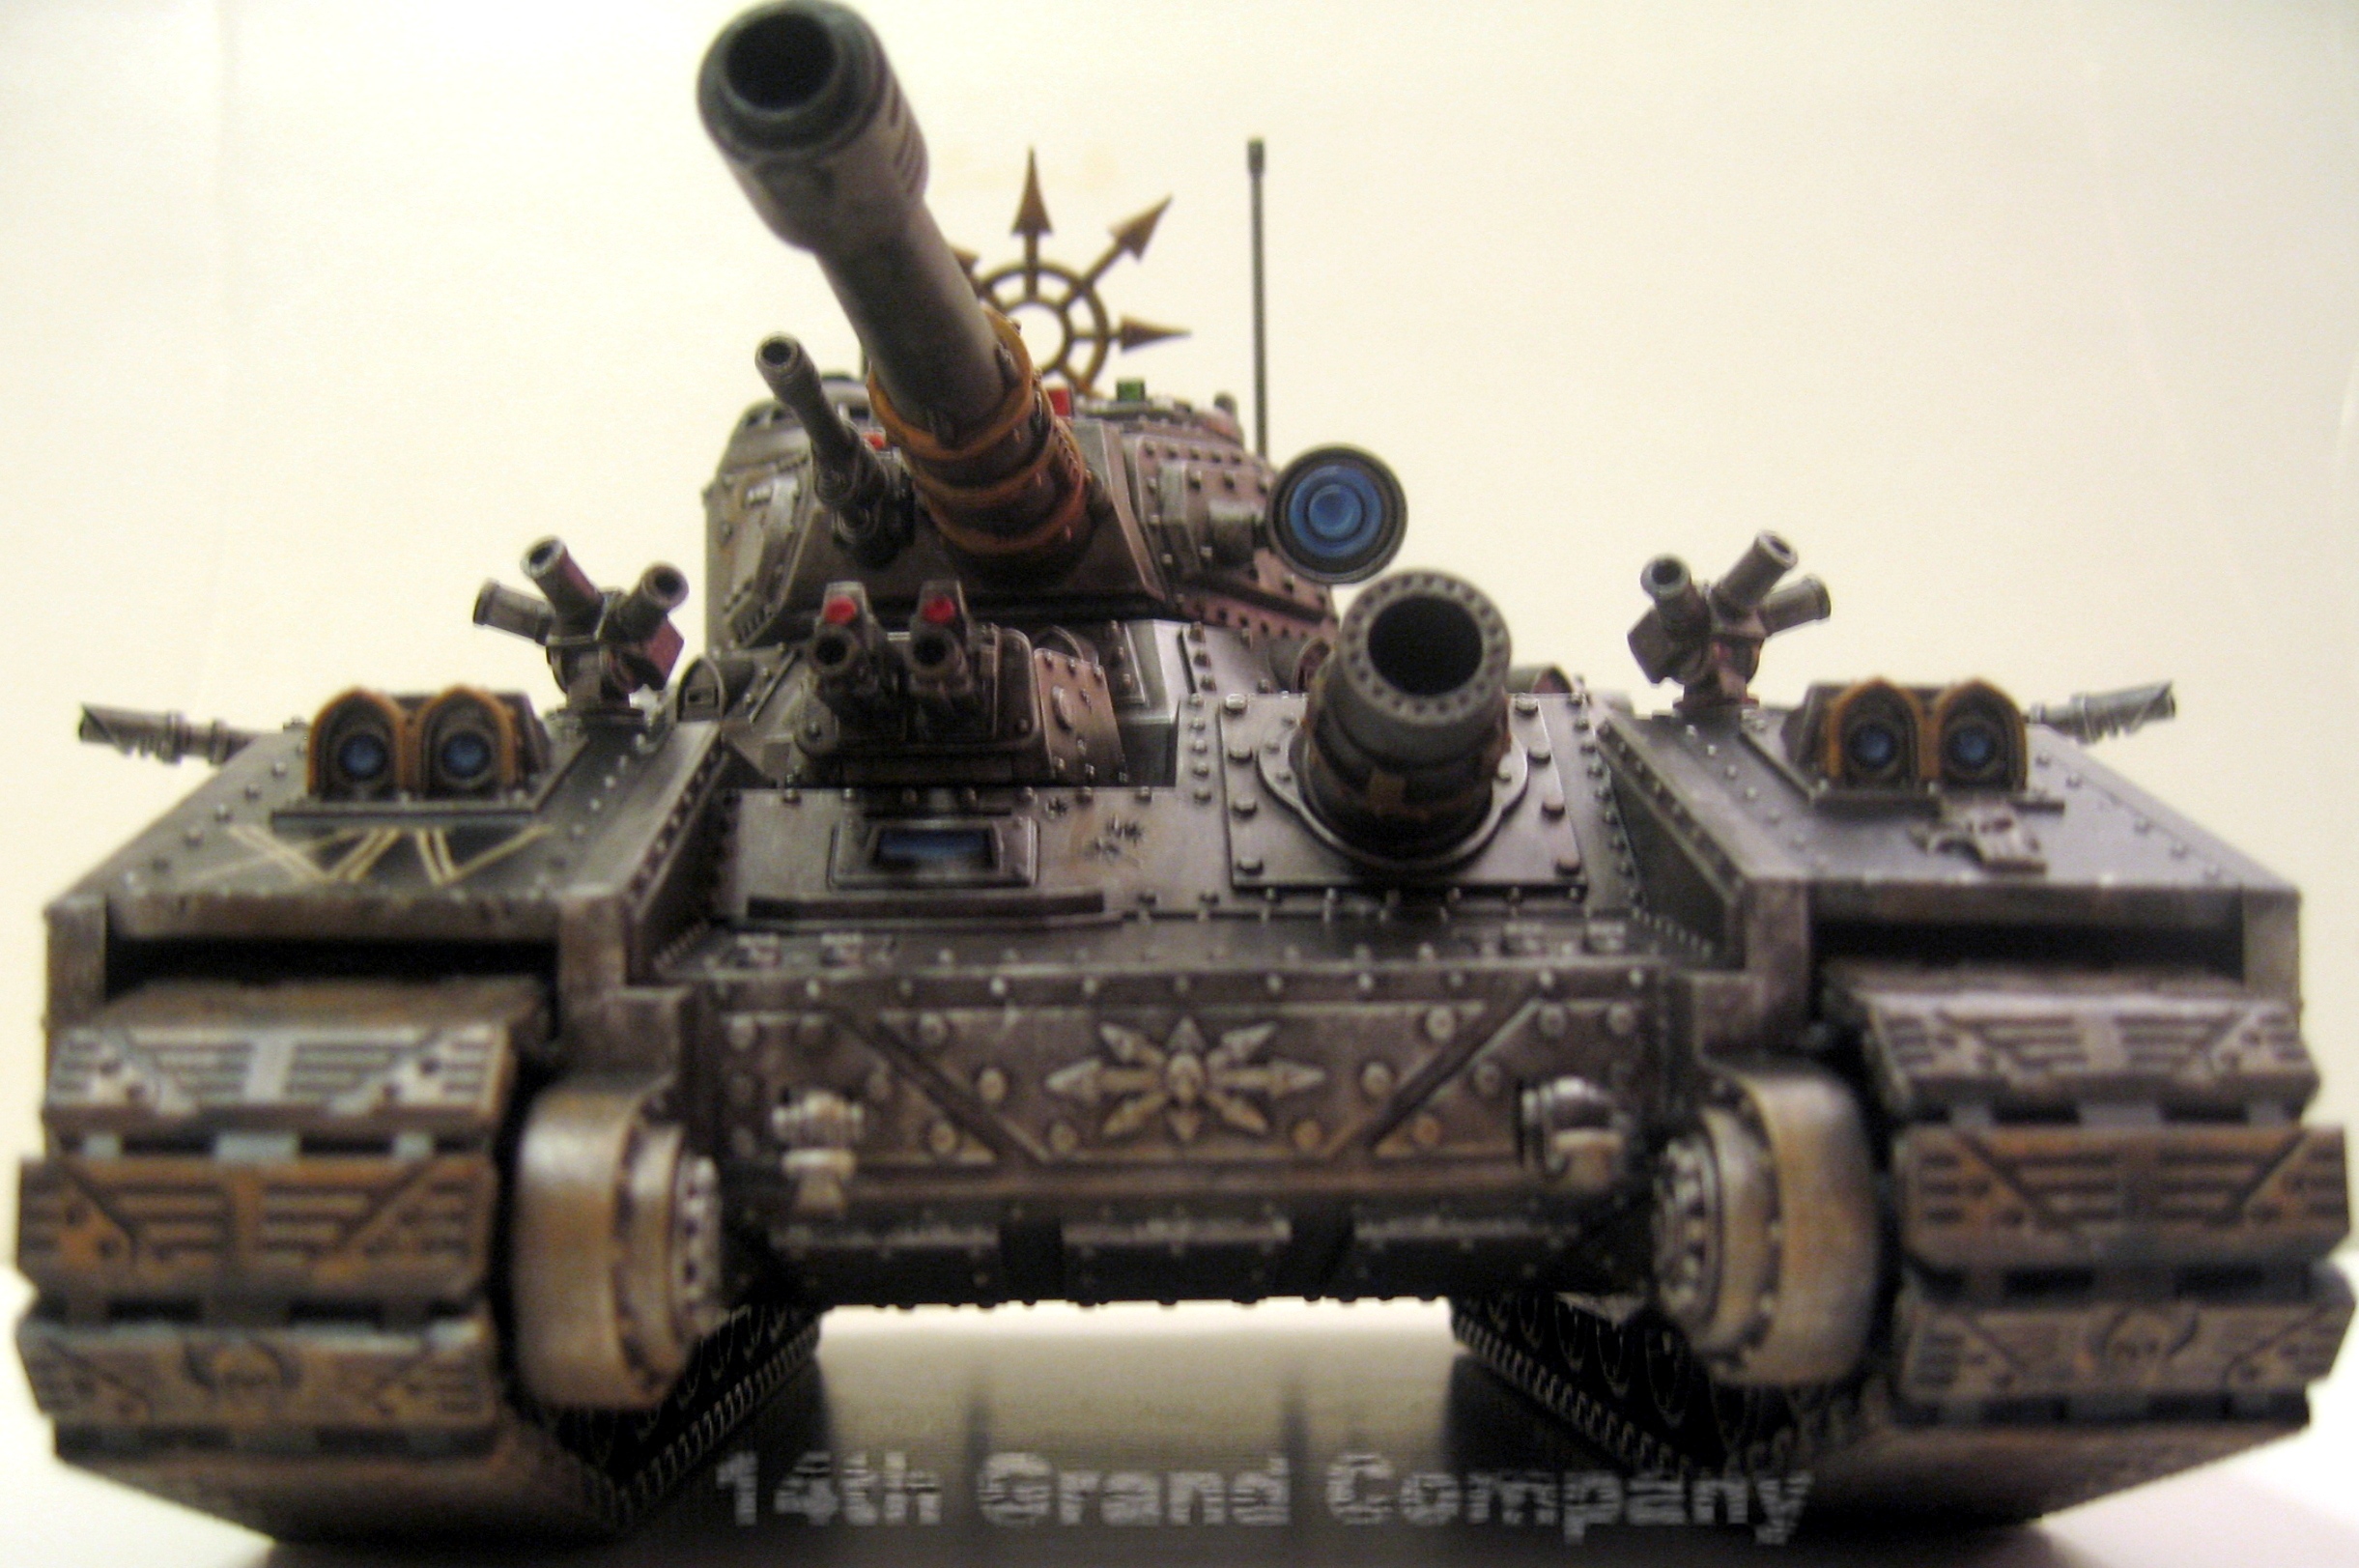
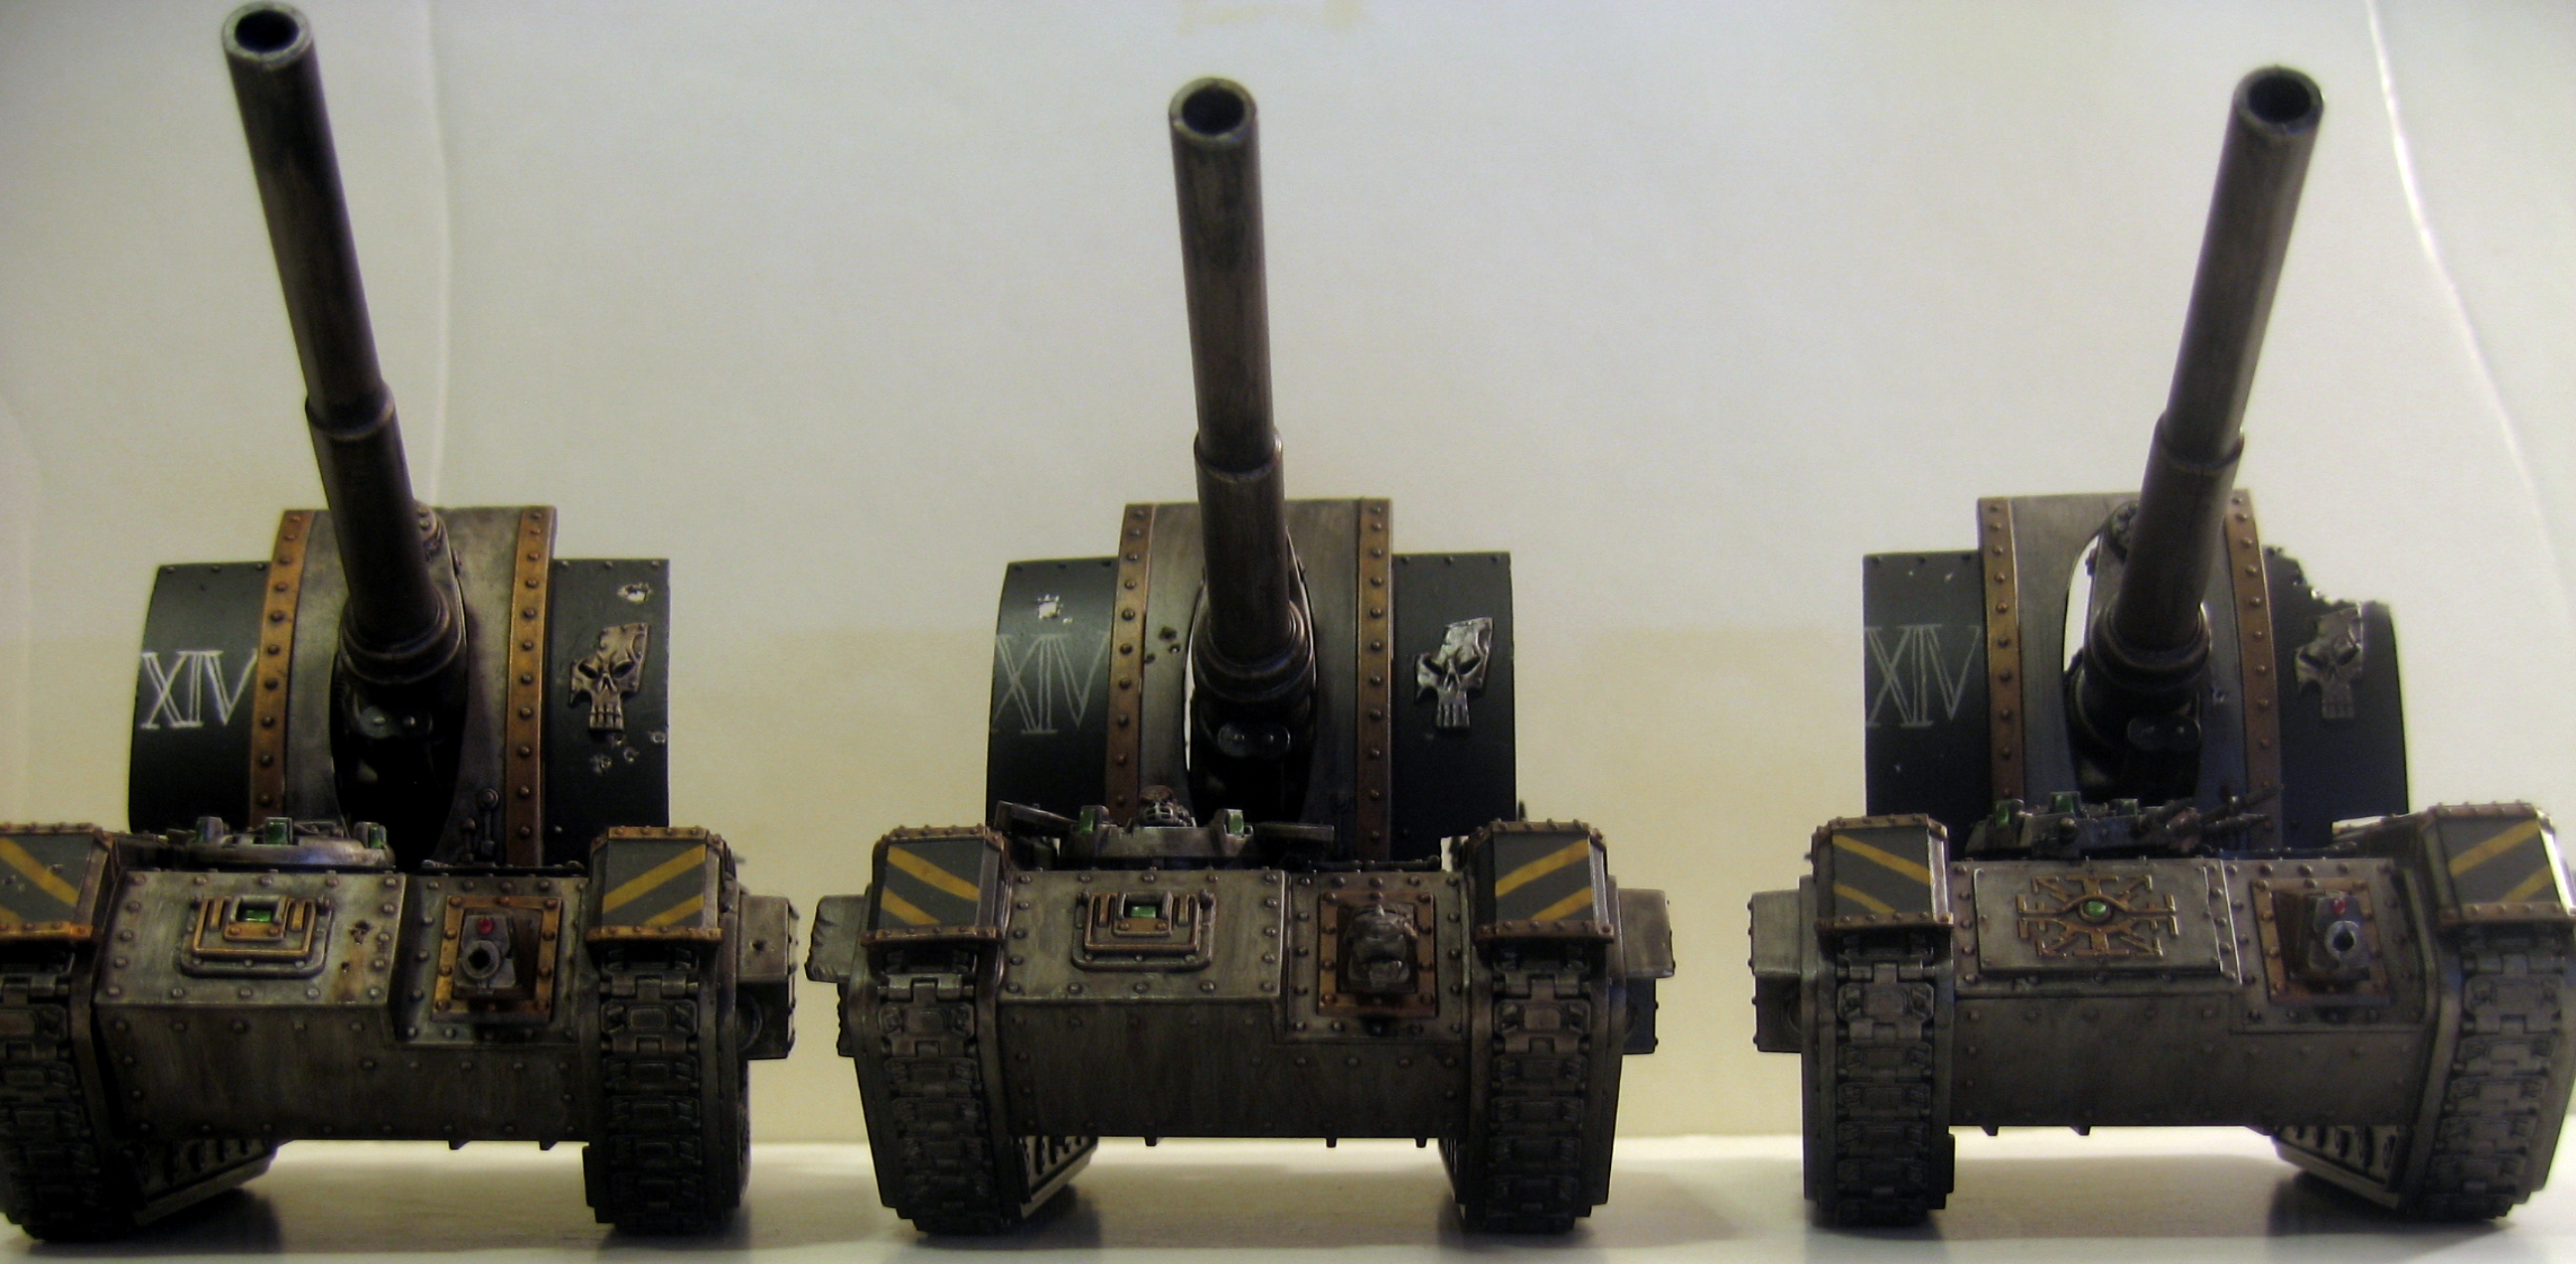
What would Iron Warrior army be complete without some good artillery pieces to pummel the foe? Presented here is my traitor guard basilisk squadron, The Moirae. These tanks were from a prize giveaway at the local Games Workshop Store during the Apocalypse Reloaded release. They have made a great addition to the 14th Grand Company and inspired me to build up a full traitor guard army. Atropos won a mini golden demon award at the local battle bunker, and the full squad won a painting competition at the local store. They have also served the War Smith well in two  Apocalypse games raining death upon the foes. I painted them in my Iron Warriors color scheme and made adjustments to the Imperial iconography throughout the tanks. Taking the X-Acto to the tank, I removed the Aquilas and added a few touches of Chaos instead. Clotho is the designated command tank as fitting with the evil commissar enforcing his rule. I had fun building up the gunner crew out of a mix of Cadians, Catachans, and heavy …

Raptors Picture

Obviously these are not based off of GW Raptor models for Chaos. I’m not a big fan of how those look and metal models are much harder to work with. I built my Raptors from a Space Marine assult squad with additional bitz from a CSM box, Iron Warrior upgrade bitz and Chaos Knights (fantasy range). I have decided to use the GW Iron Warrior shoulder pads for my entire army both because I like the looks of them and I don’t like using decals.

Capitan Nestryx

Captain Nestryx Pictures are here

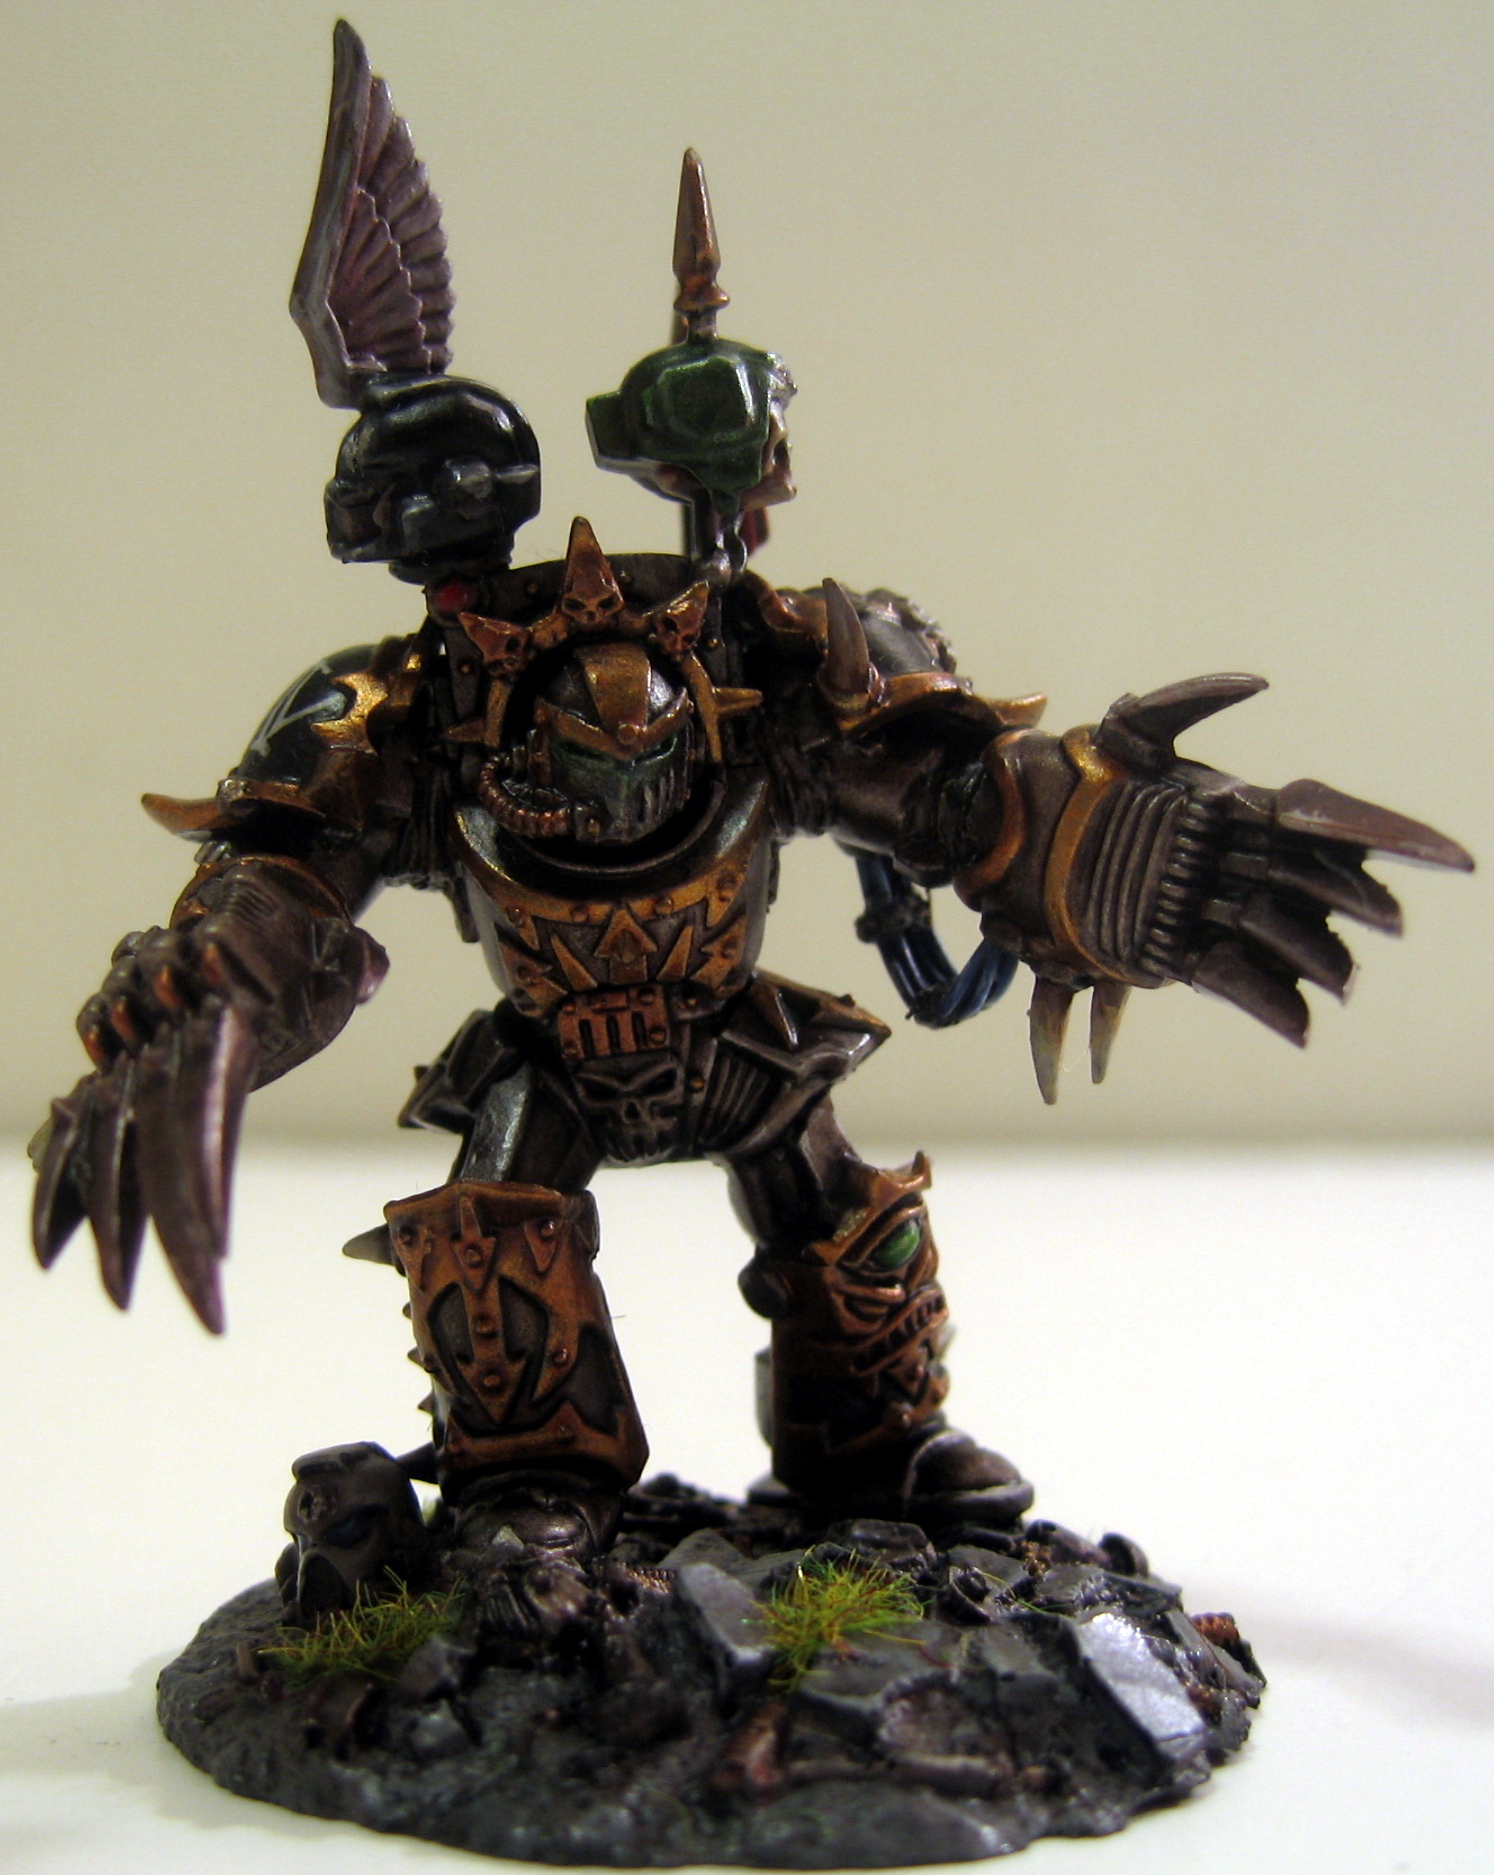
This is Captian Nestryx, commander of the assult forces of the 14th Grand Company. He marches to war in his Terminator Armour and dual lightning claws. As for conversion work on this model I used the Chaos Lord in Terminator Armour kit and used the two lightning claws in the box. I didn’t like the position of the claws so I cut each hand at the wrist, turned is slightly and re-glued. To make this work I had to redo the power cables running to each hand. I made the new cables out of 5 pieces of plastic rod and wrapped with a thin strip of green stuff. I also used a head from the Iron Warriors upgrade bitz set. This required some sanding of the head and armour opening to allow it to fit, but it has a great result. The base is one of the ones included in GW’s basing kit. It is the same size as the normal base for Terminators so I just used it instead.

Land Raider Pictures

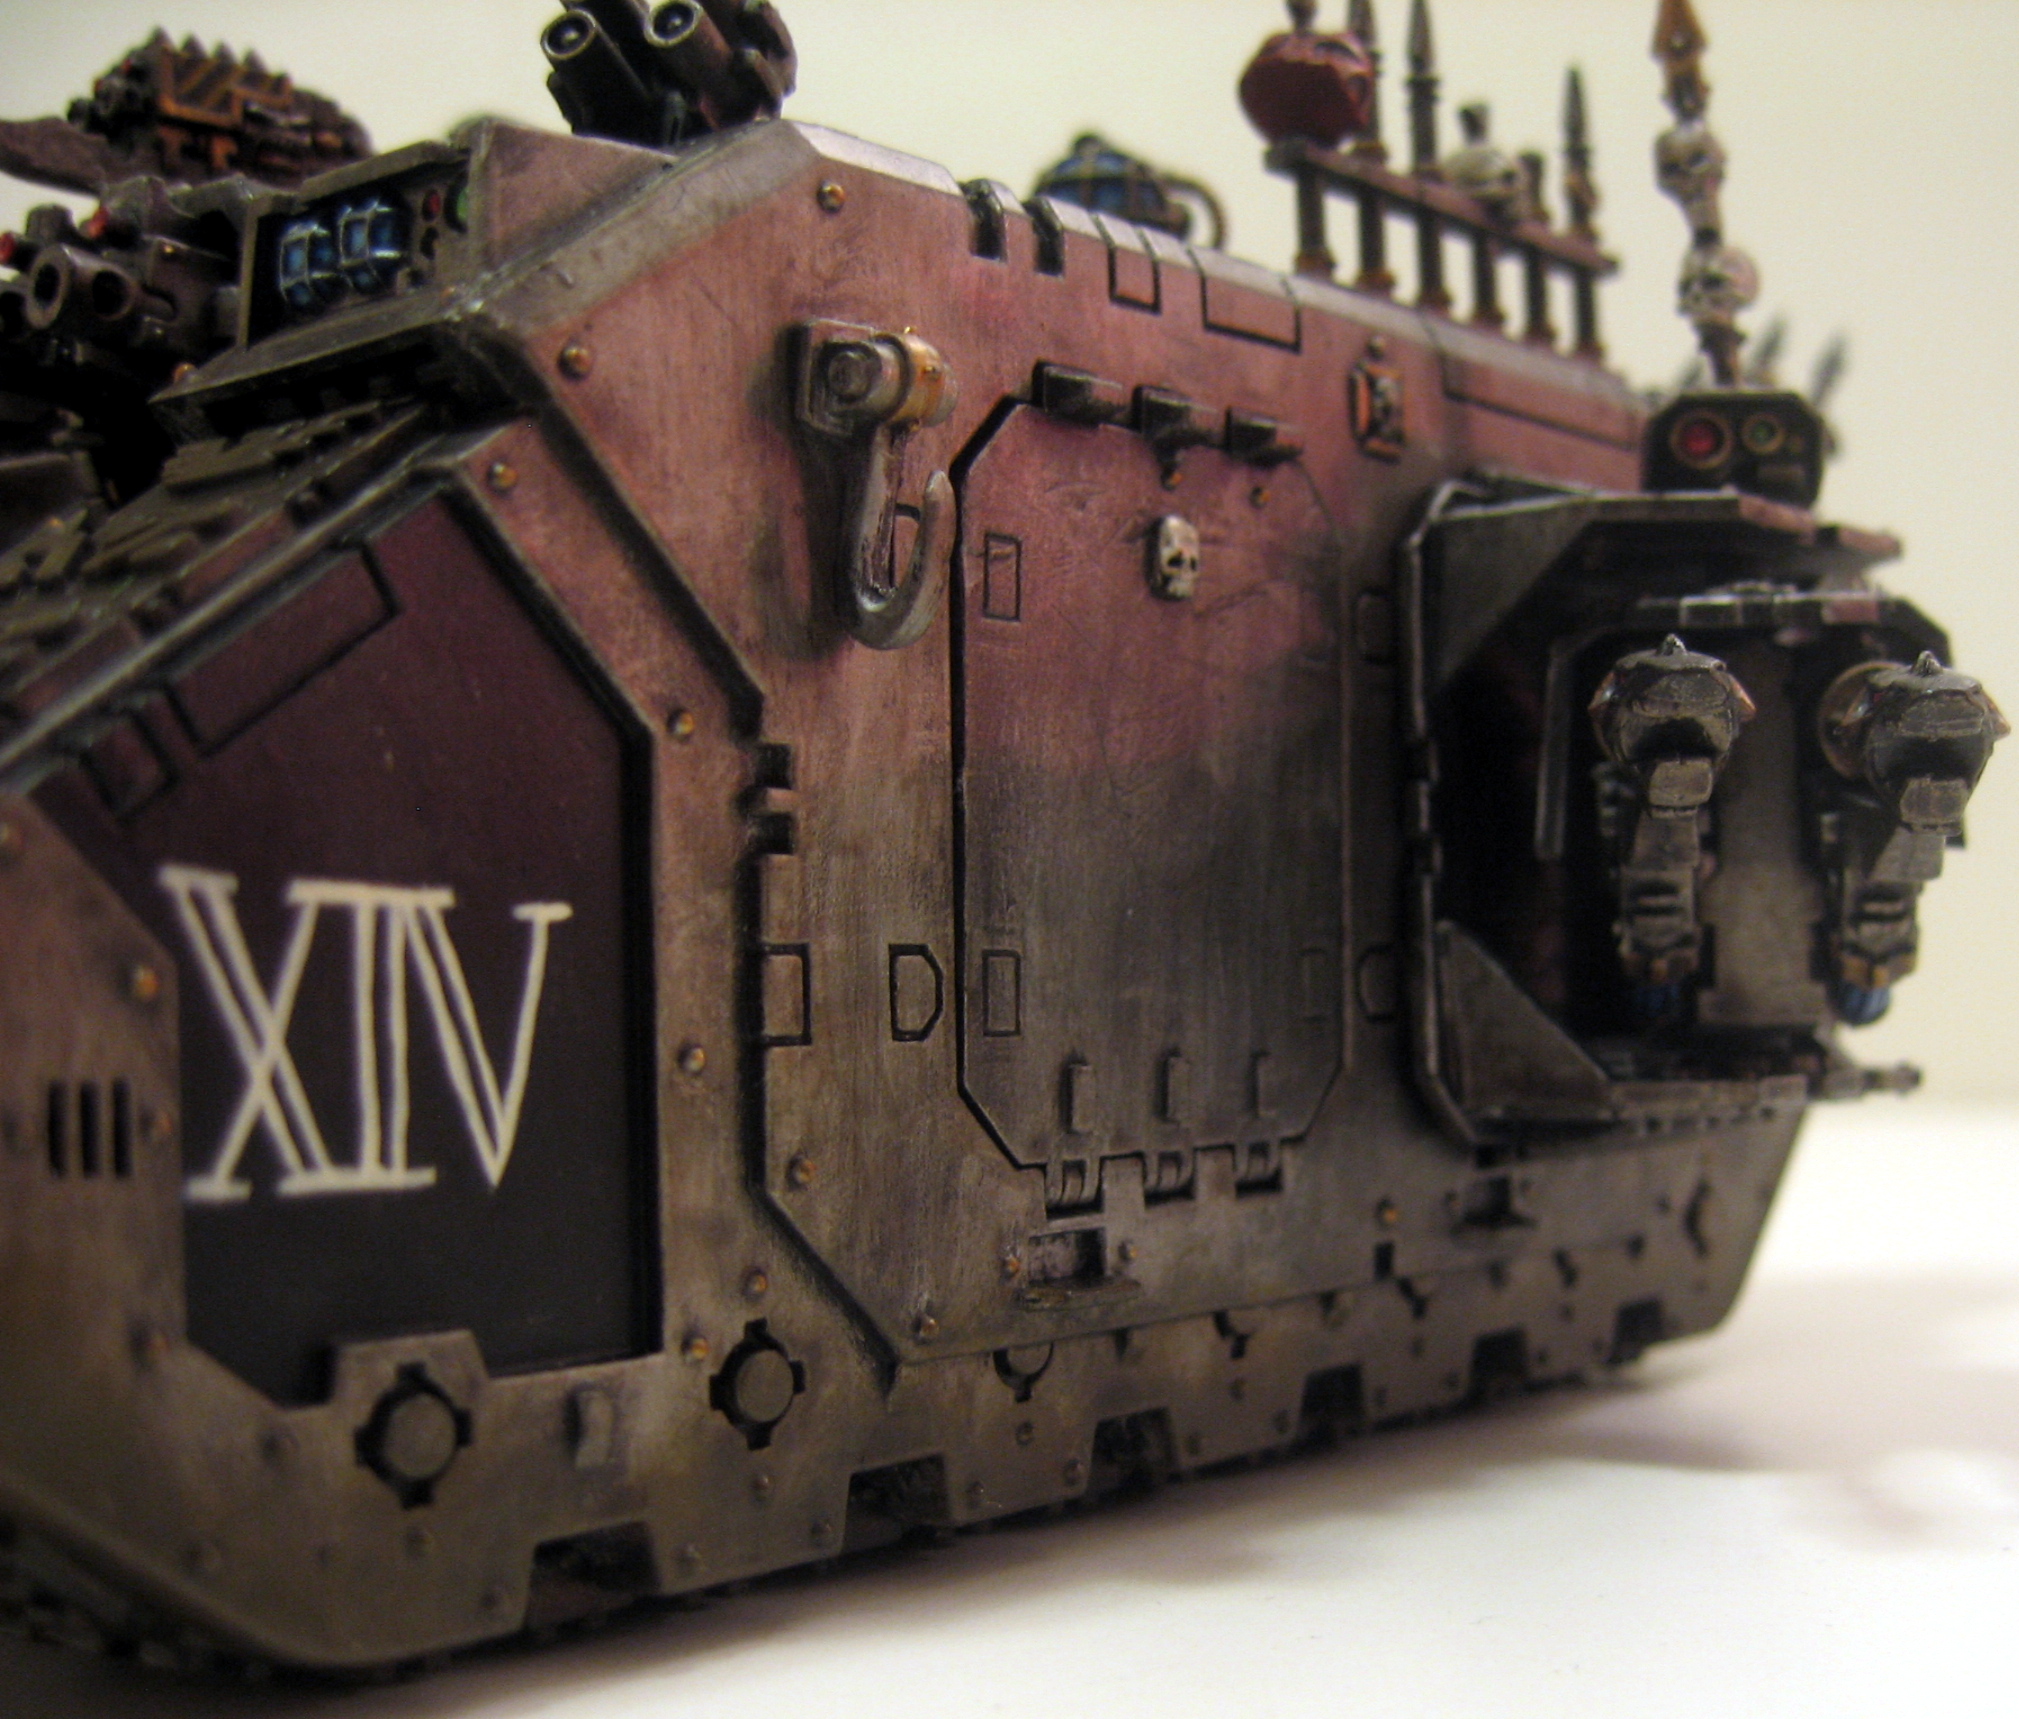
The Land Raider was a blast to put together and paint, it has so many  great details inside and out. The lascannon sponsons are magnetized to the hull so I could take them off. I painted the inside of the vehicle before gluing the top section on: The side access doors were also magnetized to show off the inside. There was very little modifications to the actual model other than adding some Chaos spiky bits and replacing the lascannon tips with the dragon heads.

Dreadnought pictures are here as well

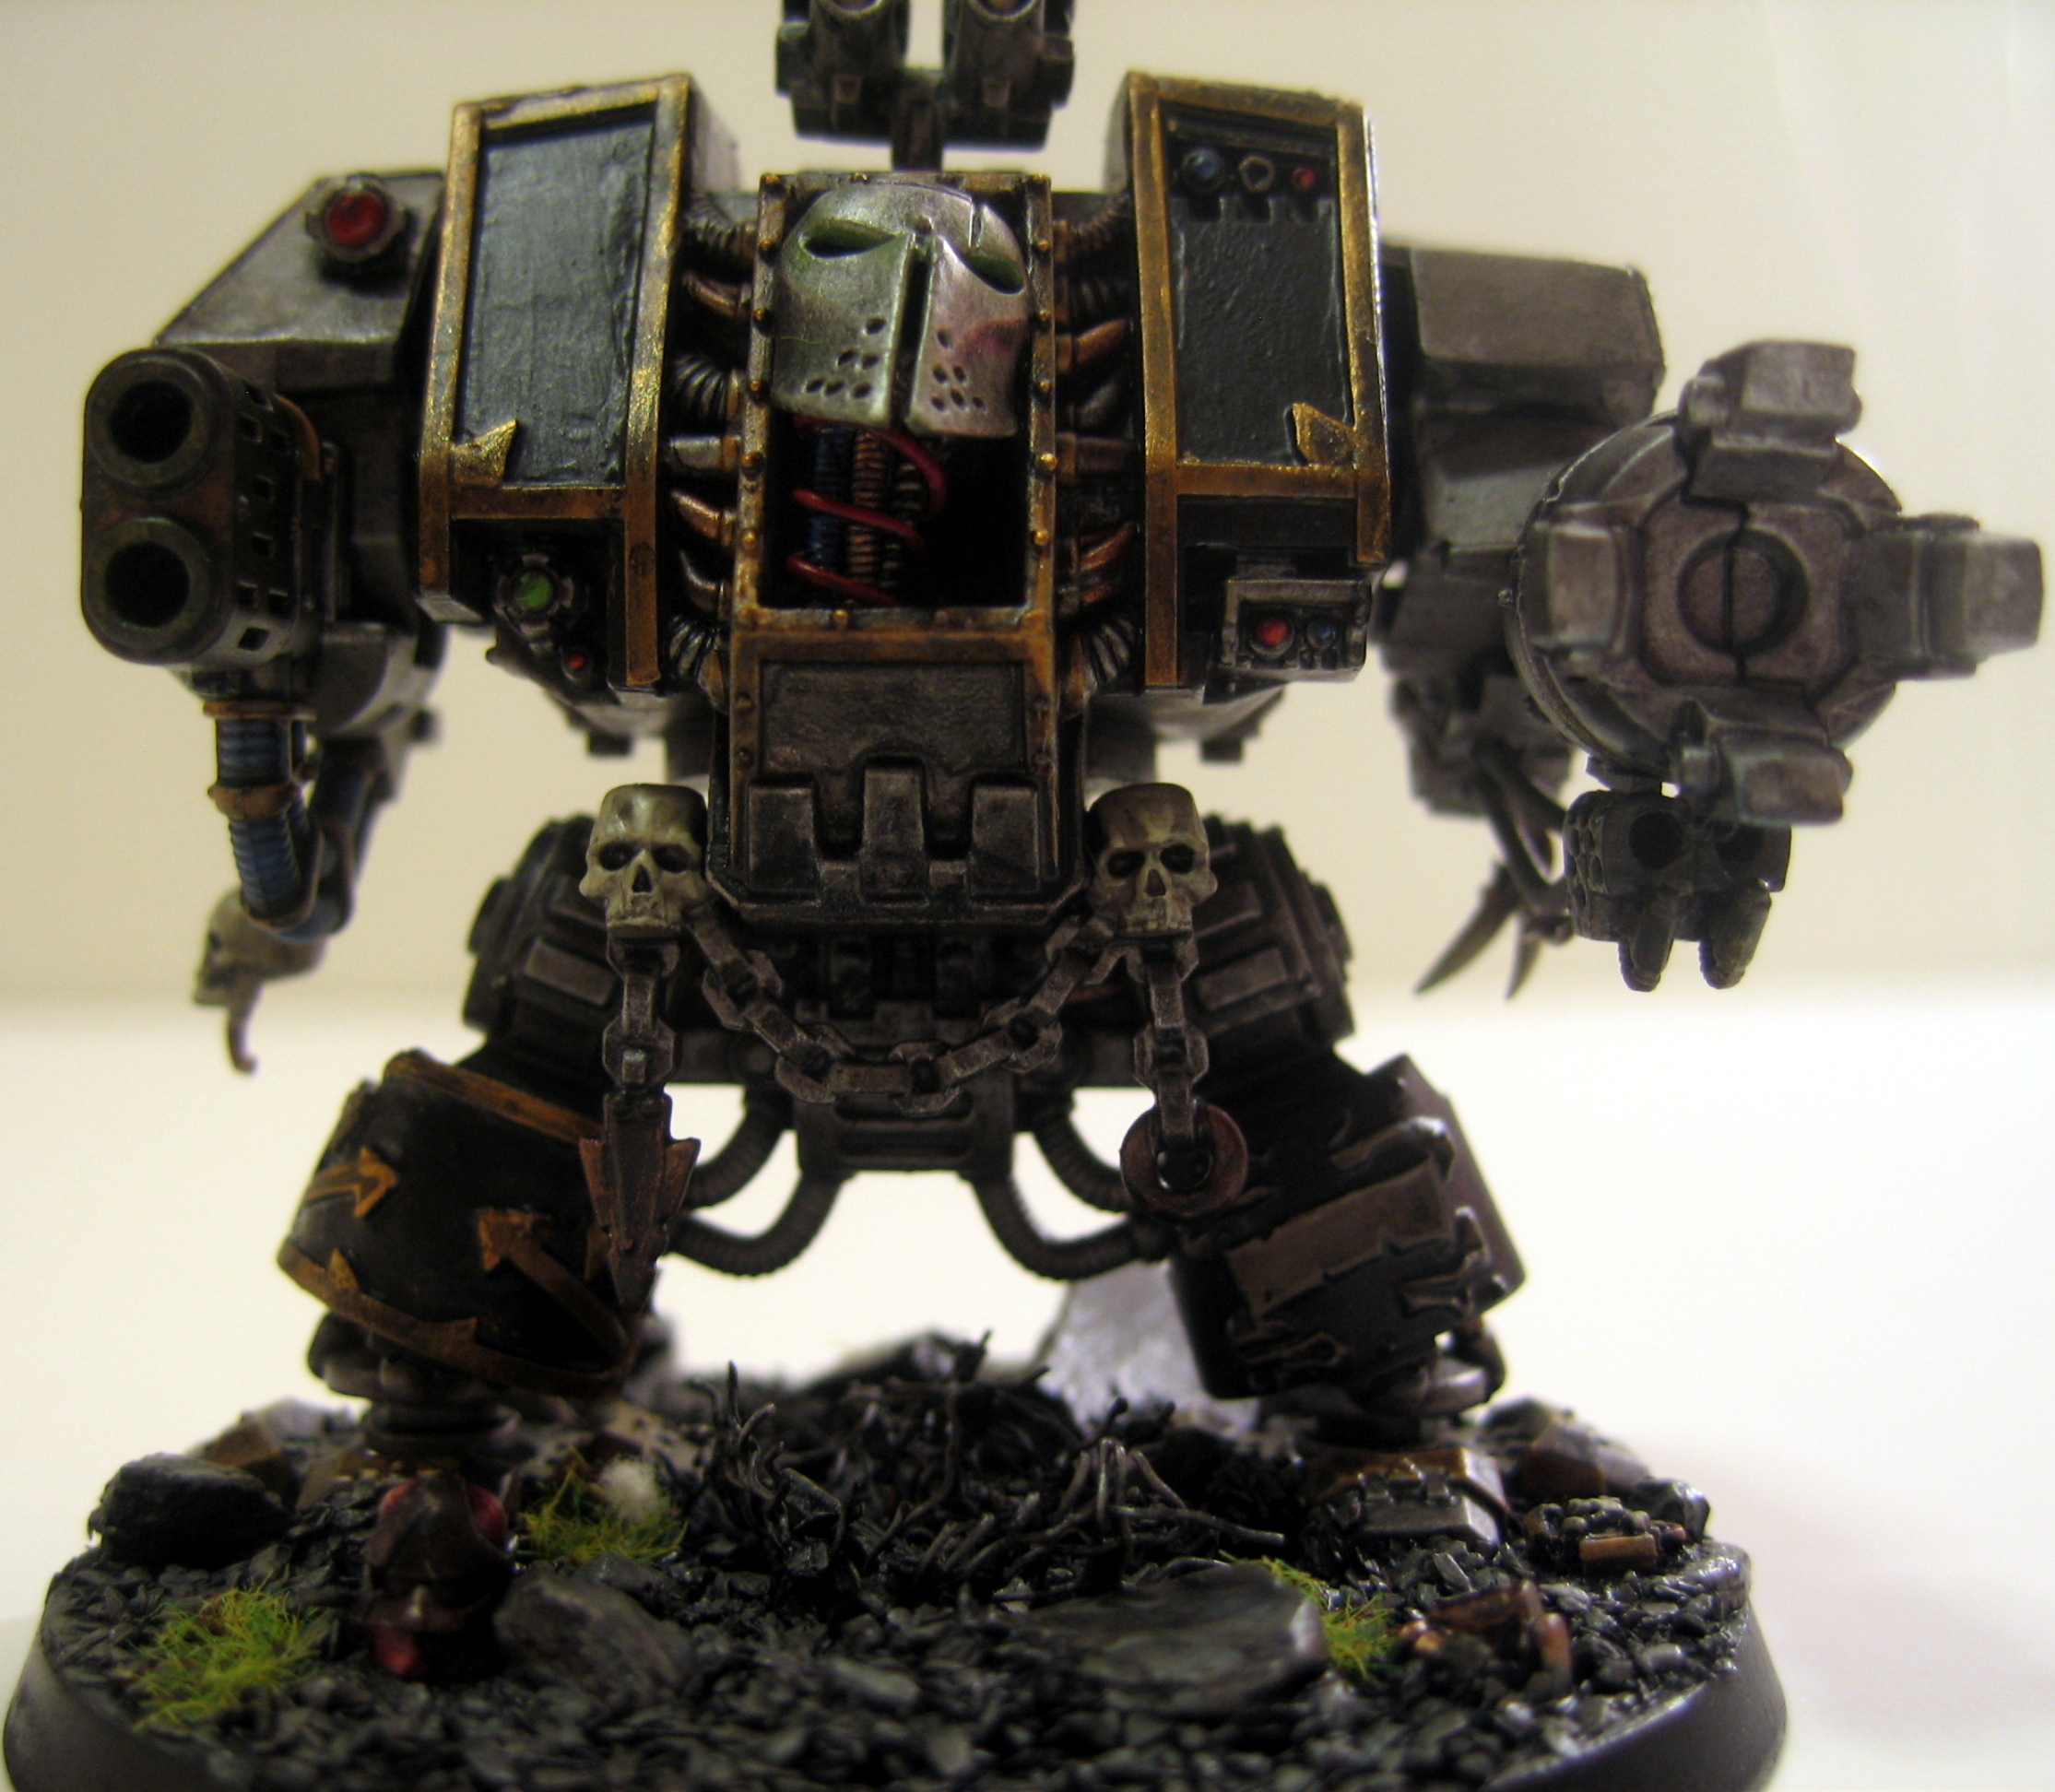
This dreadnought was originally from the Assault on Black Reach box set from GW but with some modifications. The most obvious is the head. I cut out the front plate and modified one of the masks from the Defilier kit. The wires hanging below are an assortment of guitar strings and small gauge wire. The another modification made is the added trim and stars. This was made with thin plasti-card strips cut to length and glued down.