All posts filed under: Tips and Tricks

Painting and hobby tips and tricks that I’ve picked up, use or found really helpful.

Learning from a paint & Sip

Learning from a Paint and Sip

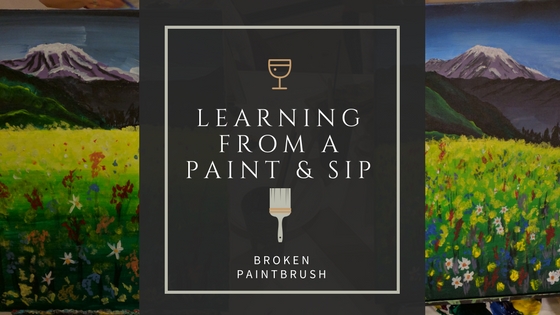
Recently I went to a paint and sip with my wife and found it amazing that twelve people, mostly with no painting skills, all managed to paint a great picture. It got me thinking about how we could apply some of the techniques to our own painting and tutorials. If you haven’t done one of these events, you show up to a room of empty canvases and a cool looking painting hanging at the front of the room. Each person takes a seat with a plate will the primary colors, white, and black paint, a couple of large brushes, and a cup of water. Over the next hour or two, the whole group is walked through each step and brush stroke to complete that same beautiful painting at the front of the room. This was the second of these type of events that I have done and I reflected on the remarkableness of it. I wanted to take away how the instructor was able to get so many people to accomplish works of art. I …
5 Steps to Create an Inspiring Creative Studio Space

5 Steps to Creating an Inspiring Studio Space in your home

Adding an artistic touch to your life can make a big difference considering the quality of your overall lifestyle. Therefore, having a place to commit to your own artistic ideals can mean a lot when days are busy and stressful. Also, depending on whether you’re a professional, semi-professional or an amateur artist, you’ll have to invest and organize this space accordingly. This guest post comes from Emma who is blogger based in Australia. While she comes from outside our hobby niche, she has some great insight on creating artisitc spaces and DIY. If you want to see more, check out the links to her bio at the bottom. For professionals, their own studio will act as their home office while those who enjoy such creativity as a hobby can recreate their own little sanctuary with few helpful pieces of advice. For hobbyists, a dedicated space reduces the barrier to getting some extra painting done and keeping the rest of the house happy. 1. Plan your budget The budget for your perfect studio space won’t be the same …

Advanced Photo Editing with Gimp

In the last article on Basic Editing with GIMP, I talked about cropping and using auto white balance tools. For many of my pictures, this gets me 80% of what I need. Today I will be going into more advanced photo editing using some of GIMP’s other tools. While I call them advanced, they are still relatively simple to do but require a bit more time and focus -thus adding in the advanced title. But I hope to display the steps in a fairly straightforward way that any of you could try at home and see what it does for your pictures. Watch the Video As I attempted to write up this tutorial and take screenshots, I realized much of this would be better suited to video, so I welcome you to the very first Broken Paintbrush video! All the text notes are written out below still so if you aren’t able to watch the video now, still feel free to read. As this is my first video tutorial, I would love your thoughts, either …

Basic Photo Editing using GIMP - Header

Basic Photo Editing with GIMP

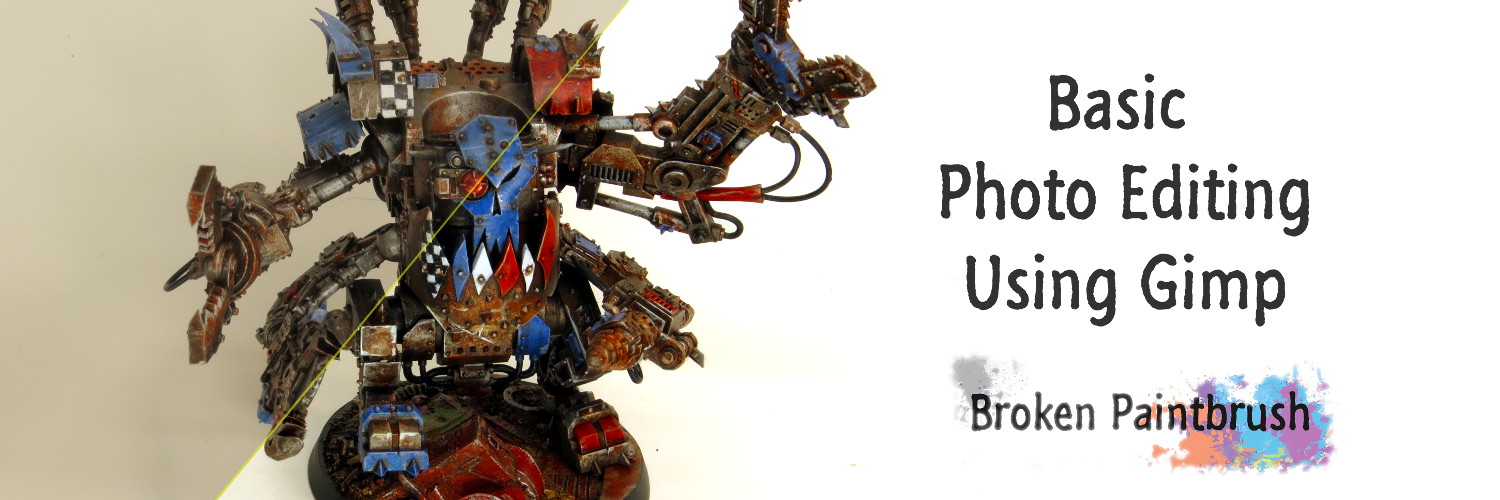
Today’s tutorial is a bit more technical in nature in that I am stepping away from the brushes and showing how basic photo editing can help show off the best your model has to bring. First off, this isn’t photo-manipulation to make your model ‘look better.’ But rather I will show you how I adjust the result of my point-and-shoot camera to make up for its limited abilities. Why Bother? Think of how many hours you spent applying careful layers and details to your latest model masterpiece. OK, maybe it was just a quick drybrush and Quickshade dip. Either way, you want to snap a few pictures to share with the online community, get featured in a hobby magazine, or be featured on Games Workshop’s Flickr feed. Here is an example from my archive of an Iron Warriors Warpsmith. Notice how he only fills about 20% of the image (forget about the darkness of it for a minute). Ok, so the Ork Deffdread below is a bigger model and able to fill in more of the image, …

25mm to 32mm Conversion Ring Review

25mm to 32mm Conversion Ring Review

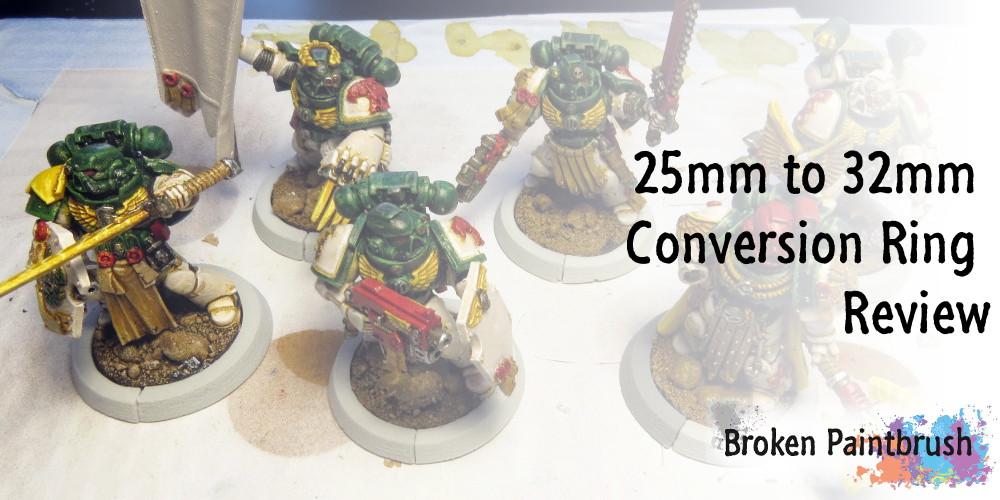
With Games Works change to Space Marine base sizes, I bought a set of Secret Weapon Miniatures 32mm Conversion Ring set to try out. I really like the end result, but the process was a bit of a pain so I figured it might be worth a tutorial post. As with any molded product it is first important to clean off any flash. The rings had a few sections of longer flash like the picture below, but overall were well done. The main area that needed trimming was the bottom edge of each piece so it didn’t interfere with the original base. Next up, I needed to drill out the hole a bit larger as it didn’t seem to be molded deep enough. I found a drill bit that fit within the hole and then used the xacto knife to round out the front edge. The big issue I had with the 32mm conversion rings are that they didn’t fit tightly against the base. To tighten it down a bit I sliced off a small …

Tale of Painters How to Paint Death Company

Good Reads 6 with a focus on painting tutorials

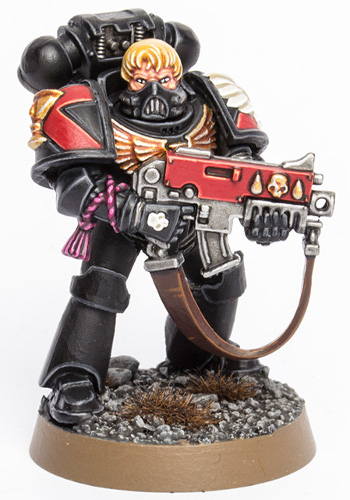
Now that moving is settling down and Nurgle’s plague has ravaged our house, I can get back to posting up some great blog articles I have found around the net. This week I’m trying something a bit different. Rather than using just posts from the last week I’ve been gathers them into different categories on Trello such as the one here for painting tutorials. I’m hoping this does two things: reduces the stress on me to post every week, and provide more focused reading for my readers. Let me know what you think in the comments below. Let’s start off with Tale of Painters‘ How to Paint Blood Angles Death Company. Stahly has a great, very in depth tutorial on how he painted his Death Company marines. Black can be deceptively difficult to paint so his tutorial is helpful for any black armored soldier. Next up Adam on Sprue Grey has a great tutorial on painting his Farseer. Not only does Adam give some great tips on painting the robes and free-hand designs, he also provides some background …

Cool Tools Wet Palette

Cool Tools: Wet Palette

A tool you will hear from many different painters in our hobby is the mighty wet palette. As much as it sounds like the start of some juvenile joke, a wet palette is simple a container holding a sponge with a paper material sitting on top. The sponge is kept full of water which keeps the paper moist, and in turn keeps the paint sitting on the paper moist. The theory is that you can use the paper as your pallet and it will stay usable as long as the sponge stays wet. Using a Wet Palette Using a wet palette isn’t too different than using a normal palette in the sense you take your paint out of the pot/tube and place it on the palette. The difference is first wetting the sponge with a nice bath of water, enough to make the sponge soggy but not so much that you have free standing water in your container. The paper material is then placed on top and allowed to soak. It is often advisable to flip …

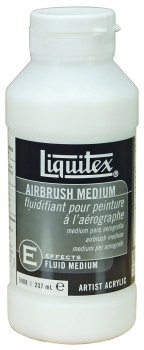
Liquitex Airbrush Medium

Cool Tools: Airbrush Medium

One of the tips that nearly every Intro to Painting starts with is: thin your paints. It makes sense, the paint pots are fairly thick for one reason or another and painting straight onto your mini can create a thick coat, covering fine details. So what does everyone do? They add a drop or two of water, stir it in and make it work. When GW introduced the Lahmian Medium technical paint it opened a whole new world for me in terms of thinning paints, without making them watery. Adding a bit of medium would dilute the pigment a bit, but wouldn’t turn the paint into a watery, uncontrollable soupy mess. After using up my first pot of the medium I released that $4 for a little little 12ml bottle would quickly kill my painting budget. I then found a bottle of acrylic matte medium at a local painting store and thought I hit the jackpot. It only cost a few bottles of Lahmian but was way bigger. I quickly realized though that artist matte medium is …

Using Trello For Hobby Progress

Using Trello to Organize my Painting Hobby

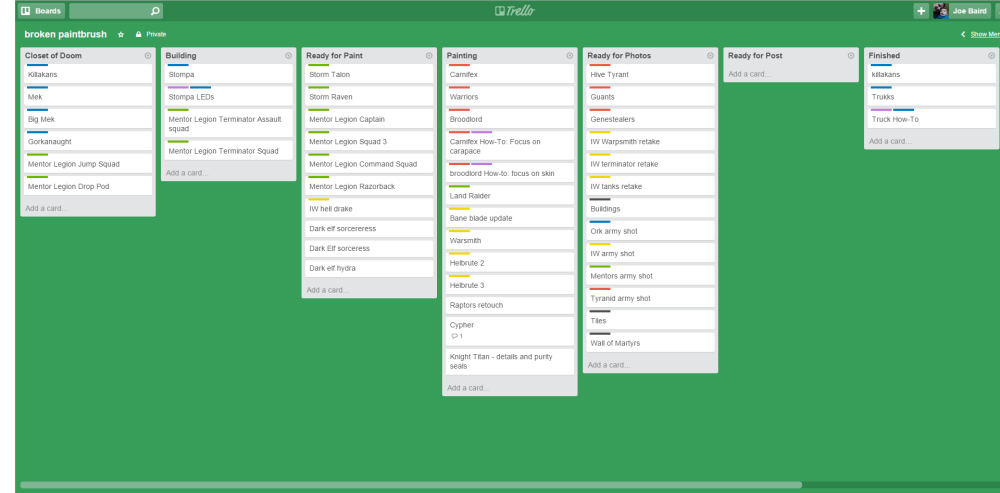
The Problem So I have noticed over the years that I am a hobby butterfly – much like many of you out there – especially the great Mordian7th :-) But as my life is getting busier between work, my son, grad school, and other projects I have been trying to get some organization to my progress. So I want to share how I am using Trello to organize my painting hobby and make sure I keep posts ready for this blog. I’ve tried the excellent painting charts made famous by Mordian and Admiral Drax using Excel and color charts, but it ended up being more work for me to know when something was ‘almost done,’ ‘done,’ and posted to the blog. It apparently works for them, but I needed something a bit simpler and general – as I have multiple projects going at once (as you can see in the picture above!). Using Trello to Organize my Painting Hobby For some of my other projects, I started using a tool called Trello that organizes your tasks into cards that you …

Death Skull Ork Trukk

How to Paint an Ork Trukk

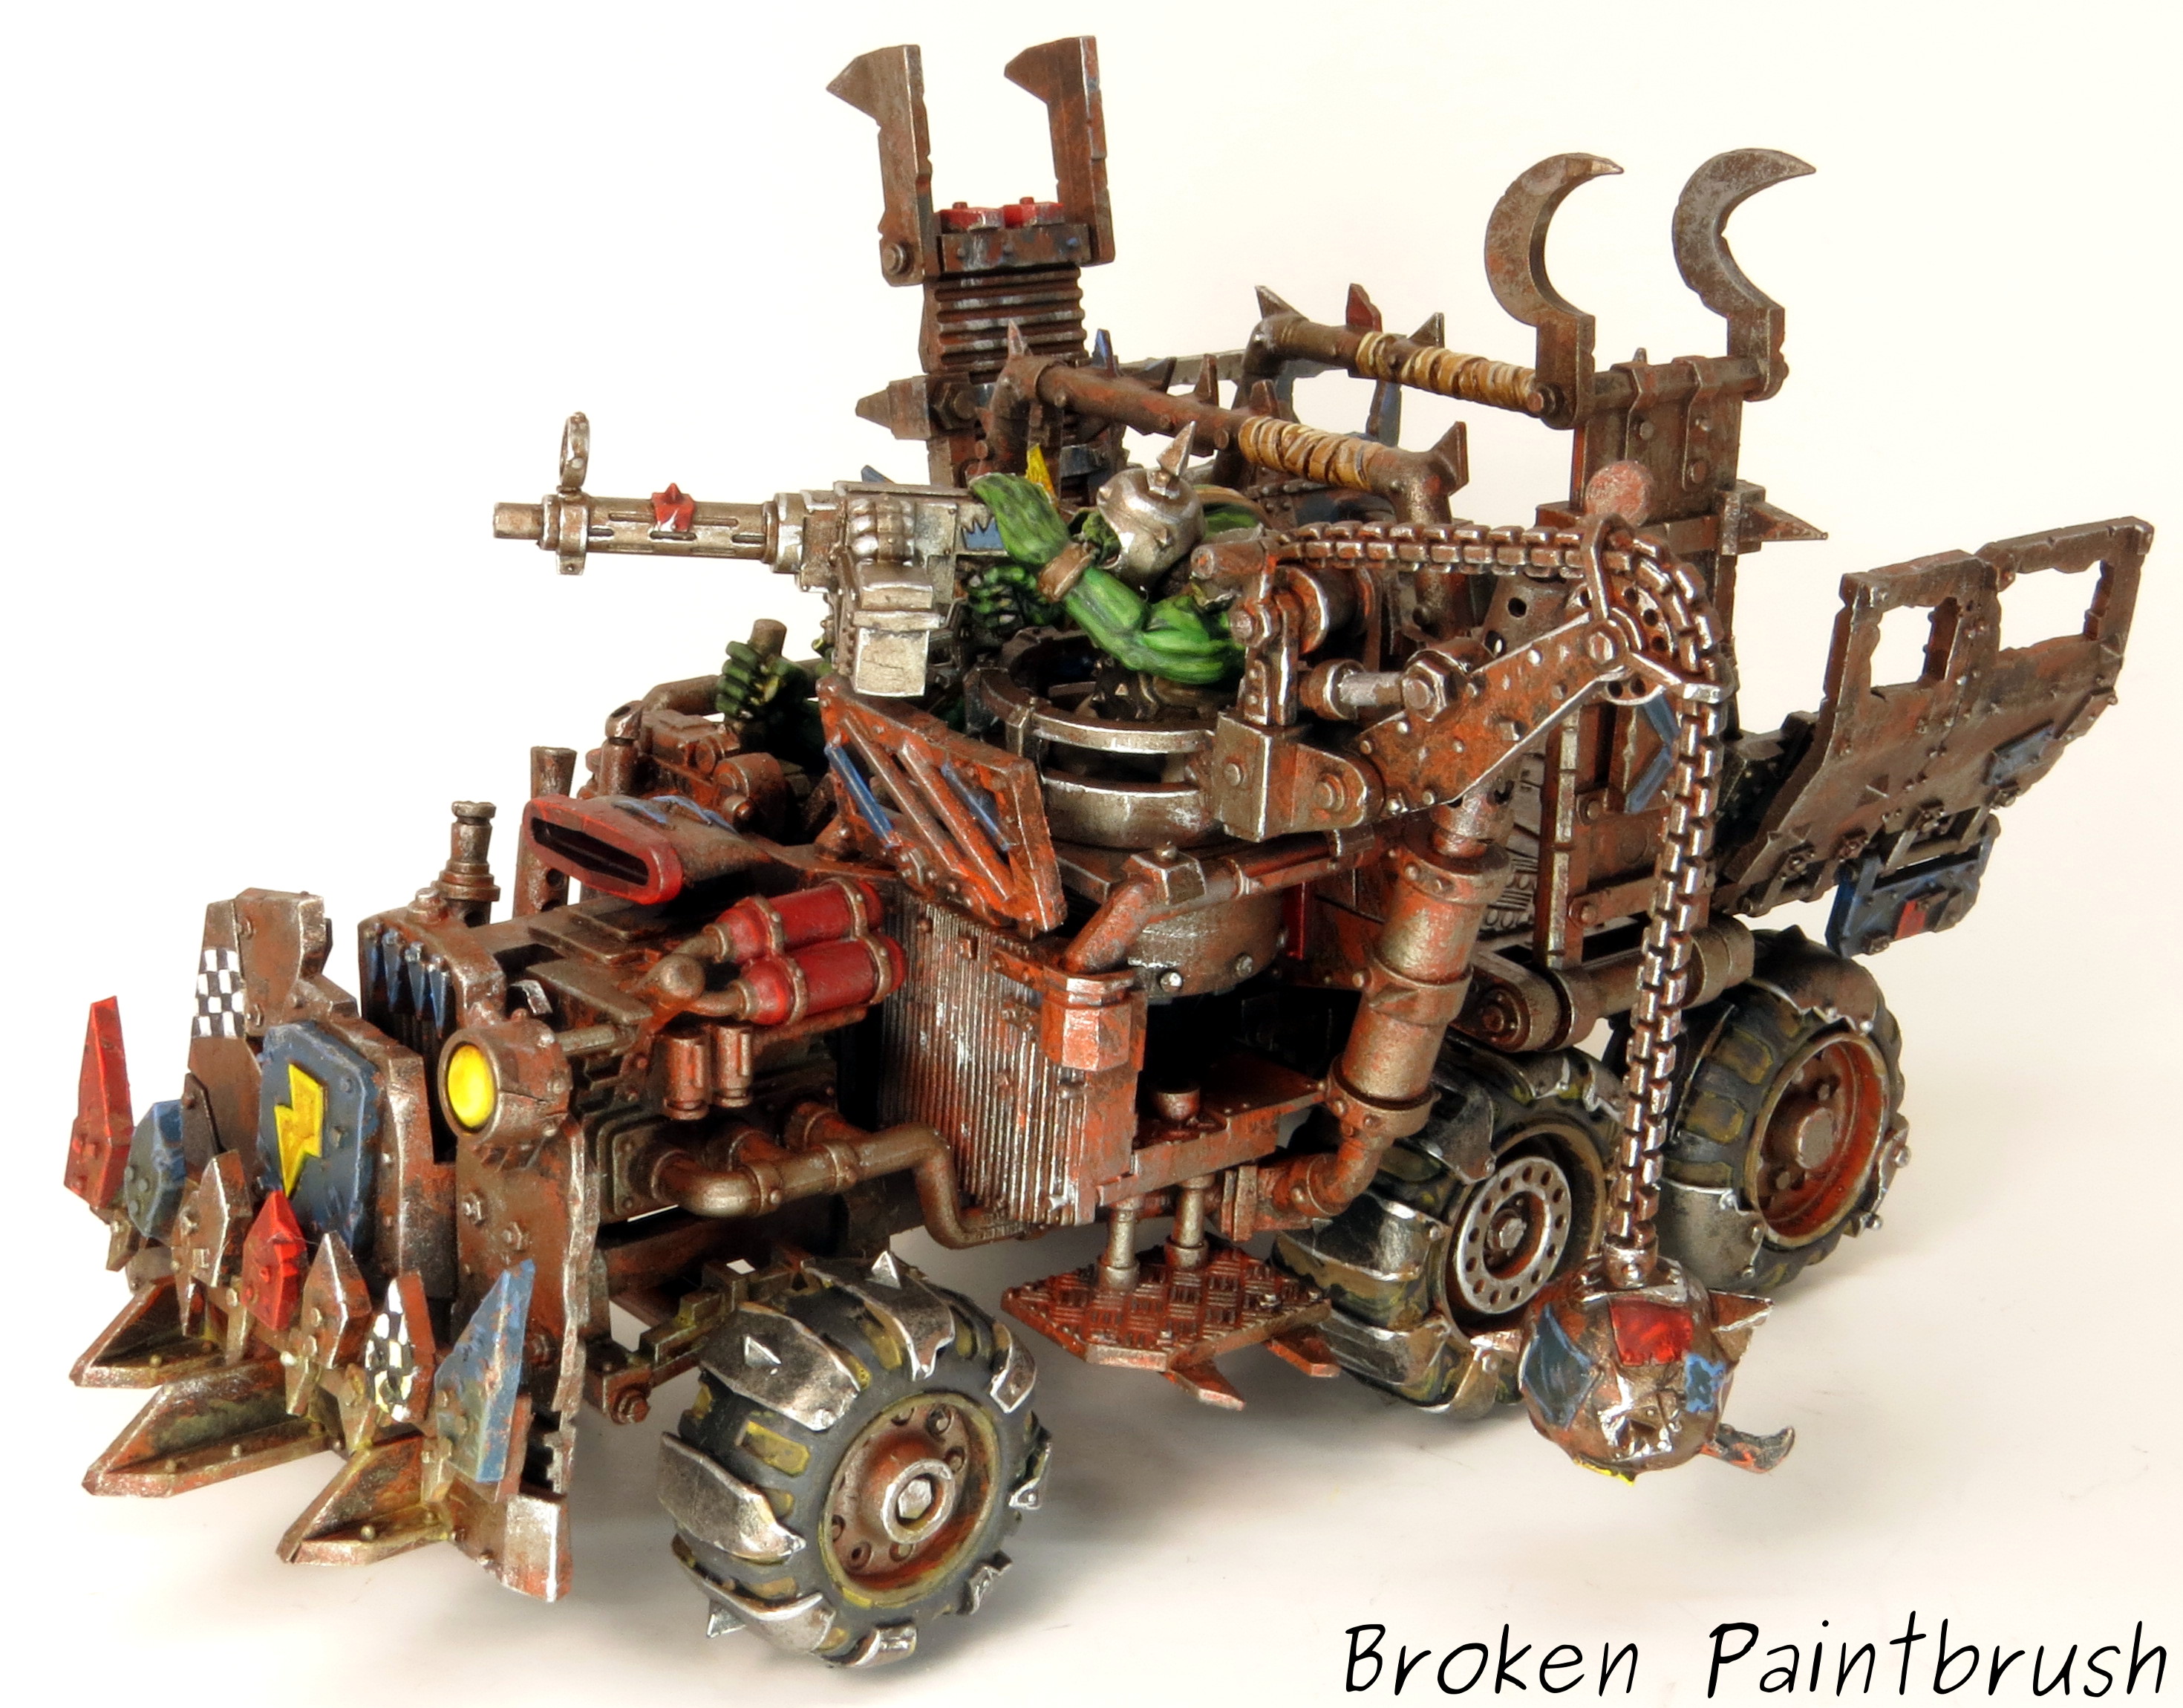
So after painting up my Killa Kans, Deffdread, and two trucks – I’ve put together my process on how I how to paint an Ork Trukk. My goal for painting the ork vehicles was to be quick, rusty, and characterful. To make it quick I used lots of dry brushing, and very little highlighting. They clearly won’t win any painting awards, but I like how they turned out and I was able to finish them quickly. The rusty metal look was from combinations of brown and orange beneath the metal dry brush and the characterful-ness is the various colored panels that make it orky. Step 1: Brown Spray Paint. As you can see in the photo below I left out the driver, gunner, and wrecking ball assembly. The wheels were also left of and painted separately. The model was primed with black primer to give a nice dark shadow. After drying I then hit the top side with an over-spray of white to just lighten it up a bit. The whole model was then given a …

Hacking Custom Decals

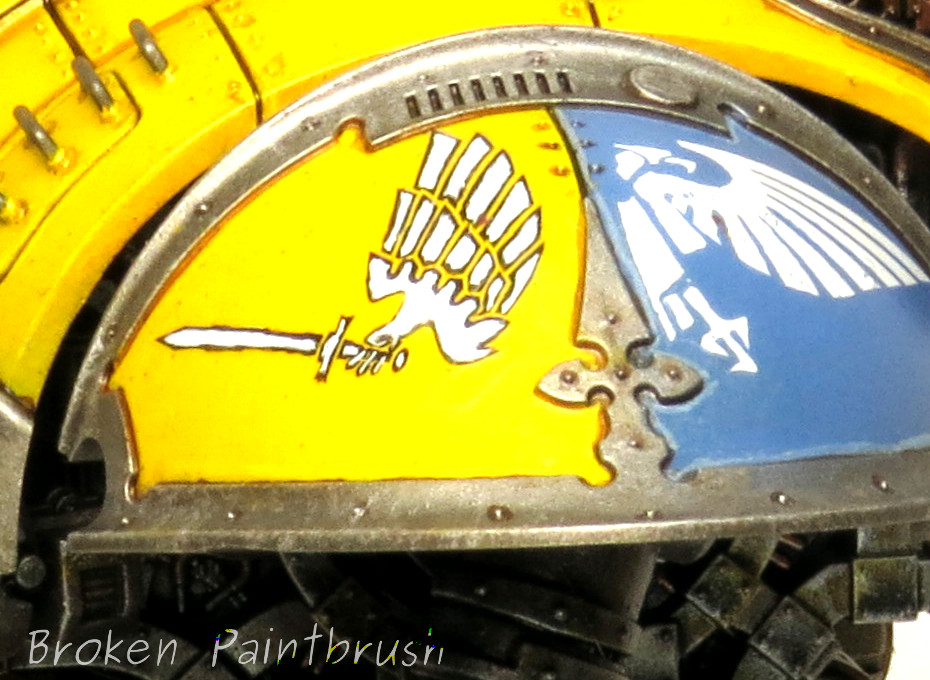
So on my Knight Titan I had decided to create my own house, which meant custom house insignia. Now, I’m not a great free hand painter (yet), and since the pattern would need to be repeated multiple times over the model, I needed to turn to water transfers. While I haven’t tried it yet, I have heard that Testors Decal Paper can work really well if you have a design in mind. After searching through my pile of transfers from Space Marines, Chaos, IG, tanks, the knight titan, and even the Ork and Eldar sheets that I had, I finally settled on the winged sword from the Baneblade to create my custom decal. The only problem was that the two transfers on the Baneblade sheet were only big enough for the shins and as i wasn’t confidant that I could hand paint a larger version for the shoulder, I turned back to the decals at hand. Looking at the Hawkshroud icon, it would give me a great wing once the head was removed and the wing turned 180, …

Today’s Tip: Editing with GIMP

Ok so you have a descent camera, a light box, and nice looking models you want to share with world. Now what? Well for me I spend a few minutes to edit each picture before posting it online. My program of choice: This is an open source (and free) version of Photoshop that can do way more than I will ever need but it does the things I do need very well. For this tutorial I will go over cropping and white balance. Cropping There may be ways to take the perfect picture so that you don’t need to crop out the extra white space but I find that if I zoom in to the point the model fills the screen the depth of field is too narrow and much of the model is blurry. Below is a pre-cropped image from my light box from my recently finished terminator squad. This is an easy fix in GIMP: click on the rectangular select tool and drag it so it roughly contains your model. Now there should …