All posts filed under: Articles

How to Weather Wheels and Tires

How to Paint Ork Trukk Wheels

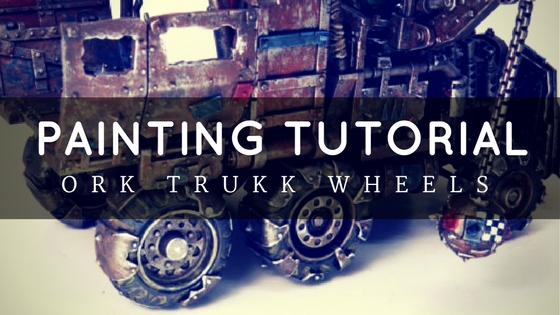
Over the years I have been painting, I love coming across a tutorial on something I haven’t done yet and gleaning just a little bit of information off of it. So here is my second how-to of the year – following up on my Ork Warboss – and a chance to give a little something back t0 the community. I have another tutorial on the rest of the Trukk, but here I want to focus on the wheels. As you can see below, I kept the wheels, crew, and wrecking ball separate from the main truck body to make it easier to paint. The crew and wrecking ball were lightly glued to scrap bases, and I found the wheels hubs were the perfect fit for the penny nails I use for pinning. Using some old corks I could paint the wheels and allow them to dry without touching any painted surface. Painting the Trukk Wheels Step 1: The Metal The wheel was left black from the primer, and all the metal areas were coated with Leadbelcher. Ryza rust was …
Painting Death Skull Warboss

Painting the Ork Warboss

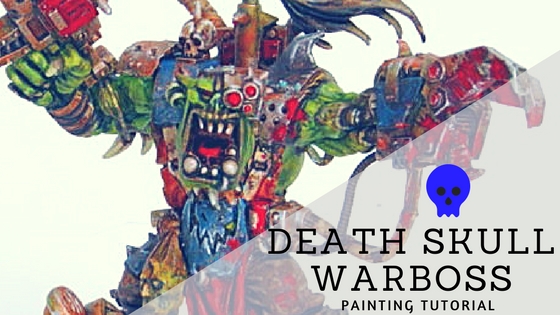
For my recently posted Ork Warboss, I took a few in progress shots to provide some how-to content. I hope this post on painting a Death Skull Warboss helps get your Wagghh! going. Step 1 – White Base Coat First up is a nice, white base coat. White is nice for creating those bright blues and gory reds. The problem with a full white undercoat is that you need to paint EVERY thing, otherwise it is very stark and apparent, black base coats are able to hide this by making ‘shadows’ Step 2 – Green Skin Next up is painting the various base coats such as the Warboss Green for the skin. All the colors are kept fairly bright at this point to allow for shades that will darken the look. Step 3 – Blue Base Coat The blues were also blocked in with Alaitoc Blue, it doesn’t need to be tidy as the shades and highlights will clean up the mess. Step 4-10: More Base Coats and Wash This is where I must apologize, I skipped …

Hacking Custom Decals

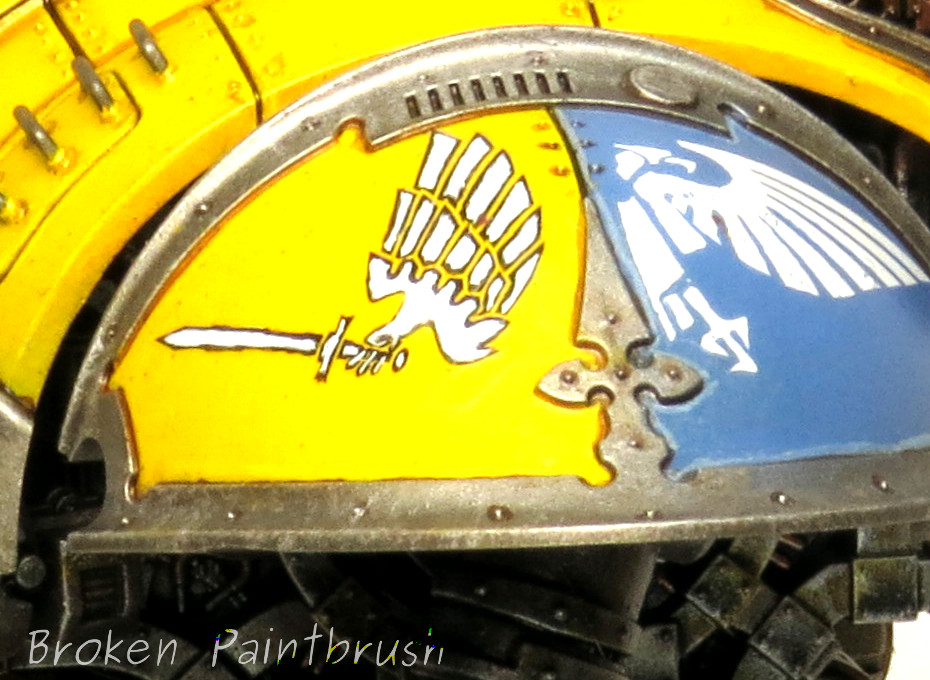
So on my Knight Titan I had decided to create my own house, which meant custom house insignia. Now, I’m not a great free hand painter (yet), and since the pattern would need to be repeated multiple times over the model, I needed to turn to water transfers. While I haven’t tried it yet, I have heard that Testors Decal Paper can work really well if you have a design in mind. After searching through my pile of transfers from Space Marines, Chaos, IG, tanks, the knight titan, and even the Ork and Eldar sheets that I had, I finally settled on the winged sword from the Baneblade to create my custom decal. The only problem was that the two transfers on the Baneblade sheet were only big enough for the shins and as i wasn’t confidant that I could hand paint a larger version for the shoulder, I turned back to the decals at hand. Looking at the Hawkshroud icon, it would give me a great wing once the head was removed and the wing turned 180, …

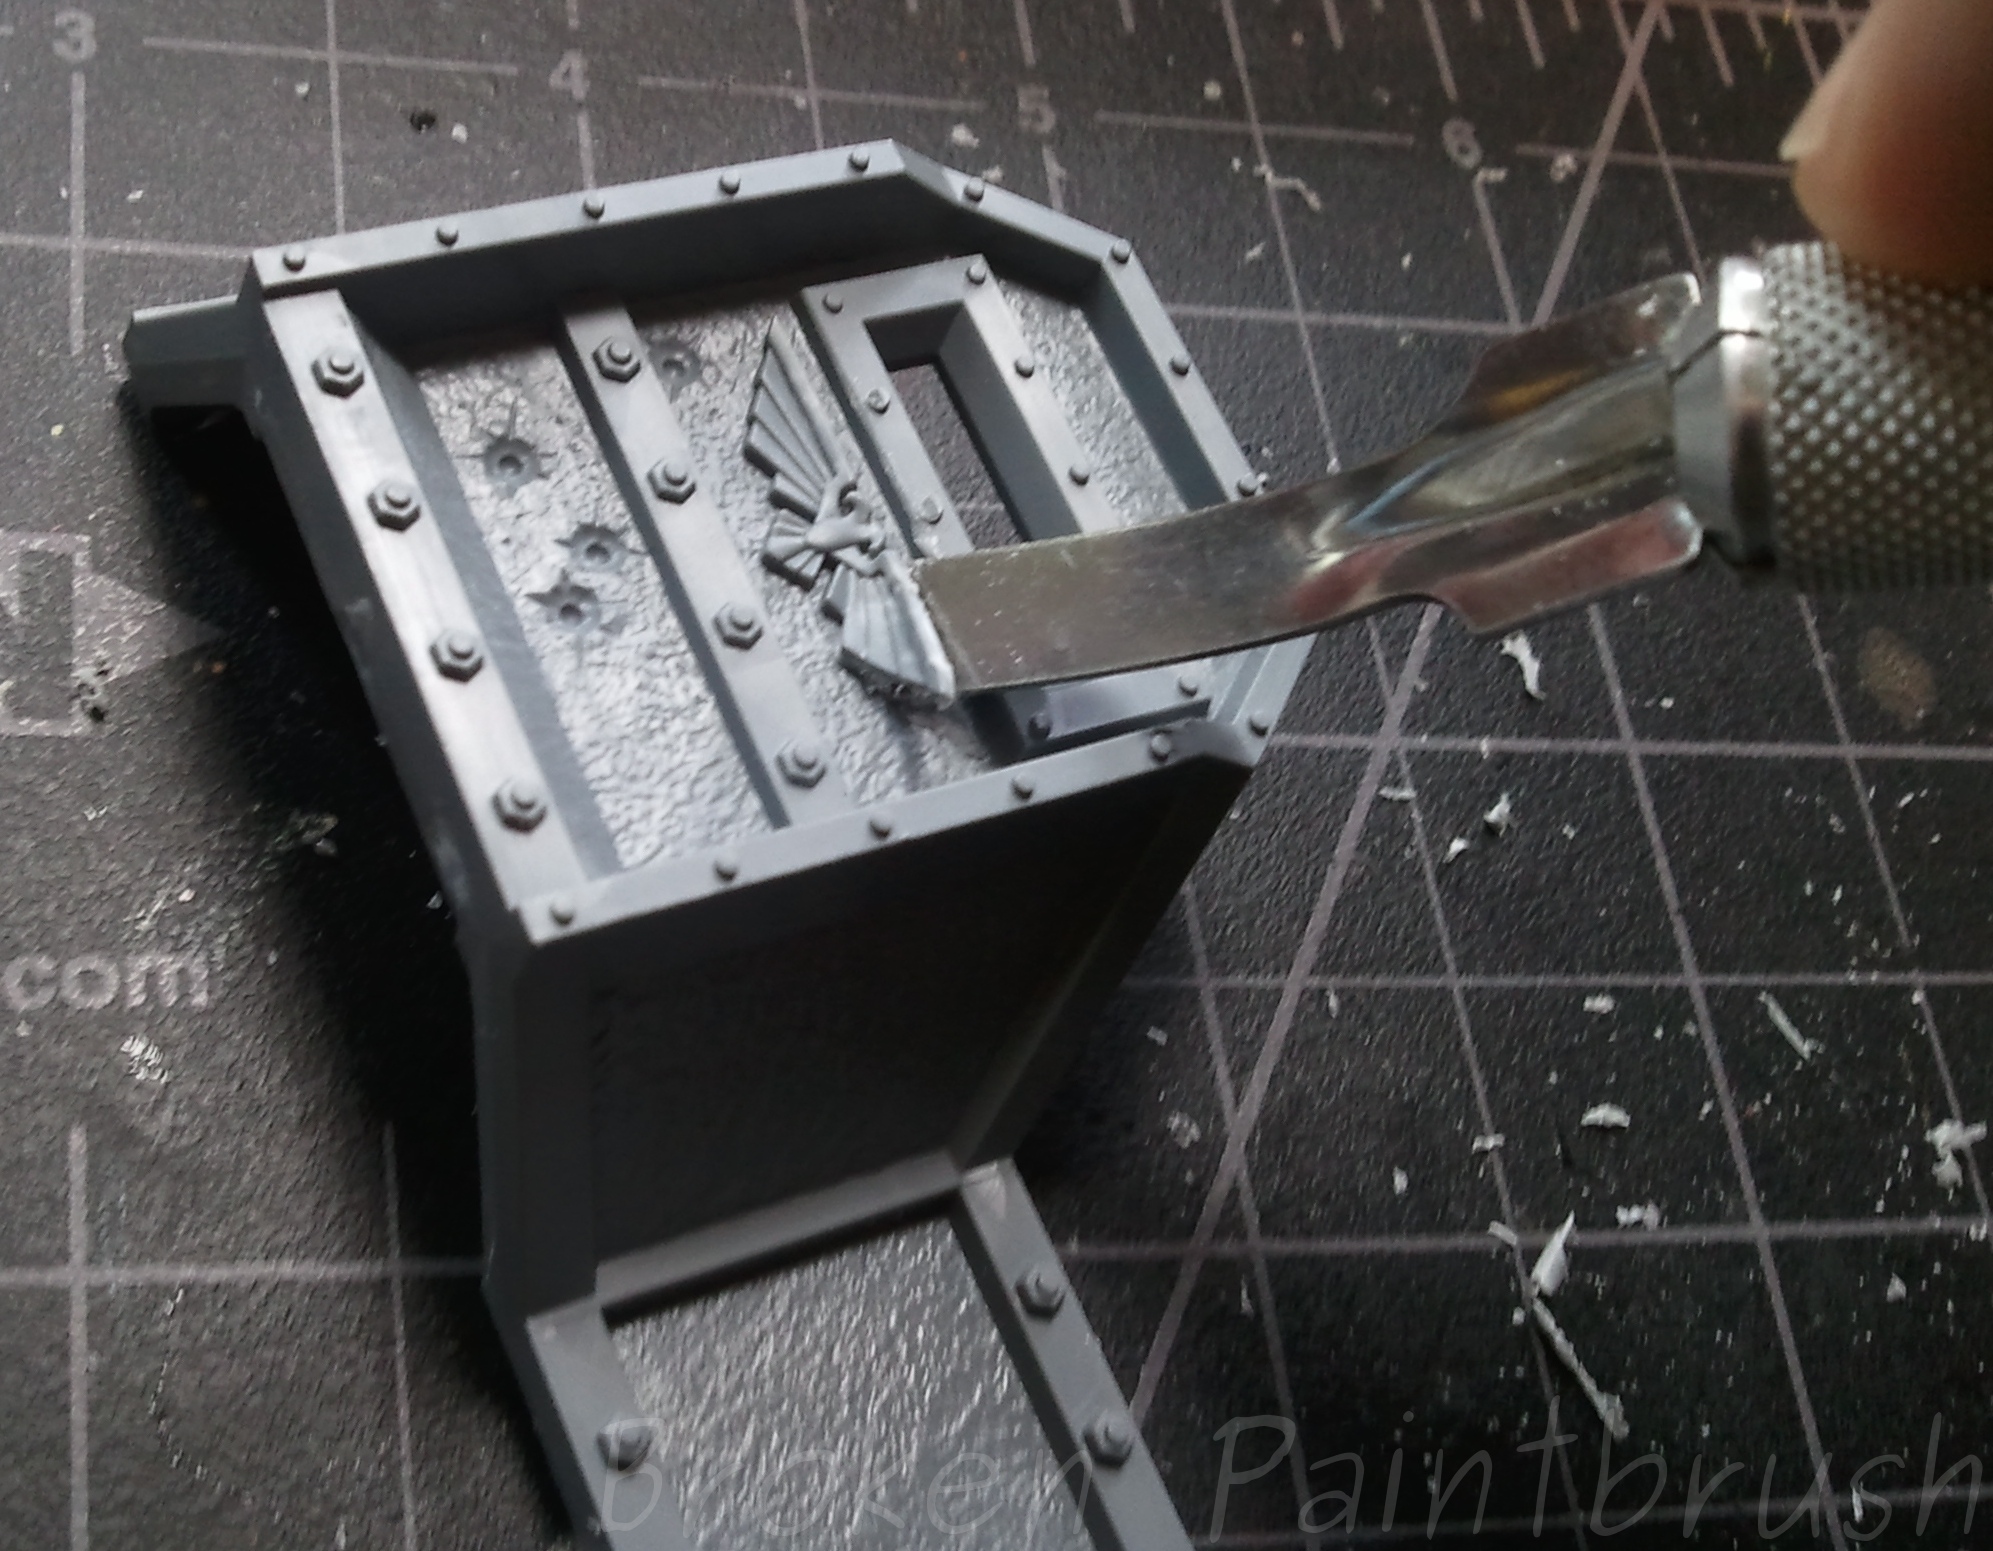
Using an X-Acto Chisel blade to remove Aquila

Removing Aquilas – Creating a Chaos Bastion and Defense Lines

Often the first step in converting, removing Aquilas and other details can help transform your miniature into other factions. When the Bastion and Aegis Defense Lines were released, I was excited that they had a Chaos Bastion kit as well. I’m sure I was not the only one sorely disappointed, and a bit embarrassed for GW when I realized the “Chaos” bastion was just the usual one with the accessory sprue added in (at an extra cost of course). Being in product development myself, it just baffled me why GW molded the Aquilas into the kits rather than having it as a glue on piece. They could have then sold Chaos, Ork, or even Tau accessory bits to glue on instead. But alas, if you want to use these kits for non-zombie worshiping factions, here is how I removed those pesky mutant eagles. The Tools First you need the right tool: the chisel Xacto blade! (more info on X-Acto knife here) I’m not sure what the blade number is for this guy but the key is the flat blade at the …

Today’s Tip: Editing with GIMP

Ok so you have a descent camera, a light box, and nice looking models you want to share with world. Now what? Well for me I spend a few minutes to edit each picture before posting it online. My program of choice: This is an open source (and free) version of Photoshop that can do way more than I will ever need but it does the things I do need very well. For this tutorial I will go over cropping and white balance. Cropping There may be ways to take the perfect picture so that you don’t need to crop out the extra white space but I find that if I zoom in to the point the model fills the screen the depth of field is too narrow and much of the model is blurry. Below is a pre-cropped image from my light box from my recently finished terminator squad. This is an easy fix in GIMP: click on the rectangular select tool and drag it so it roughly contains your model. Now there should …

How to Paint Iron Warriors

How to Paint Iron Warriors a Painting Tutorial and Guide

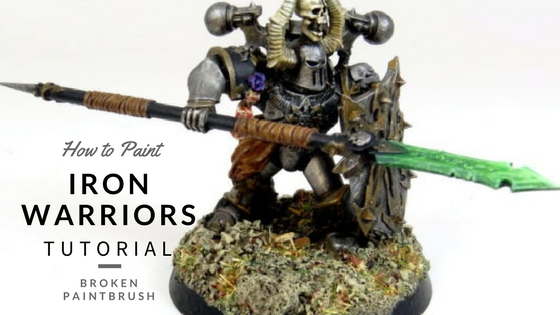
The Iron Warriors were my first 40k army. I picked them in part because they had a simple painting guide int he 3rd edition Codex. Both my painting skills, as well as the hobby, have changed since then. But here is my updated guide to how to paint Iron Warriors. I’ve broken down how I paint Iron Warriors in six detailed sections on the specific parts of the model. How to Paint Iron Warriors Part 1: The Metals Following on my step-by-step paint guides for my Sorcerer and Fabius Bile I figured it was time to do one for the bread and butter of my army: the Iron Warrior. I’ve broken this down into multiple parts to give more detail in each step. So first up is the metals. This is the prominent feature of any Iron Warrior: iron/silver armor and gold trim. It is also the messiest stage which is why I always do it first. Step 1: Primer I always prime my Iron Warriors black. If anyone has tried to paint metallic over …

Book Review: Iron Warrior by Graham McNeill

Being a bit of a fan of the Iron Warriors I was super excited when I heard about the new novella from Black Library titled “Iron Warrior“. This is another Graham McNeill store featuring Honsou and the Ultramarines continuing after the end of “Dead Sky, Black Sun.” Iron Warriors Book Review: Short Story and Disappointing Pictures The biggest selling point that got me to shell out the extra for this little book was the description that the book is “filled with many pieces of artwork, both illustrations and full-color portraits” which made me visualize an Index Astartes type of production. This ended up being my biggest disappointment of the book, the quality of the illustrations were more of the ’80 GW style of cartoony creations, but with hazard stripes to make them authentic Iron Warriors. Also, half the illustrations were of Ultramarines or imperial warriors, which is great to fill in the story and space but was disappointing when I was looking forward to a book featuring, I don’t know, maybe the Iron Warriors? The colored …

Army Finished and Tourny Results

Perhaps the title is a bit misleading, are any of our little plastic armies ever really finished? Perhaps not, but I completed the 2,000 point army I brought to the Seattle GT  including a display board for it. Two models that were last to be finished also completed (though very late) ToEMP #10: officer of the fleet and the company command’s chimera. The officer of the fleet is a real help against reserved based armies such as drop pod marines. During the tournament he wasn’t a game changer as none of my opponents relied on reserves, but then again maybe they just changed their tactics in response to him? The Chimera was used to protect my command squad with the invaluable Commander Creed. This tank was destroyed in nearly every game in the tournament but Creed was lost in only 2 of them, so I think all in all it was well worth its cost. As for my results? I achieved my goal for my first ever GT: win 2 games. In fact I even …

Nothing Like a Big Game to Get Excited Again

So I haven’t really been that active in the 40k world this last month for many reasons, one of which was a low excitement for the hobby. This was in part due to not playing a game in nearly 2 months. In the last two weeks though I have had the chance to play my traitor guard twice and took part in a ridiculously huge Apocalypse game. My traitor guard played brilliant and pulled off a win in the last turn in both games. The first was against a small, elite space marine bike army that hit hard but was brittle. Highlight of that game was one of my platoon commanders surviving an assault of 3 bikers and in return cutting all three down with his power weapon! Game two was against a drop pod army hurt the turn it came in but lacked any mobility. Highlight of that game was my banewolves coming in from reserve and toasting an entire tactical squad. In revenge my opponent dropped his sternguard squad with 8 (yes eight!) …

Painting Tip: The Eraser Brush

Whenever I’m painting I always have two brushes out: the one I’m using and one to erase. The need for the second brush arises because I don’t like to do touch up painting and my hands shake a bit. To solve both of these problems I have a second, clean brush always on hand that I can quickly wet and “erase” any spots of paint I put on the wrong spot.

Painting in hot weather, any tips?

This week it is in the upper 90s here in the PNW and I know there are much hotter places in the world, but it hardly ever reach the 80s here in Seattle, let-alone the upper 90s. Because of this my apartment isn’t set up with air conditioning. This means two things hobby-wise: I’m staying up much later since I can’t sleep and am able to get more painting done, and my paint dries out faster than normal. When doing the washes this is actually a benefit as I can paint the next coat not long after painting the first. The problem though is when putting some paint down on my pallet, I am adding water between each model to keep it liquid. This is causing me to struggle keeping a good paint-to-water mix so my question is this to my fellow hobbyist in the warm/dry climates: what do you add to your paint to keep it from drying out quickly?