Latest Posts

Ork Deffkoptas from the Assult on Black Reach set

Ork Deffkoptas for the Death Skull Clan

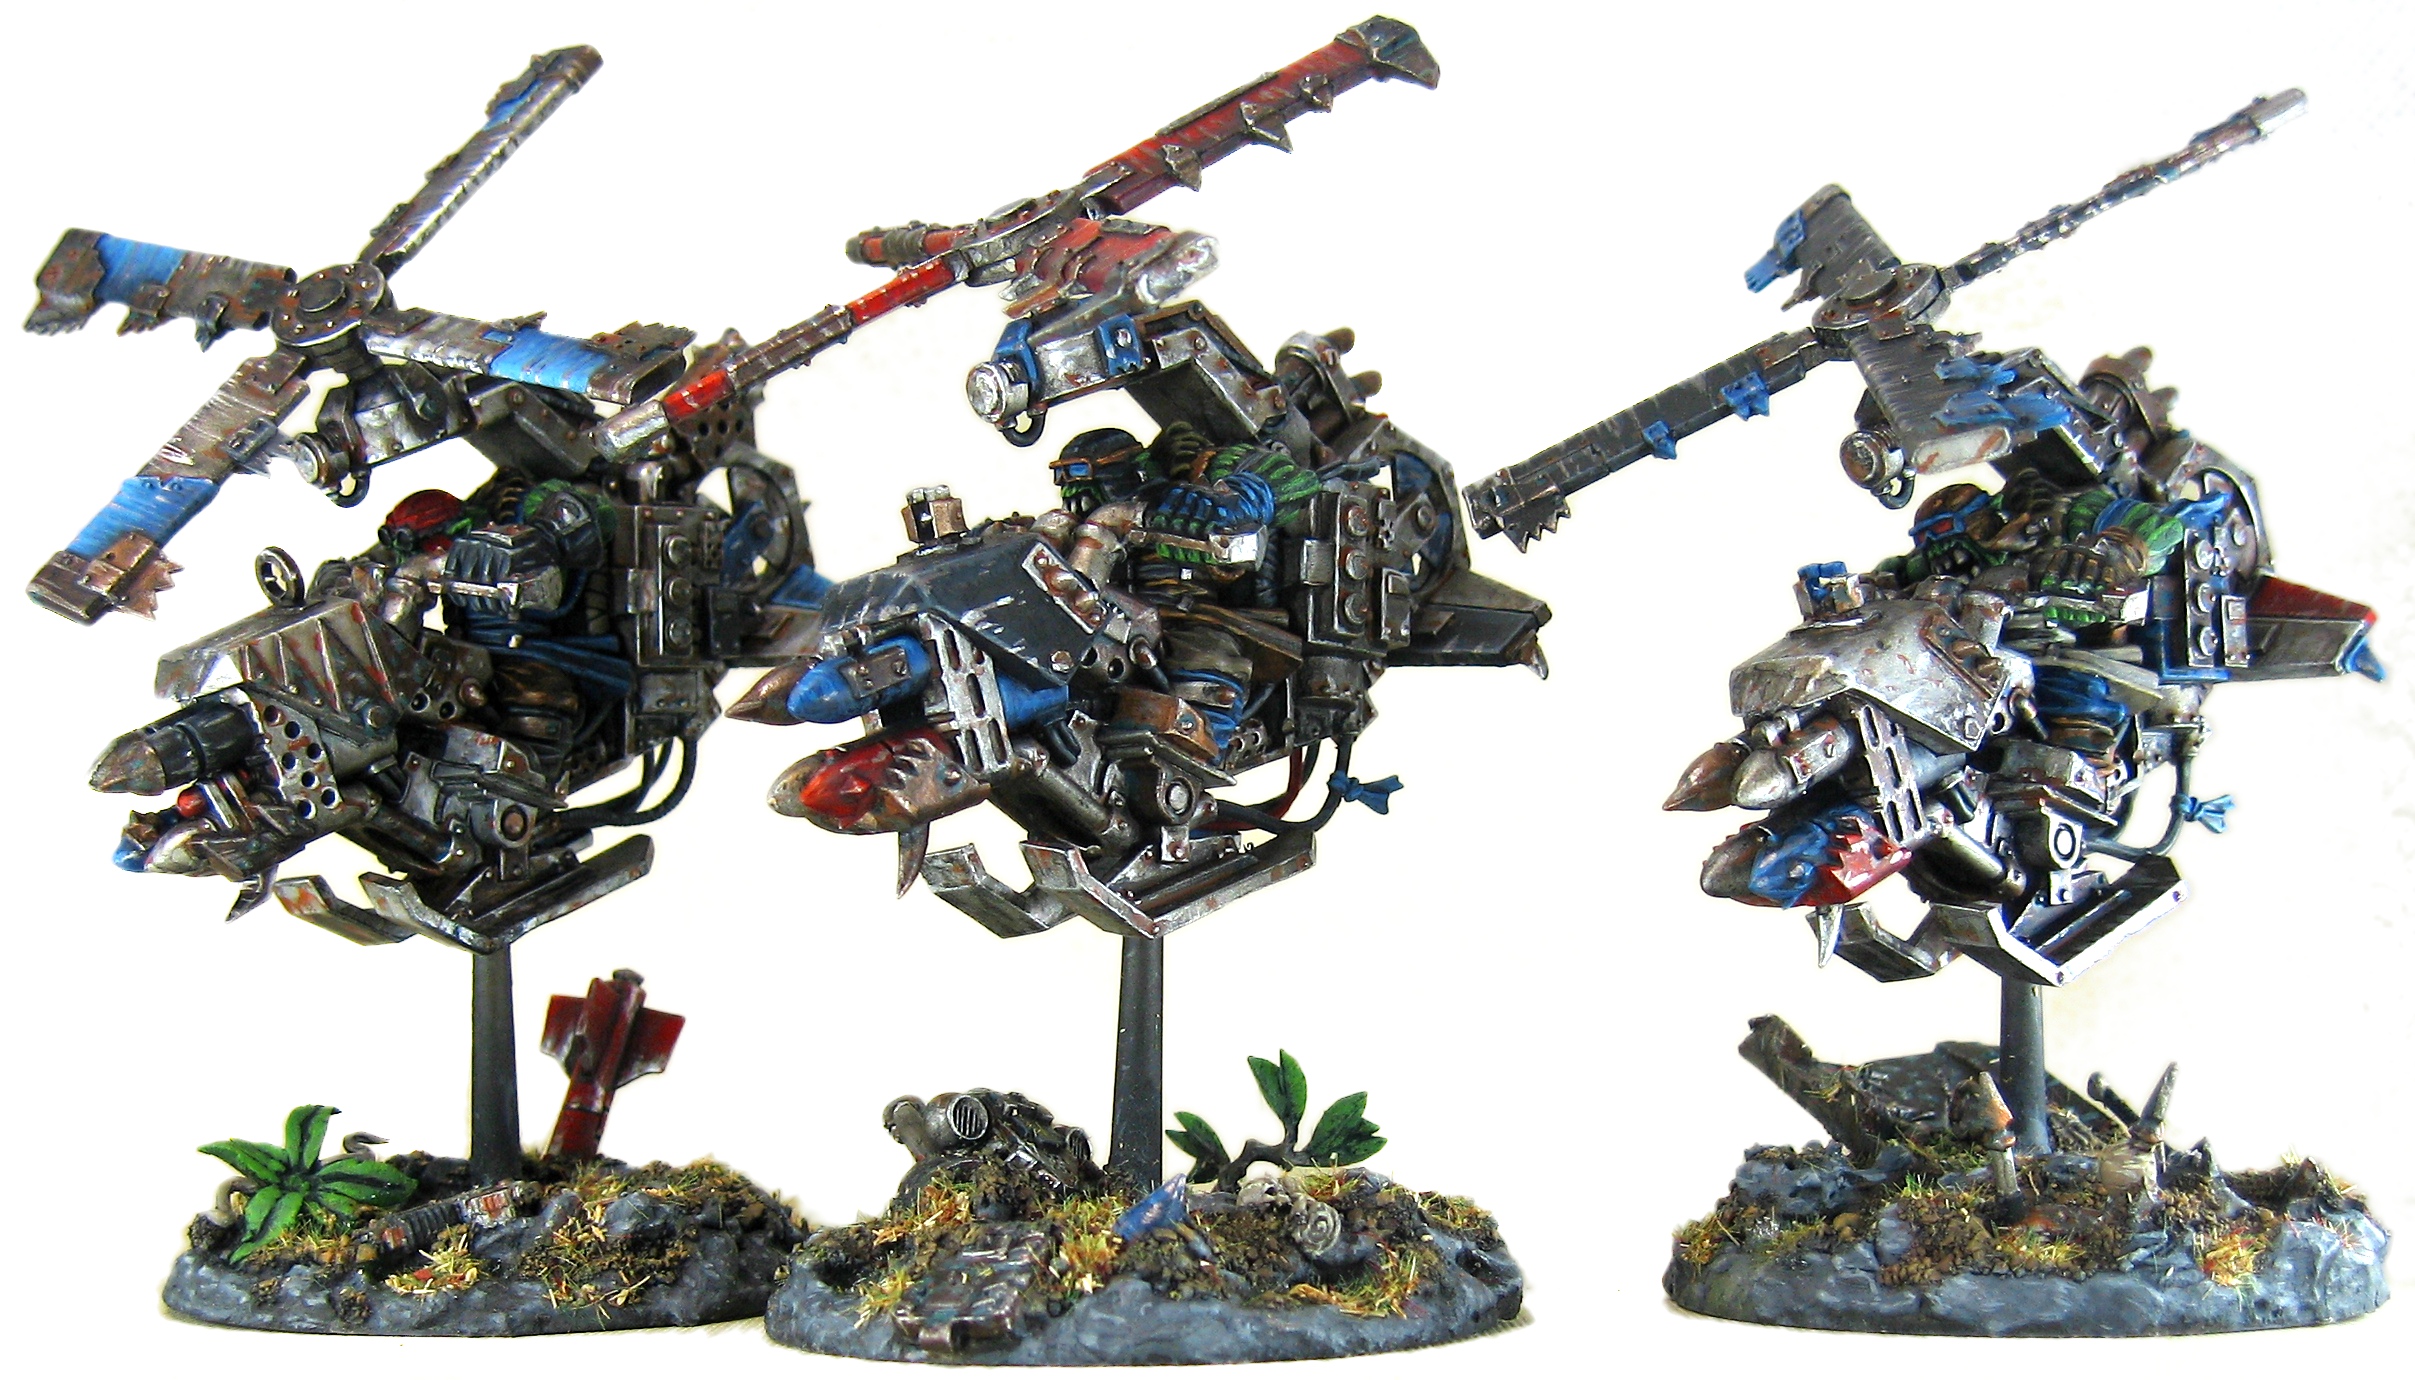
So clearly from the lack of posts I have been a bit distracted from the world of 40k. It shouldn’t surprise me that it was 6 months ago almost to the day the I last posted, but it is a bit shocking! Any way, I finally got around to finishing the Ork Deffkoptas that have been sitting on my desk these many months.

Ork Deffkoptas from the Assult on Black Reach set


I tried to make this very characterful and full of color since the Death Skulls are renown scrappers. So sections of red and of course blue make their way into different armor plating while the majority of the model is different colors of metal.
The bases were a fun mix of rock, Spackle, and bits. I wanted the bases to have some character rather than the basic clear disk. One base has a dude rocket (probably from one of the koptas!), another has a fallen Iron Warrior, and the third a broken dozer blade.

I’m glad I finally finished these especially since it looks like 6th edition is just around the corner. It was the release of 5th that really got me back into the game and I plan to use this new release as a way to do so again. I have a closet full of models and ideas to work on, it is just a matter of focus and drive.

As always, comments and suggestions are very much welcome!
Ork Boyz Squad 1 - Front

Orks for Chirstmas

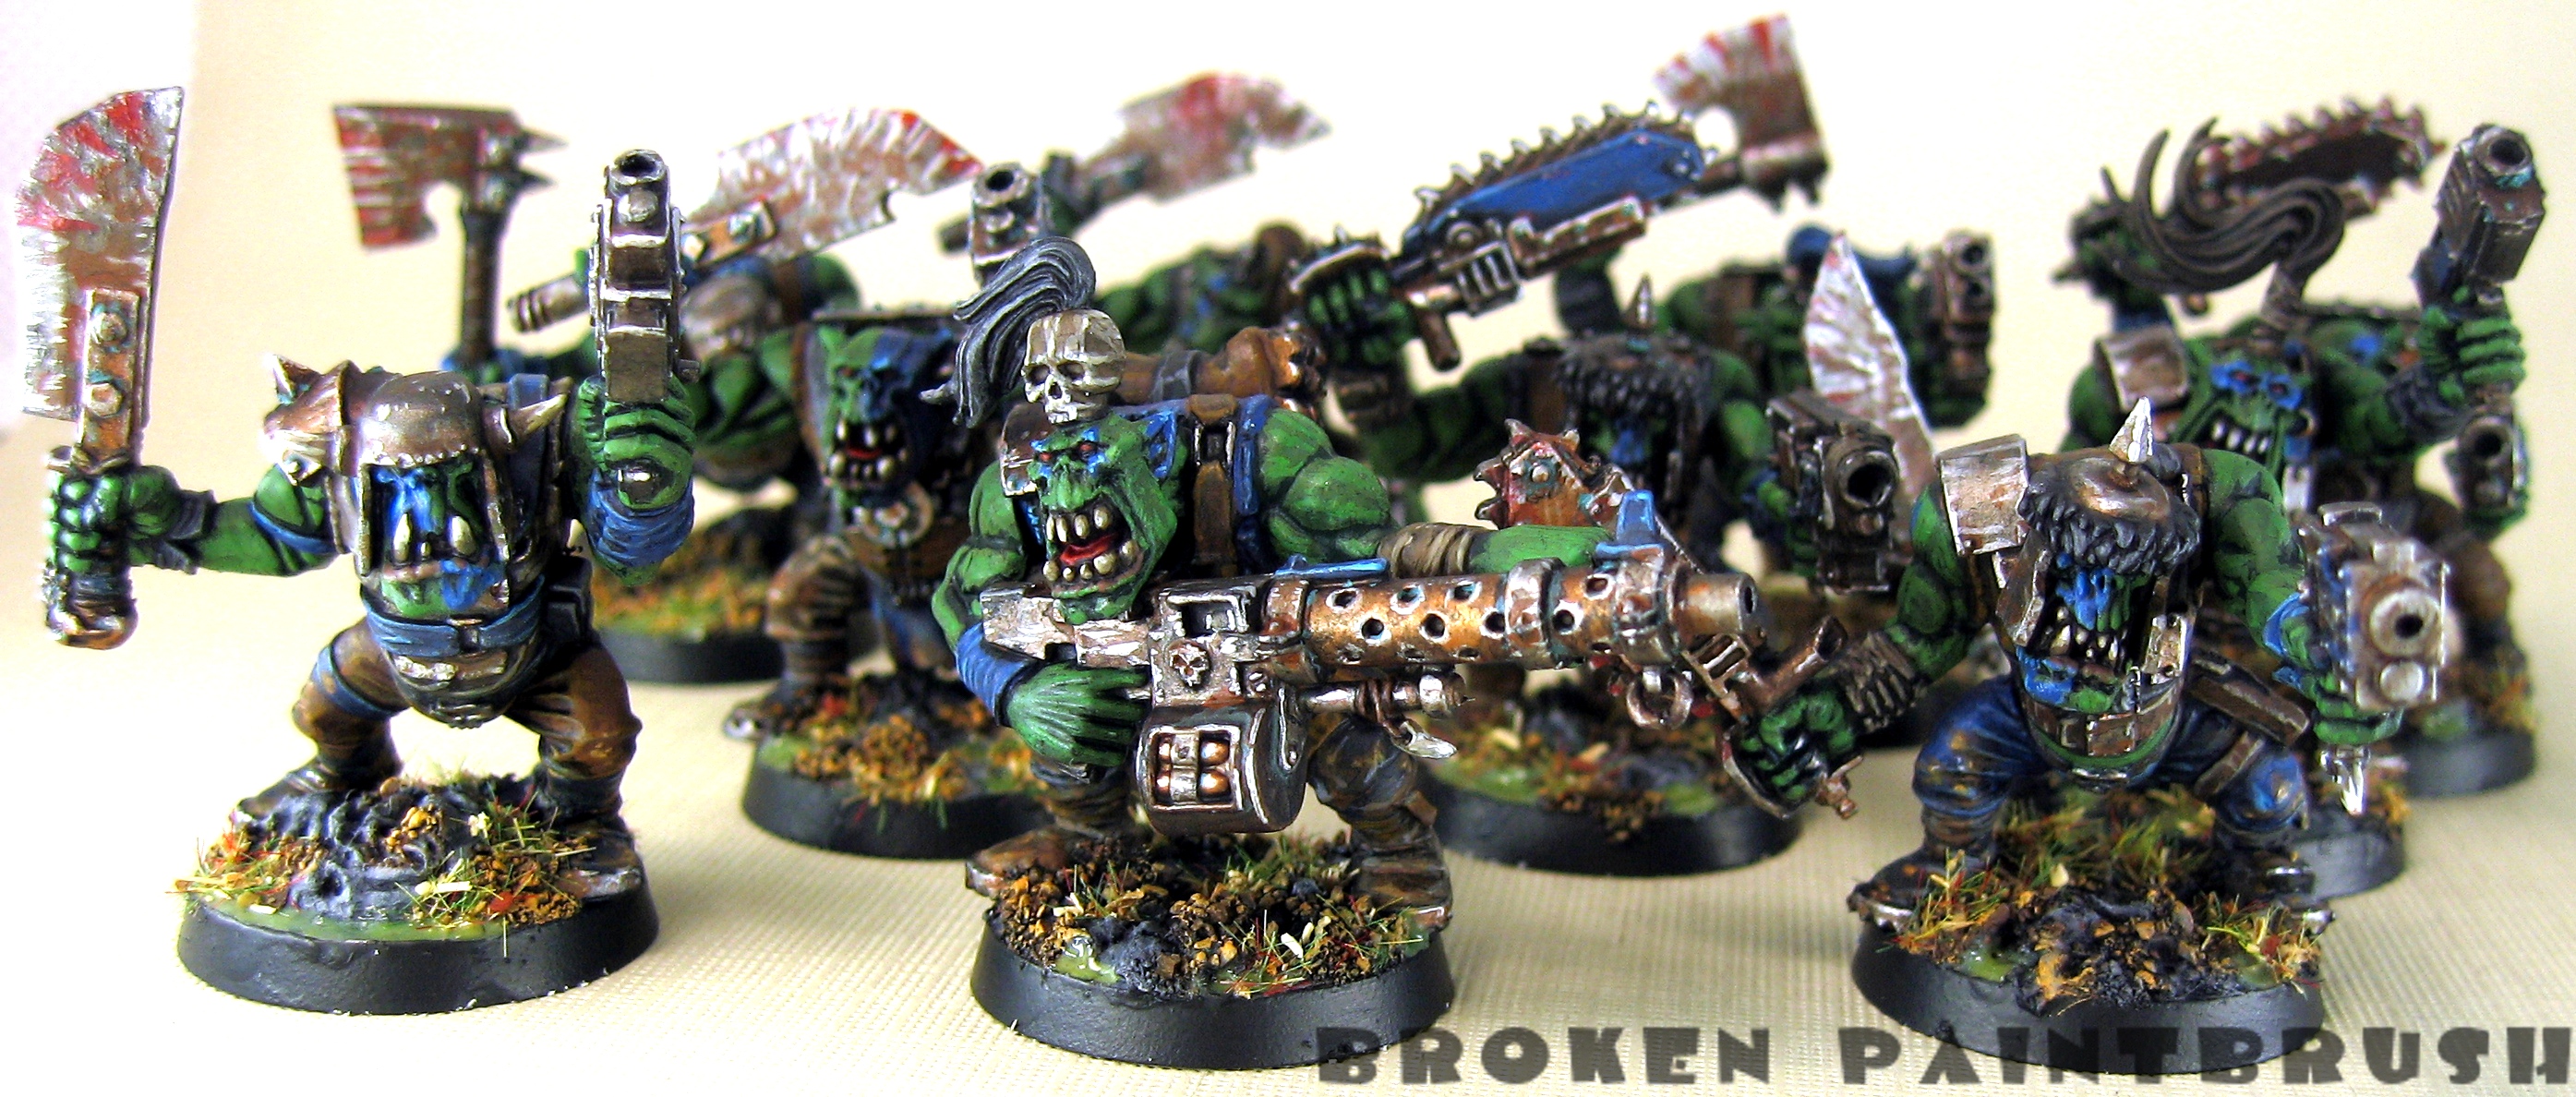
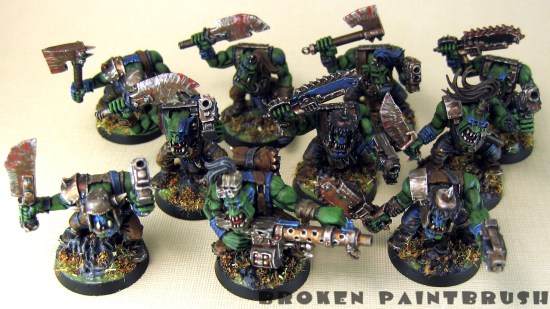
Well it only took 4 weeks but I have finished my first squad of Ork Boyz! One could argue that I spent a bit too much time on simple boyz, but since I’m doing this for the enjoyment of it, and trying something new, even Boyz get a shiny paint job 🙂

Ork Boyz Squad 1 - Front

Even though these are the Orks from the [amazonify]B000057SRB::text::::Assault on Black Reach[/amazonify] set, they are still detailed and entertaining to paint. From their unique sneers, dangling teef, and cobbled together weapons (there are bolts holding the choppas together!) it was fun picking out the details as I went along.

Ork Boyz Squad 1 - Top

A decided to paint the squad as Death Skulls for two reasons: I like the color blue, and I wanted to try a hand at war paint. So each Ork has sone form of blue face paint, painted weapons, or shoulder tatooes.

Ork Boyz 1 & 2

I was also going for a heavily weathered look so I added rust, teal patina a lots of scratches. Even the mud was brought up the legs, knees and rear ends of the models.

For the most part I followed the painting guide from WD350 where they paint the AoBR Warboss step-by-step. Obviously the blue was replaced for the yellow and I didn’t go nearly into the number of layers/colors that they used, but it was a very handy guide.

Ork Boyz 6, 7, & 8

For the bases I wanted to add lots of texture and follow what I did for my Tau suites. I will be putting together a post on how I did this while I work on the Deffcoptas.

Ork Boyz 9 &10

After painting this squad I can see how some get the green fever and go all out with the Orks. While I was working on the squad I was continually looking up units in the Codex and online, reading Ork blog posts, and in general fantasizing my own Waaaagh! but for now I need to keep it in check as I have a goal to do: four 500 point armies by the end of 2012!

[amazonify]B00125XLCQ[/amazonify]

Cypher the Fallen Angel - Front

Completed Cypher and Command Squad

As promised I completed Cypher and posting the pictures, off to a good start on my new goals!

Cypher the Fallen Angel - Front

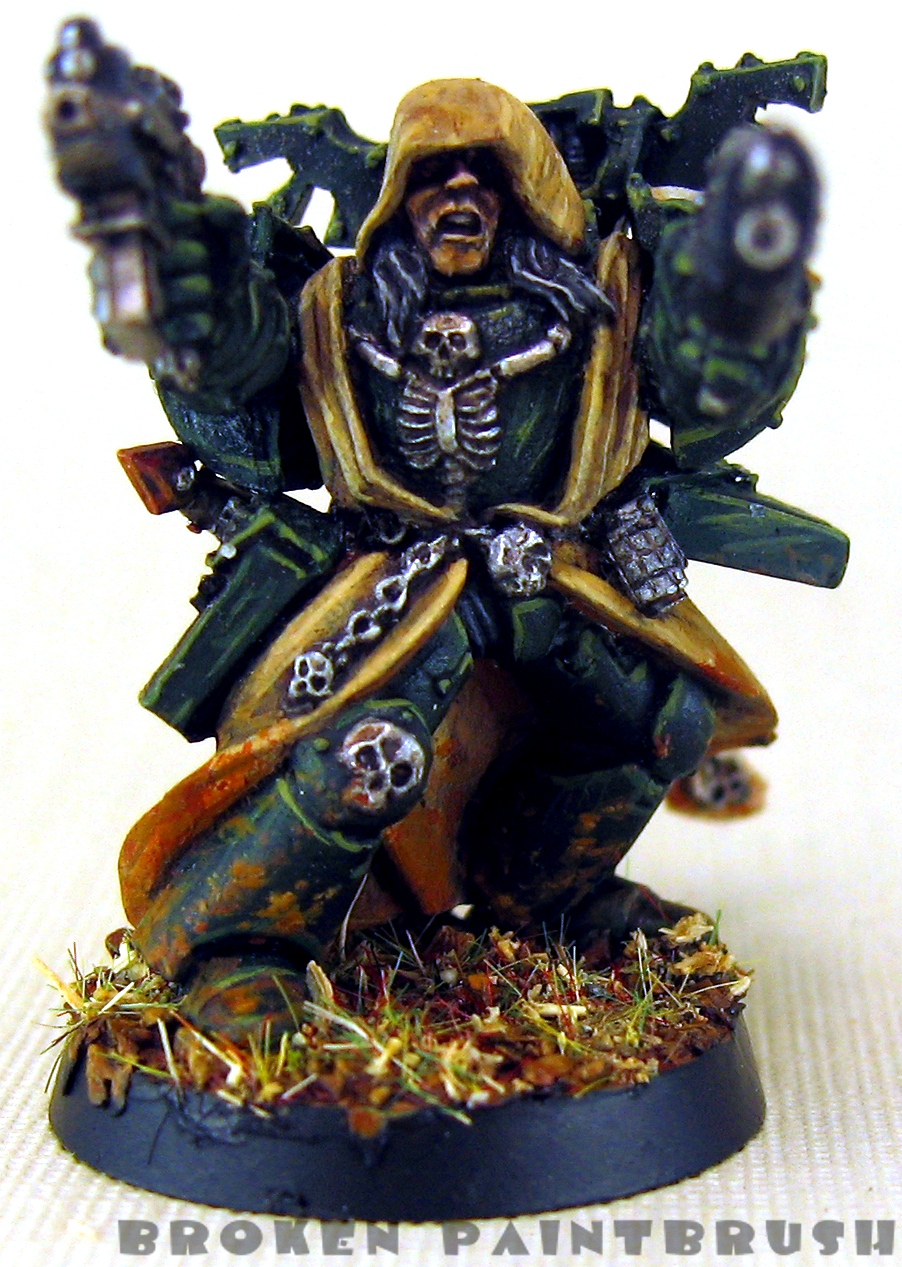
Cypher was a great character in 3rd Edition Chaos that was mysteriously phased out in the following Codex which really is a shame. Though after reading DFG’s rumor roundup it seems like he may be making a comeback!

Cypher the Fallen Angel - Right

Cypher the Fallen Angel - Left

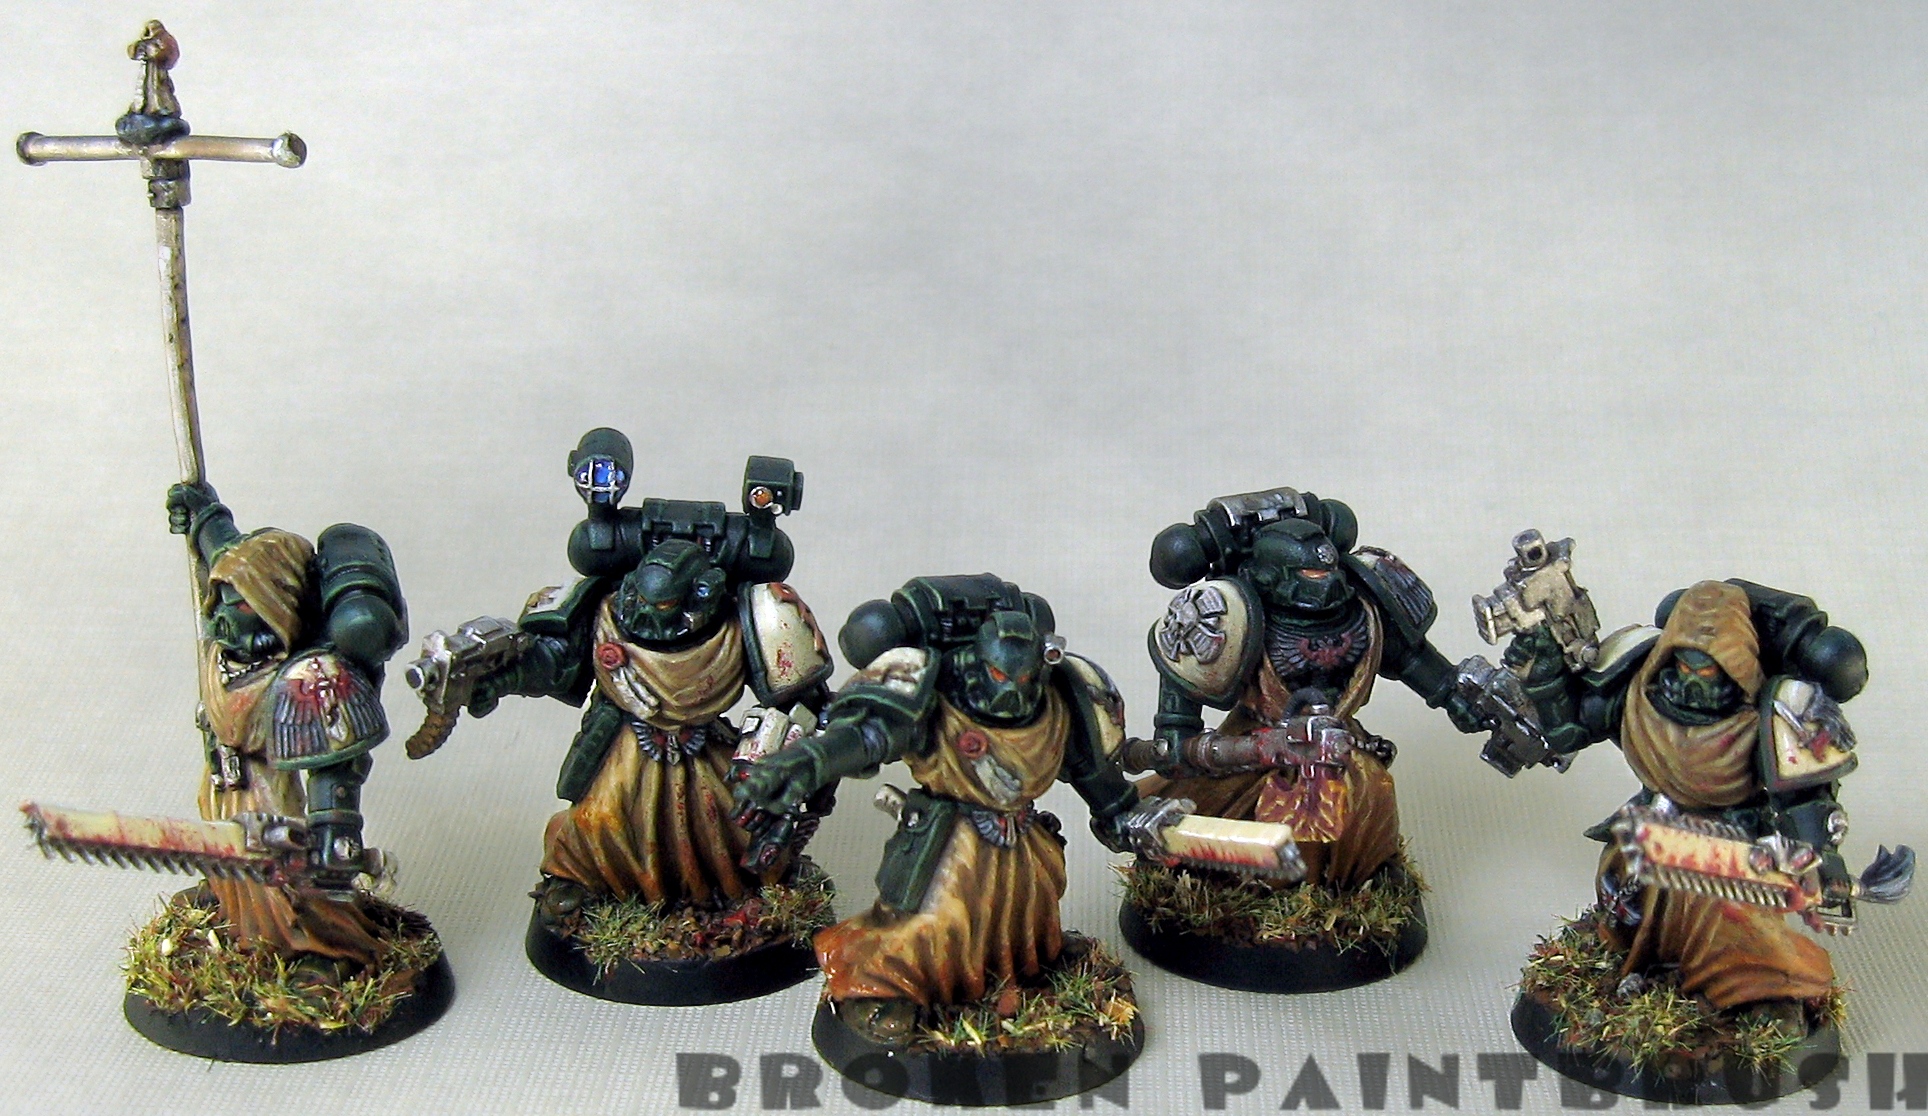
And here is the full squad together. I am quite aware that I may never be able to play with the squad (except for Apoc of course) but after sitting in my closet for years I figured that Cypher had earned himself a squad.

Cypher and his Command Squad of Fallen

Well the pictures capture that I haven’t really “completed” the squad as most evident by the lack of a banner. I also haven’t finished clear coating and glossing the models (see the back of the medic for a finished piece there), but it is done enough to post and put on the shelf until the day I decide to add custom banners to models.

Cypher and his Command Squad of Fallen - Back

Next up will be some Ork Boyz!

Fallen Angel Command Completed

The Fallen, Command Squad Complete (Part 3)


So I finally completed the last two members of the Fallen Angel command squad to accompany Cypher. Well when I say complete, the models are complete, I now need to create a banner or the pole bearer… I’ll be spending some time on FTW trying to get ideas for that.


First up, the standard bearer:Fallen Angel #4 - the Banner Bearer - Front

 
Fallen Angel #4 - the Banner Bearer - Back


And the final member: the power weapon bearing dude.Fallen Angel #5 - Front

Fallen Angel #5 - Side


And here is the squad all together waiting their mighty, if mysterious leader.Fallen Angel Command CompletedAs I paint Cypher up I plan to take more step-by-step pictures to post how I did each step. stay tuned!


Fallen Angel 2 - The Medic - Front

The Fallen, adding a Medic, support (Part 2)


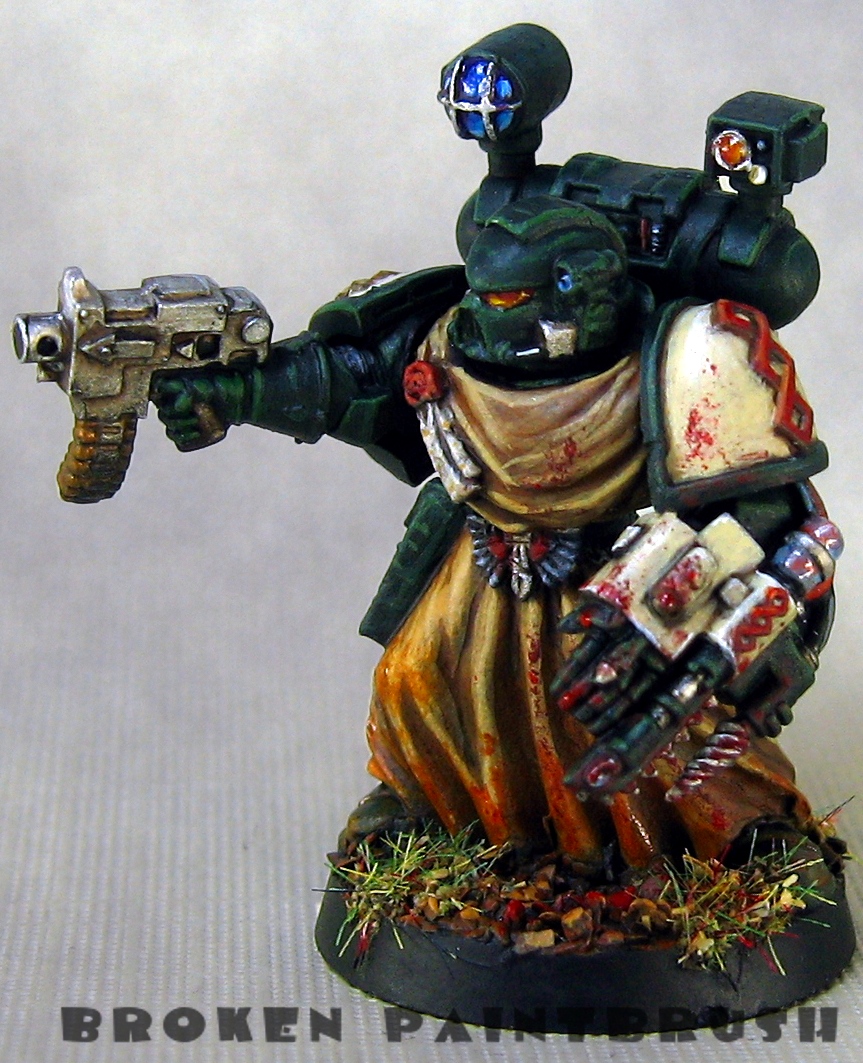
Finished two more Fallen Angels for Cypher’s retinue. As I wanted to treat Cypher as a Space Marine Captain (or is he really the Primarch!?!) I built the retinue as a command squad including a medic. I figured that even Fallen Angels need to preserve their gene seed to continue the fight.Fallen Angel 2 - The Medic - FrontFallen Angel 2 - The Medic - BackAnd the third Fallen:
Fallen Angel 3 - Front

Something about robed marines is rather fun to paint and quite dramatic.Fallen Angel 3 - Side

And the first three together.Fallen Angels - First 3 Finished ModelsEven though I’m painting each one at a time, I’ve written down the paint colors for each step so each model stays consistent even when I leave the lid off my wet pallet and it all dries up.

[amazonify]B000CEM3E0[/amazonify]

Fallen Angel Chaos Space Marine - 1 - Front

The Fallen, or nearly Forgotten Models (Part 1)

As promised in my last post I’ve been working on something that old timer Chaos players may remember: Fallen Angels. These are the secret that the Dark Angels do not want any one to know about. They are the followers of the mysterious Cypher which was a special character option in the 3rd edition Chaos Space Marine Codex.

I’ve had these models kicking around my closet for years (Cypher since 3rd edition even) and never got around to painting them up until this last week. After priming and laying down the base coat on all the models I decided to do a test model first to see how it turned out.

Fallen Angel Chaos Space Marine - 1 - Front

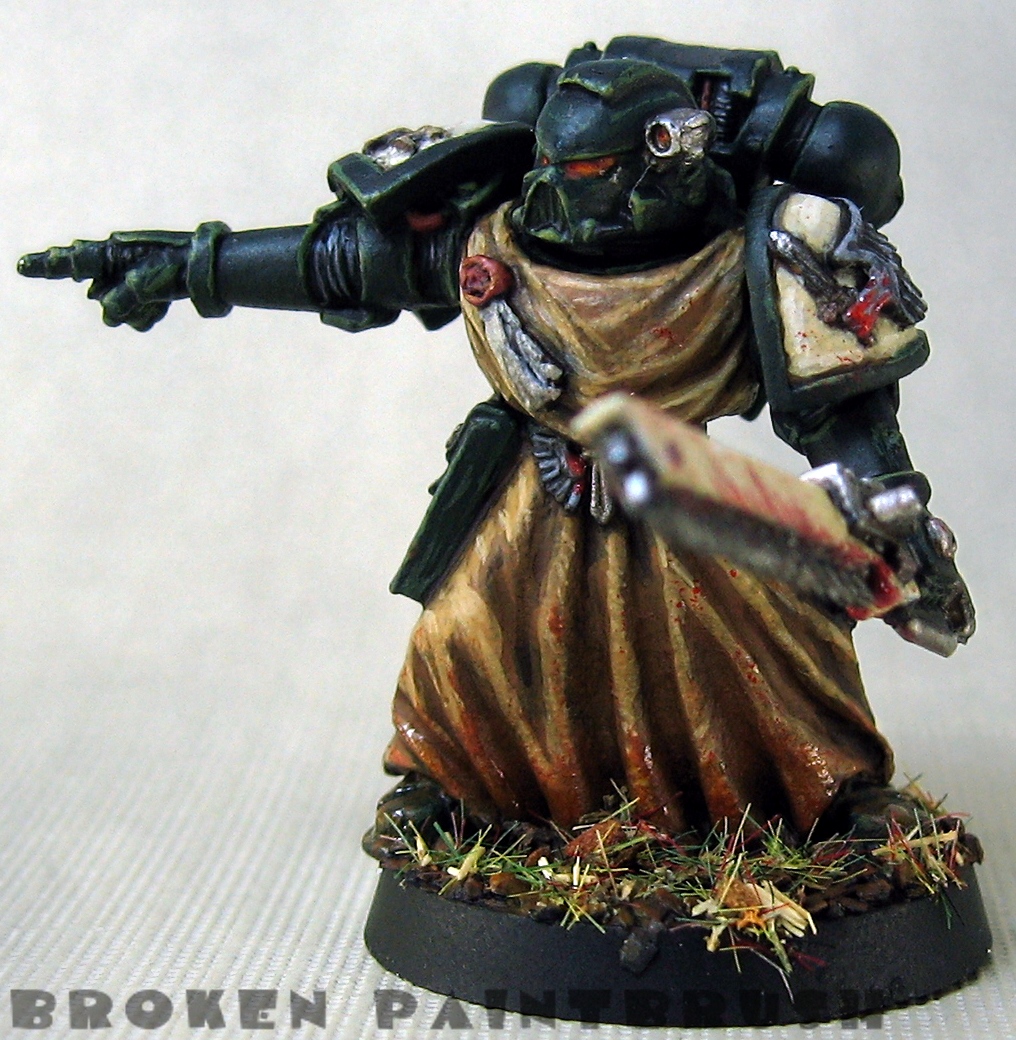
As there is no official Fallen models I am using normal Dark Angel models for the squad with bits from the command squad. I could not find any special markings to set them apart from the loyal brothers so I just added some blood to the wings, symbolizing them being torn off.Fallen Angel Chaos Space Marine - 1 - Right

Although this model is 90% done I still have markings left to do but I’m not sure what they will be, any suggestions? I also really wanted to play with the robes, making them look like they have been dragged through the mud a bit.Fallen Angel Chaos Space Marine - 1 - Left

Also wanted to play with a bit of gory-painting and show they actually use those chain-saw weapons of death.


And just to prove that I really do have the whole squad and the mystery that is Cypher:Fallen Angels Chaos Space Marines - Group WIP 1So one down, five more to go and a banner to boot.


[amazonify]B000NIDR9K[/amazonify]


Leman Russ 3 - 14th Grand Company

Traitor Leman Russ

So with the long, holiday weekend I spent a bit of time finishing up the two Traitor Russ Battle Tanks. These are of course for the Traitor Guard aspect of the 14th Grand Company.

Leman Russ 3 - 14th Grand Company

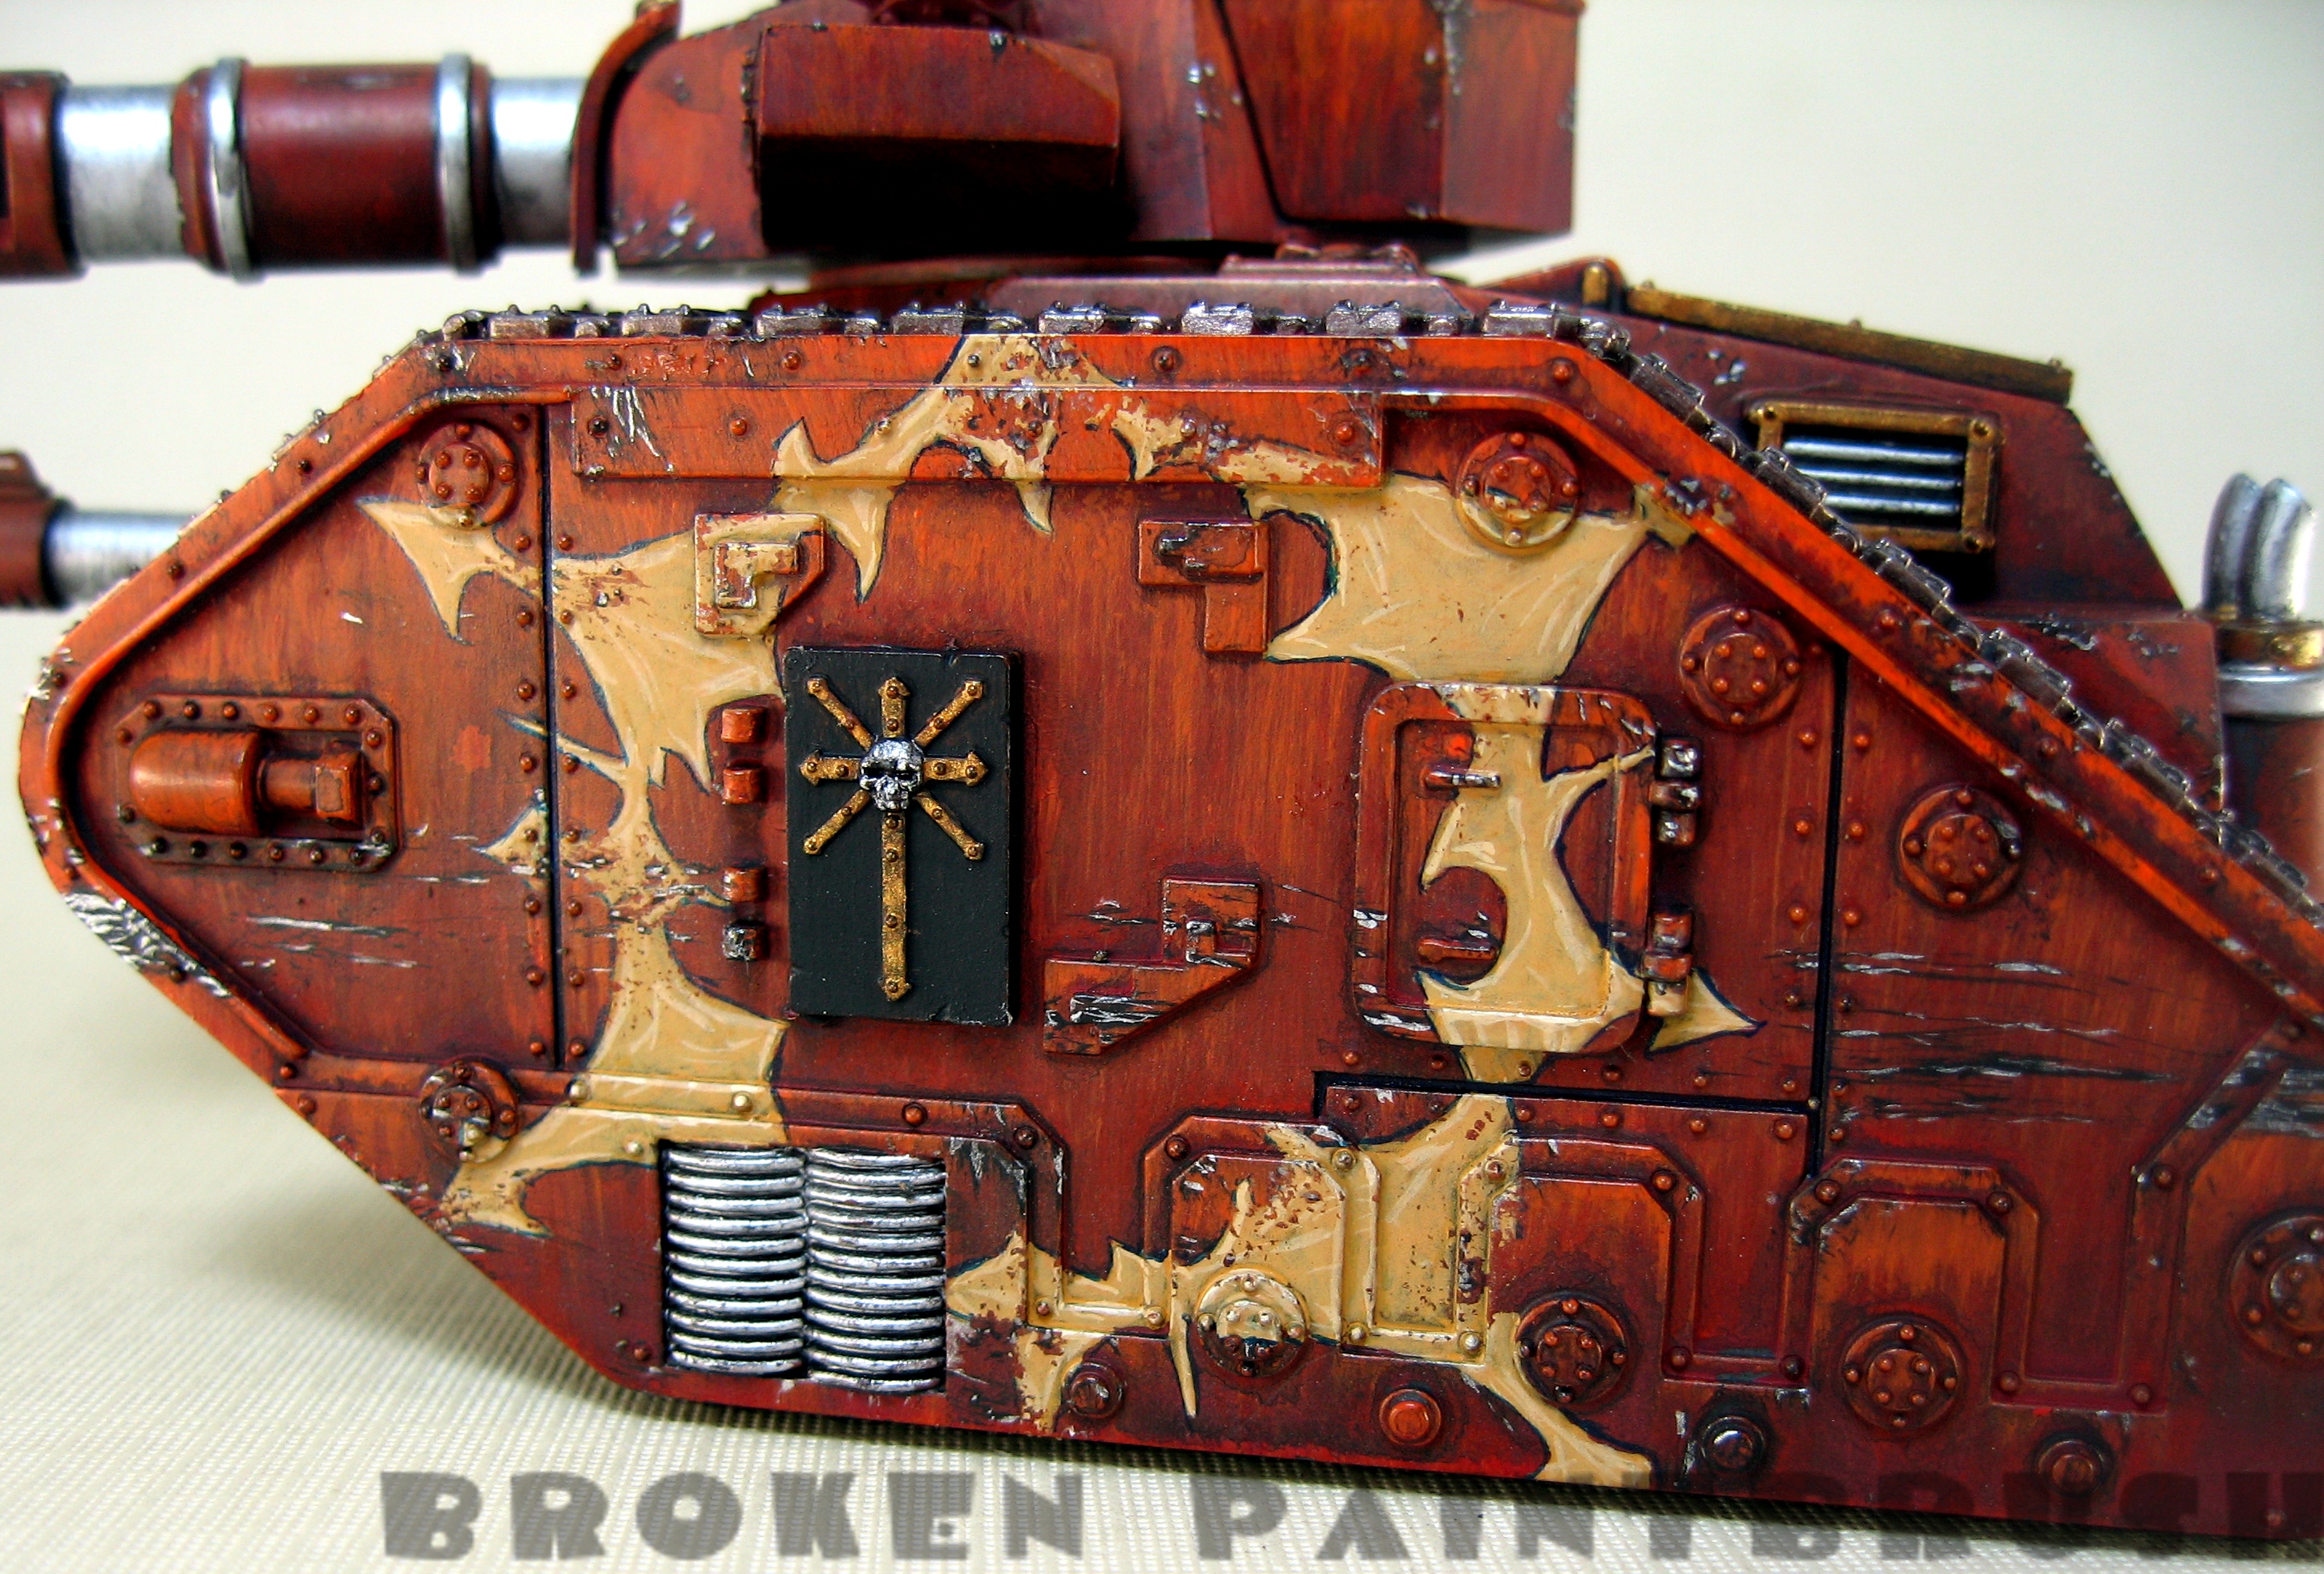
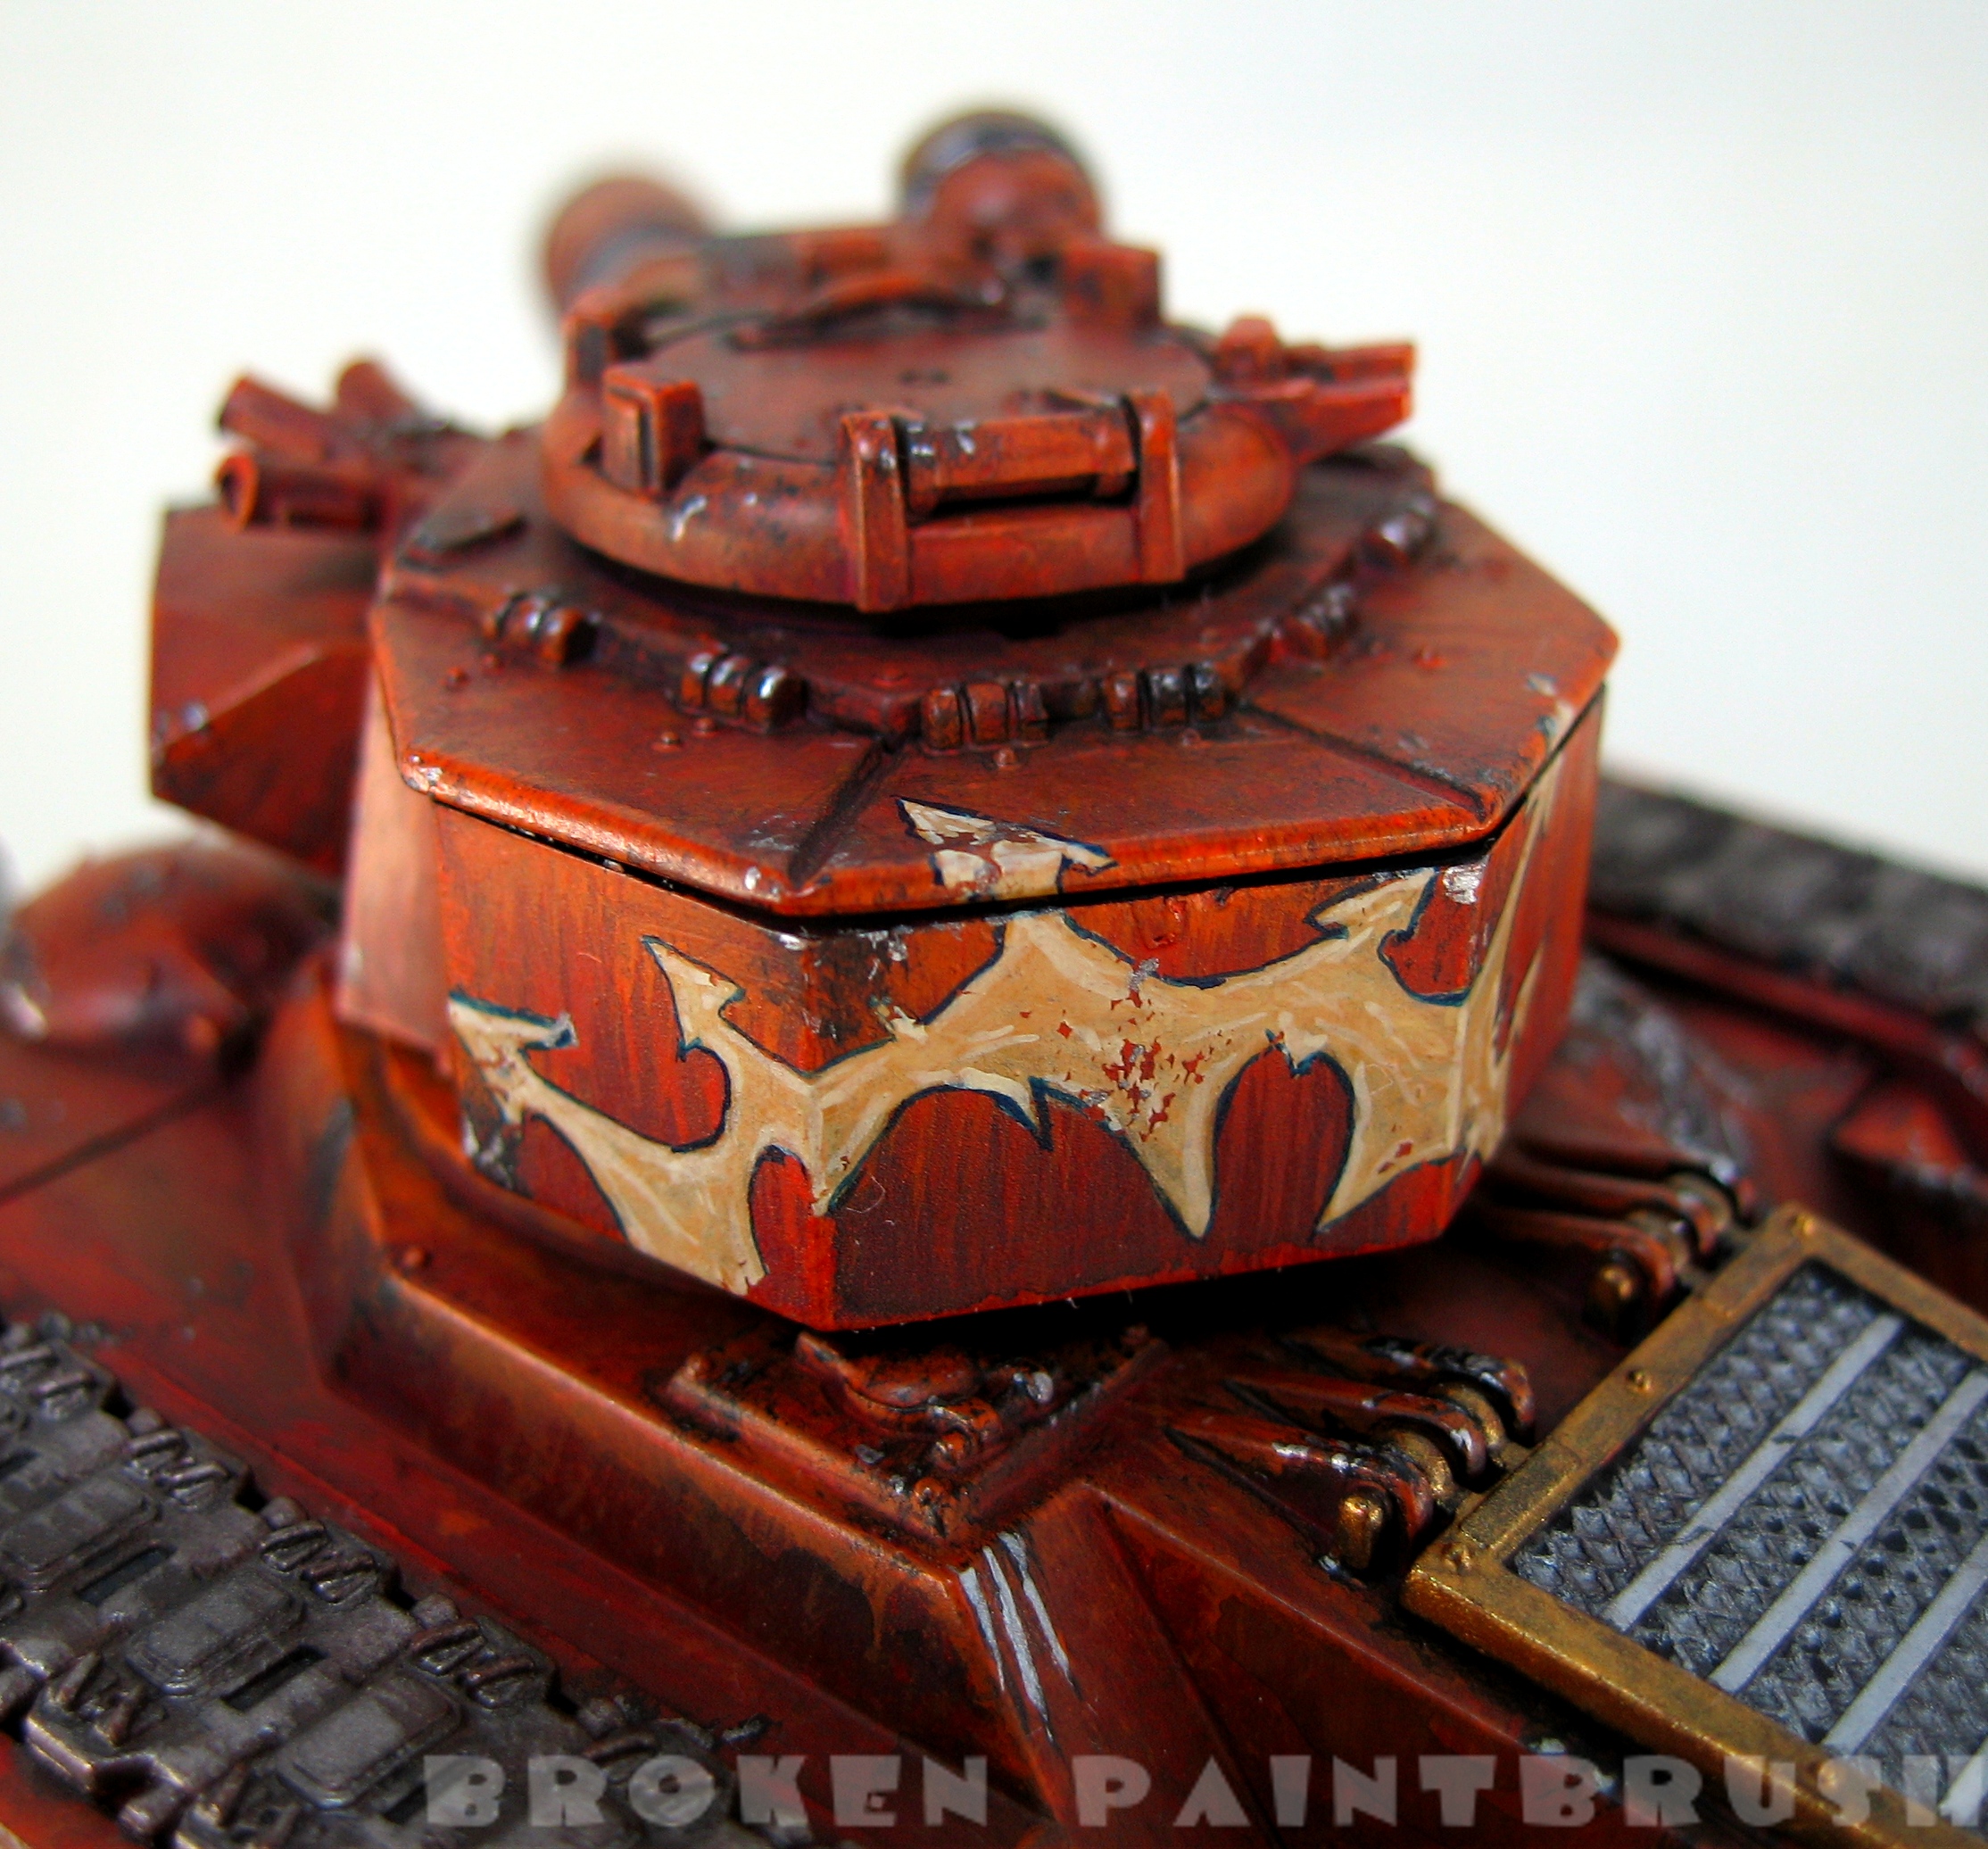
Here is the finished Traitor Leman Russ #2. The main body is the faded orange/red streaks but added a couple of large Chaos stars that the Forge World models tend to have. I think it helps break up the large spaces well and add new interest.

Traitor Leman Russ 2 Final - Right

At first I was going to paint the lenses green to match my Iron Warriors but through it clashed a bit too much and decided on the blue instead. The cool blue offsets all the warm oranges and is more fitting with the cool silver.

Traitor Leman Russ 2 Final - Front

I also thought the cargo boxes looked a bit funny being empty so I painted up some bitz to add some details. This one has an extra gas can (for those torch wielding fanatics), an extra lasgun and a rusty shovel. You can also see the close up of the weathering done around the hatches.

Traitor Leman Russ 2 Final - Cargo

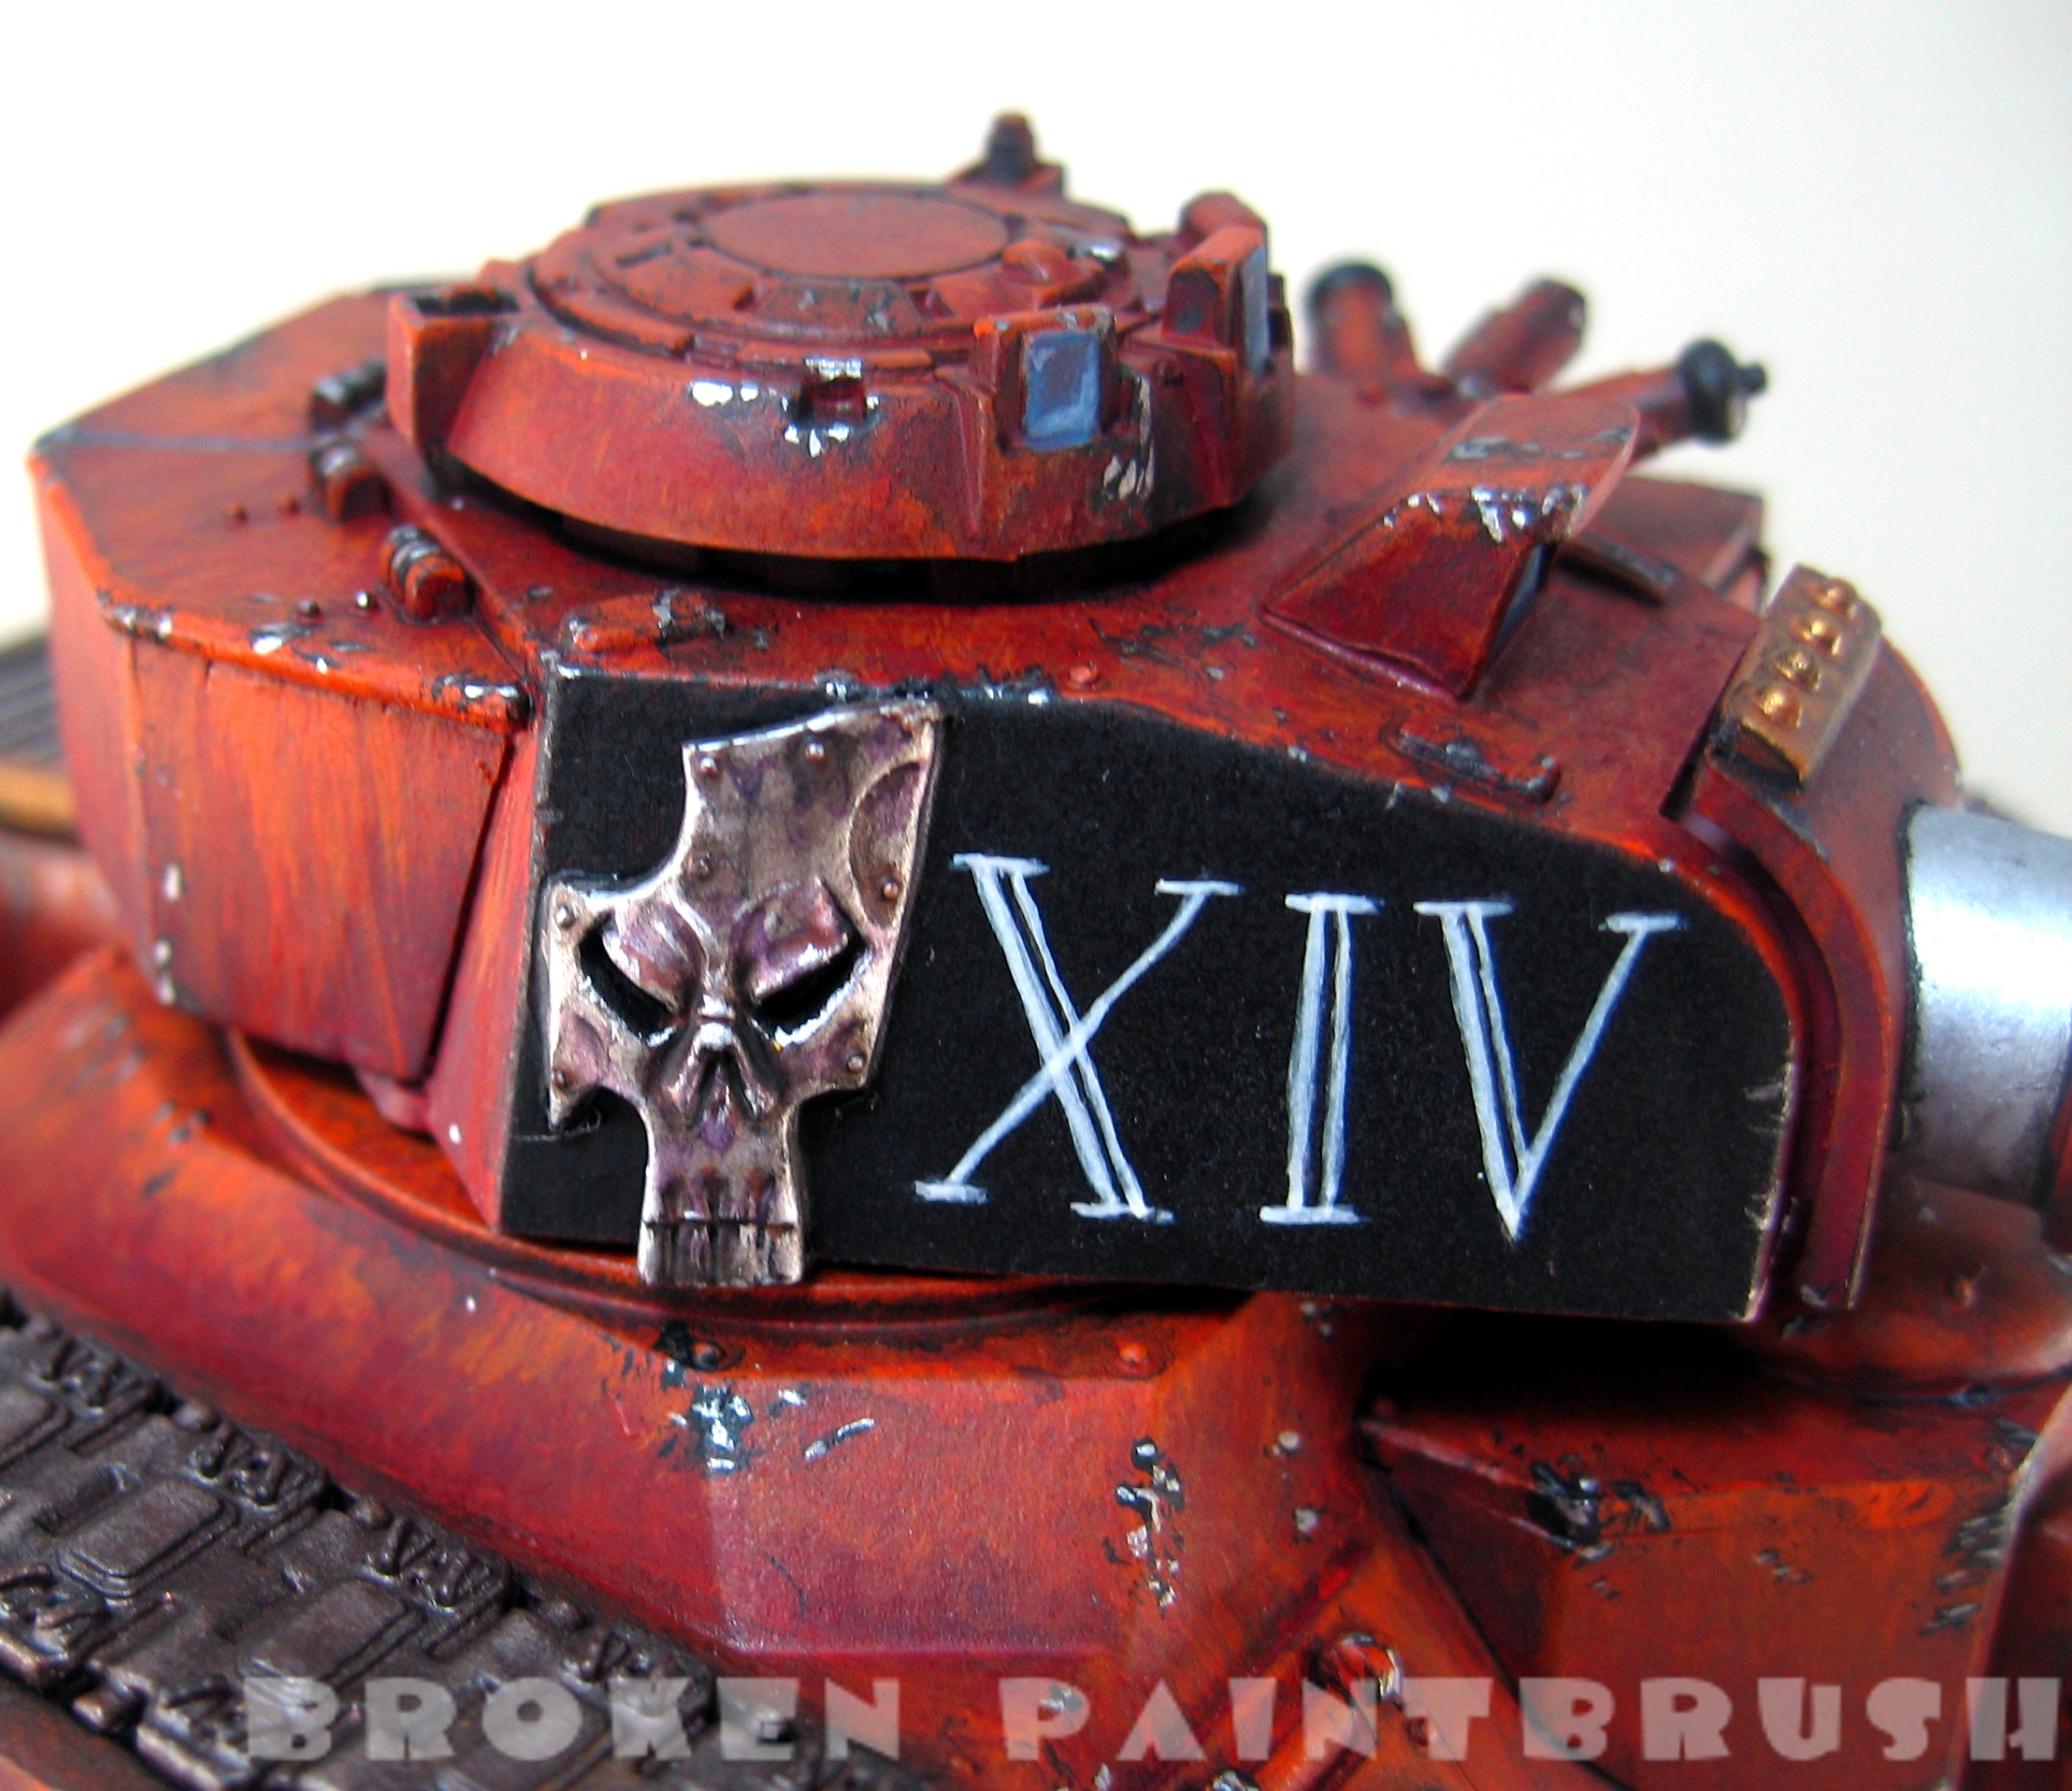
And Russ #3. Again with the large Chaos star and my Iron Warriors badge on the turret.

Traitor Leman Russ 3 Final - Right


You can see the star somewhat matches on the other side, but with enough differences to keep it from being a uniform.Traitor Leman Russ 3 Final - Left

This one got a camo cloth and broken down  stubber.

Traitor Leman Russ 3 Final - Goodies

Hope you all like how they turned out. I have the two Leman Russ Demolishers still to do but first I have a surprise. The next unit has been sitting on my desk for a few years now begging to be painted and all you old school Chaos players might remember this character 🙂


Traitor Leman Russ WIP - Sign of Chaos - right

Traitor Russ WIP (4) – Second Mark Completed

So the second Russ went a lot faster even though I did a bigger Chaos star. I also was more careful with not rubbing the masking medium and it paid off.

Traitor Leman Russ WIP - Sign of Chaos

In trying to keep the stars more free-form and chaotic I choose different centers and angles for each but kept the same size to give some coherency.

Traitor Leman Russ WIP - Sign of Chaos - right

Next up is some more detailing and the final weathering (dust/mud splatter)

[amazonify]B002ICAXLY[/amazonify]

Lemun Russ WIP - Back Side w/ Markings

Traitor Russ WIP (3) – Slow and Steady

So I’m hoping that I’m starting to pick up the pace a bit now that I’m getting back into the painting but it still feels like I’m slogging along. Anyway, on to the new work:

Lemun Russ WIP - Right Side w/ Markings

I spent this last week to add a chaos star to the tank to add some color and break up the large side. As I said in the last post the idea came from the amazing Dave Taylor’s work and tutorial. The base coat is Tausept Ocher, then adding Dheneb Stone and finally Skull White for the highlights. I wanted to set off the yellow from the red as the two colors somewhat blue together at the edges so I added a fine line of Necron Abyss.

Lemun Russ WIP - Left Side w/ Markings I wanted to add some wear to the markings but without having to go back and repainting it on so I tried using a masking medium that “paints” on and once dry allows you to paint over it, and when done just rub it off. It didn’t seem to work to well on this tank as I tended to rub it off while working on it so the other Russ I plan on handling a bit more careful.

Lemun Russ WIP - Back Side w/ MarkingsThe close up of the back o the turret you can see some of the masking fluid’s work.

The last Russ is almost complete with it’s chaos stars and both will be moving on to the last weathering stage before completion.

[amazonify]B002ICAXLY[/amazonify]

Obliterator Scupted - Finished - Front

Second Sculpted Obliterator (3) – Finished

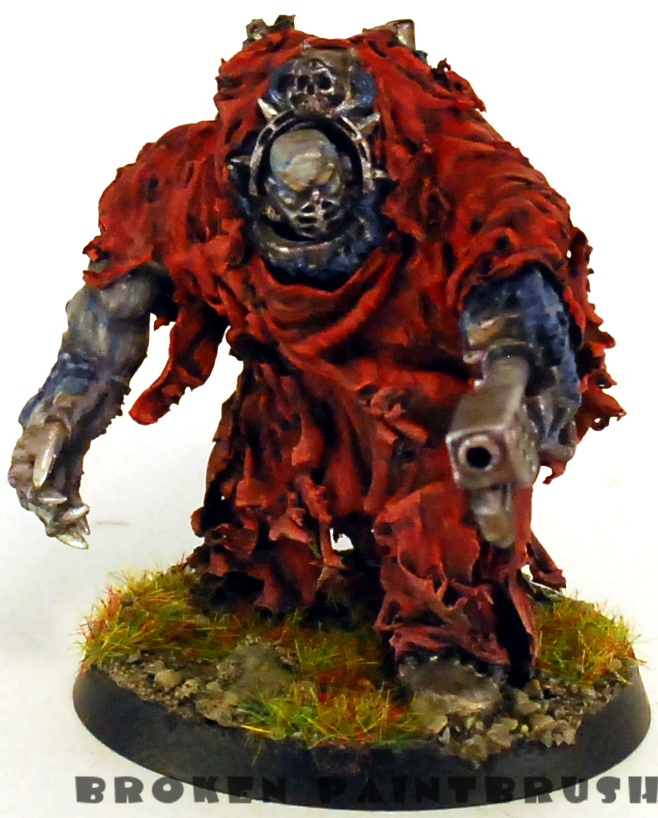
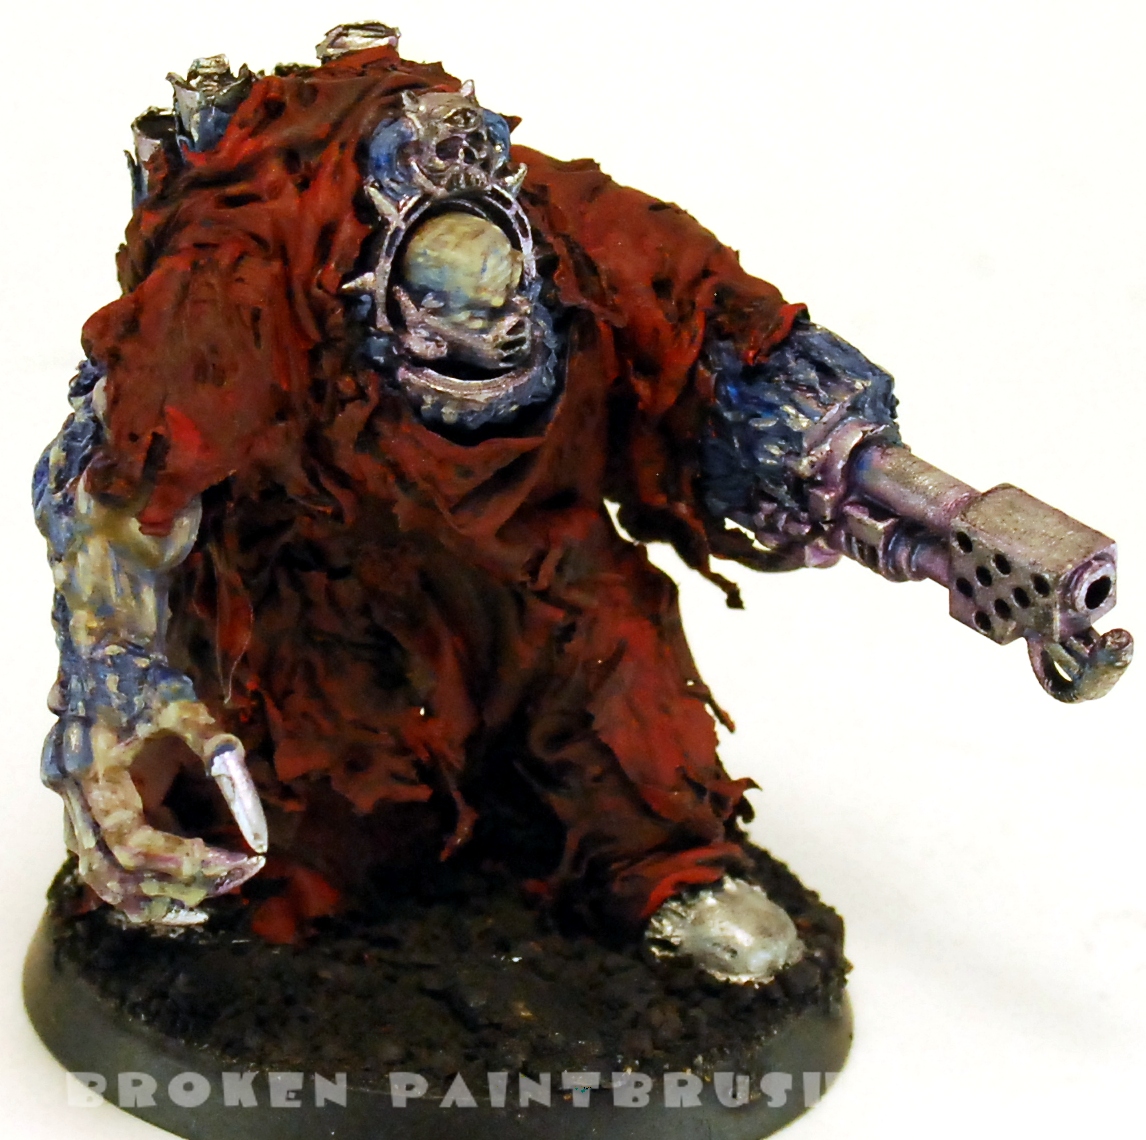
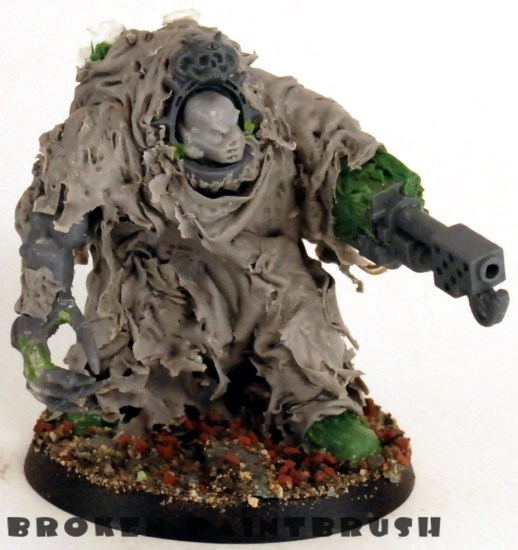
Just finished the second custom sculpted Obliterator. As you can see from the steps below and the previous posts, it really only uses four bits: a heavy flamer, mutant arm, spare head, and the terminator lord head crest for the sorcerer build. Everything else was custom sculpted with green and grey stuff.

Obliterator Scupted - Finished - Right

As compared to my first sculpted obliterator, this guy has a bunch more bulk built up around the wire frame which I did by adding blobs of green stuff until I liked the size. I used grey stuff for the robes and finer details as it holds up a bit better.

Obliterator Scupted - Finished - Front

The vent tubes were added by using plastic tubing to mimic Typhus and the dreadnoughts.

Obliterator Scupted - Finished - Left

I’m pretty happy with how it turned out. It has been a good step in learning how to sculpt, hopefully I will eventually be able to sculpt all the parts. Until then I have boxes full of bitzs to use.

I also put together a stage-by-stage picture, I think it is pretty inspiration for me, especially as I’m about to start the third, and last for now, obliterator.

Obliterator Scupted - Stages

click for larger picture

until next time…

Sculpted Obliterator 2 - Flesh Painted

Second Sculpted Obliterator (2) – Painting has started

I was able to get some paint done on the second obliterator. It is amazing what a bit of primer can do for a sculpted piece…

Sculpted Obliterator 2 - Primed Black

Next up was the base coat. This was mostly to block out the colors and give a base coat to the follow up colors. Ugly at this stage is ok…

Sculpted Obliterator 2 - Base Coat

After a black wash to deepen the shadows I focussed on the flesh, both the daemonic as well as the human(ish). The skin was a mix of ice blue, space wolf gray, grave yard earth, and elf flesh. The blue was a mix of ice blue, space wolf gray and mordian blue. The blue was then highlighted with a mix of blue and mithril silver to blend it into the actual metal.

Sculpted Obliterator 2 - Flesh Painted

Sculpted Obliterator 2 - Flesh Painted BackNext up is the metal areas and then the robe. As always, comments and suggestions are appreciated.

Second Sculpted Obliterator - The Build Up - The Robe is Added - front

Second Sculpted Obliterator (1) – The Build Up

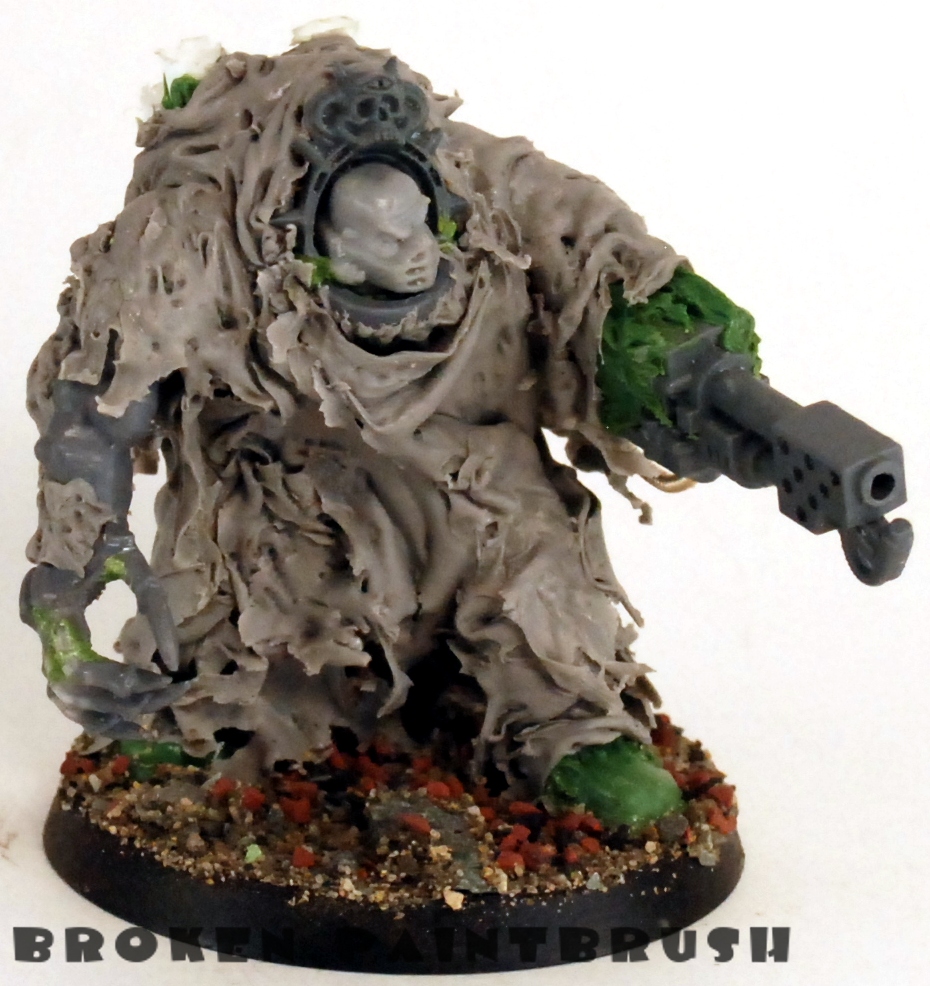
As promised, here is some build up shots of my second obliterator. One of the things I wanted to change on the second guy was adding more bulk to the body. I wanted it to look closer to a full terminator suit rather than a scarecrow with a robe. I started with bending a couple paper clips to create the wire-frame with proportions of a terminator, including the width and hight of the square body section. I added the arm bits and the head. The coper wire was used to hold different paper clips sections together.

Second Sculpted Obliterator - The Build Up - Wire Frame

I then started to bulk up the wire with blobs of green stuff. I added in some bitz around the head from an extra terminator front (from the lord box I think). I also added some exhaust pipes to the back using some plastic tubes. The daemon claw hand was cut and bent to close it up a bit, gs was added to fill the gaps.

Second Sculpted Obliterator - The Build Up - The First Layer of Putty

After letting the first layer of green stuff dry more was added to the legs to create a bulkier area for the robe to rest against including a small flap to help shape the robe. Daemonic flesh was also added to the flamer and the back.

Second Sculpted Obliterator - The Build Up - Details Taking Shape

Finally, layers of Procreate Putty was used to create the worn and tattered robe. To create the robe a rolled out a chunk of putty until it was fairly thin. This was then super glued onto the model where I wanted it to connect. I then used a pick to pull out strips and create folds. The next section of robe was then added and blended into the first. This was done over a few separate drying stages, keeping the extra procreate in the freezer to help it keep longer. Some extra flesh was added to the claw arm to tie in the other daemonic flesh.

Second Sculpted Obliterator - The Build Up - The Robe is Added - front

I wanted to the robe to look almost alive and flowing with the movements of the obliterator itself. I attempted to do this by pulling the tatters in the direction of movement and letting them dry. This is a great advantage of the Procreate over green stuff as it can be moved into place and actually stay there without sagging down.Second Sculpted Obliterator - The Build Up - The Robe is Added - Back

As you can see in this shot I added a lot of bulk to this obliterator over the previous one and it has nearly the same outline as a terminator.

Second Sculpted Obliterator - The Build Up - The Robe is Added - Top

Next up is primming and painting! Hopefully I can get this finished over the new years weekend!

Comments and criticisms are always welcome