Latest Posts

Painting Space Marine Banner Tutorial

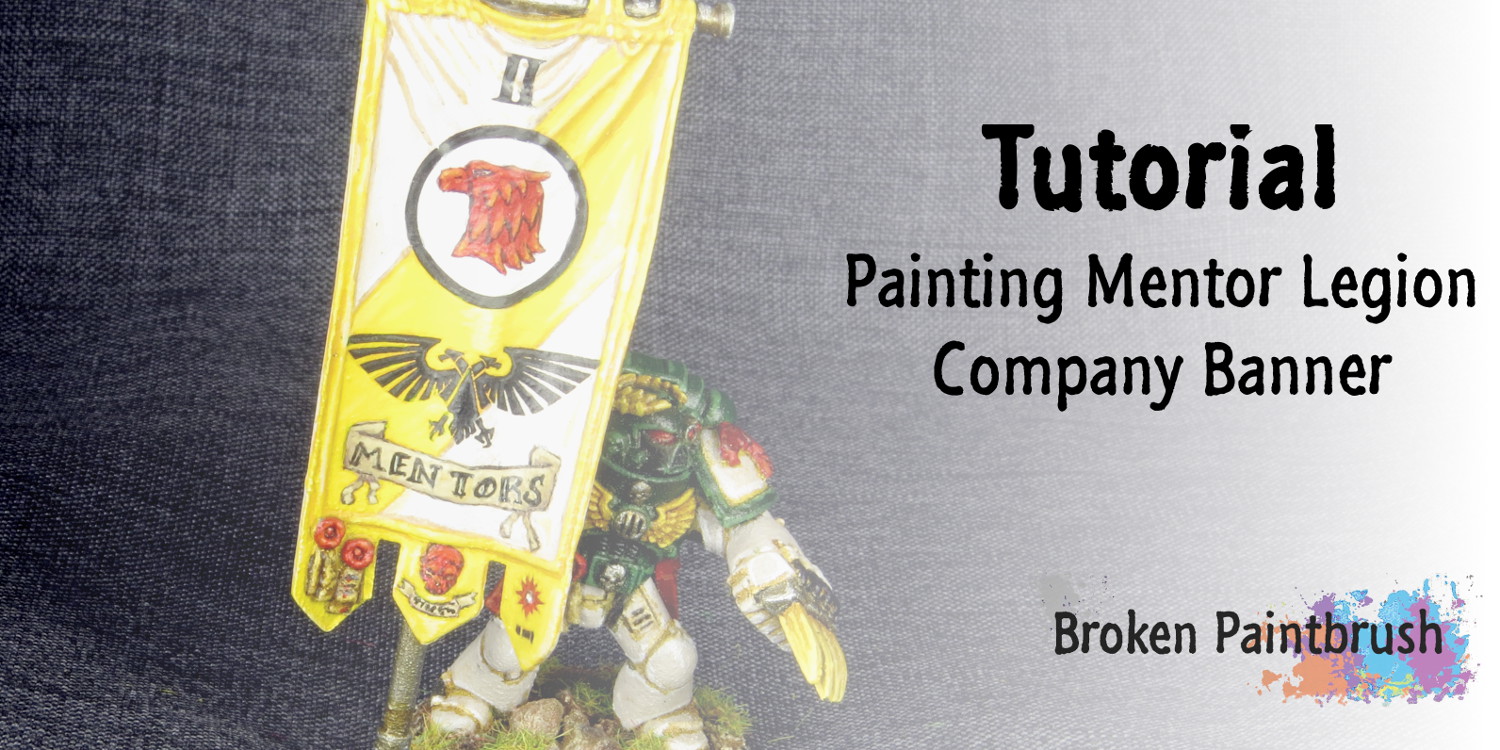
Tutorial: Painting Custom Space Marine Banner for Mentor Legion

Painting Custom Space Marine Banner Tutorial

Today I have a tutorial on painting custom Space Marine banner, in this case for my Mentor Legion but the ideas could be easily transferred to any Space Marine chapter.

Before beginning, I had to first think of a design for the banner itself. I scoured the codex for ideas and did the obligatory google searches. The general idea I decided on was similar to the Raven Guard banner in the codex:

gw-raven-guard-banner

Unknown photographer of Games Workshop painted model, used without permission.

I also found a handy PDF on Bell of Lost Souls (I know…) that had real basic banner designs for each company. So with a rough idea of what I wanted, I then dug through my pile of water transfers to find the starting point of each element.

Water transfers? Yeah, I am still working on my freehand so I like to use water transfers as the base idea and work off of them, kind of like coloring books 🙂

Like these sort of tutorials? Make sure to sign up for my newsletter. Not only will it keep you up to date on Broken Paintbrush, but I also send links to other great tutorials from around the web.

Step 1 – Block in Colors

Painting Space Marine Banner Step 1 - Averland Sunset

The main banner was already painted with Pallid Wych Flesh that I have been using for my Mentors armor color. Ignore the ugly wash stains, those will get fixed later.

The yellow was then blocked in with Averland Sunset. I started by using the colored end of GW’s paint brush as a measuring device (accurate I know!). The top and bottom edges were one segment from the edge and the outsides were two segments from the border. This gives the nice offset slash I was looking for.

painting-mentor-legion-banner-1b

The marks were then connected with a thin line so that the diagonal was formed. The lines weren’t straight but that’s ok at this point. The yellow areas were then fully filled in with Averland, using the lines and the slightly raised edge as the markers.

Now where I had messed up, I went back with Pallid Wych Flesh to clean up.

After everything was dry, I used ‘Ard Coat to create a glossy, smooth layer for the next steps.

Step 2 – Add Water Transfers

Painting Space Marine Banner Step 2 - Add decals

I started adding the water transfers I had found to create the basic forms.

The Imperial Fist icon from the vehicle sheet was used for the circle, I simply cut out the fist section. I started with this to  get the placement for the rest in relation to it. The white Raptors symbol from Forge World was then added to the middle of the circle.

The Imperial Eagle was then added underneath and the numeral II above. For these transfers, I finally used Micro Sol [pick it up on Amazon] and it is AMAZING. I will do a more detail post on this magic elixir, but it really helped the transfers form into the folds of the banner.

Step 3 – Paint in the Red Details

Painting Space Marine Banner Step 3 - painting in red

Now here is where some of the magic happens. I used Mephiston Red to paint in the Mentors eagle head and the skull below. Just use the transfer as a guild and paint a few layers until it has a good coverage.

The white areas were painted over with Pallid Wych Flesh to cover up the missing decal pieces and match the background.

Evil Sunz was used to highlight the red while black was added to add some shading.

Finally, black was used to outline the icons and create additional details.

Step 4 – Outline the Scroll Work

Painting Space Marine Banner Step 4 - block out scrollwork

There were no decals for the scroll work at the bottom so I had to do those free hand. With the codex in front of me on the wonderful page full of banners, I grabbed my Baneblade brown and got to work.

I first added the two vertical lines on either end, this provided the width as well as a uniform height for the scroll. The two horizontal curves were then added. Looking at the artwork, I didn’t want large, sweeping curves, just a slight arc – enough to add interest.

Finally, the folds were added by adding the triangle to the top corners and bringing the line straight down through the bottom. The tatters were my attempt at mimicking the artworks.

Step 5 – Fill in Scroll Work

Painting Space Marine Banner Step 5 - fill in scroll work

I simply then filled in the scroll with baneblade brown. The yellow and white were also touched up along the way.

Step 6 – Scroll Work Outline

Painting Space Marine Banner Step 6 - detail scroll work

To add detail and help the scroll standout from the banner I used thinned black paint to create the border. This also included emphasizing the fold at the top.

Step 7 – Scroll Work Shading

painting-mentor-legion-banner-7

I then used Zandri Dust and Ushabti Bone to create the highlights, including most of the main part of the scroll in Bone. Again much of this was using the artwork from the codex as a reference. Black was mixed into the Baneblade Brown to create the shadows.

Step 8 – Add Lettering

Painting Space Marine Banner Step 8 - Lettering

To create the lettering, I first used a pen on paper to get the words in front of me in the style I was aiming for. I could then get a sense of spacing between each letter.

I started with the ‘T’ in the center, very lightly with watered down black. The ‘M’ and ‘S’ were added to either end of the scroll before sketching in the other letters.

Once I was happy with the spacing and size of each letter I filled each one in and added the little details such as serif and double lines.

Step 9 – Highlights

Painting Space Marine Banner Step 9 - Highlights

Now that the main elements of the banner are complete, I started added highlights to the colors.

The yellow was brightened up with Flash Gitz, but leaving the Averland in the recesses. The white was highlighted with Ceramite White on the top edge of any wrinkle. The black was highlighted with Adeptus Battlegrey, but as you see in the picture above I went a bit crazy with it in some areas. This was later toned back with black and gray mixes.

Step 10 – Final highlights and shading

Painting Space Marine Banner Finished

To finish the banner white was added to the Flash Gitz for extreme highlights on the wrinkles while the black was cleaned up. To add shadow I used Baneblade brown mixed in with the base color and layered in on the bottom side of each wrinkle. I also used the Baneblade to darken the line between the yellow stripe and the white field.

Finally, once everything was dry I applied a few coats of matte varnish to seal it up and remove the gloss sheen.

I hope you found this tutorial on painting custom Space Marine banners helpful but either way let me know your thoughts in the comments below. Also, while working on this article I found another great tutorial on Path of Seers for a Salamander Banner, so check out his post as well.
Vostroyan Hydra by the GunGrave on A Guardsmen's Guide

Good Reads 2015W23 – Tanks

Welcome to another week of Good Reads, this week I have put together a great collection of tanks from the last few weeks – and I love tanks. So check out the posts below and leave your fellow bloggers some comments!


Nurlge Vindicator by Rednekkboss on Da Rednekkz Mekshop

Painted by Rednekkboss on Da Rednekkz Mekshop

Rednekkboss is a fan of the gribbly bits and it shows in this fantastic Nurgle Vindicator. You can check out his previous posts to watch this nasty, horrible, awesomely painted beast come together from the amazing rust effects to that creepy green eye.


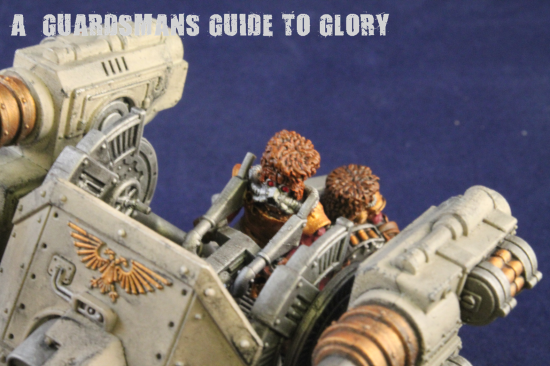
Vostroyan Hydra by the GunGrave on A Guardsmen's Guide

Painted by GunGrave on A Guardsmen’s Guide

So the new Hydra Kit from Games Workshop is awesome, but the GunGrave took it one step further and modified it to be a Vostroyan Hydra complete with custom gunner and loader. Hopefully someday GW will give these other IG units some love again to make it easier to theme our armies.


Dark Mech Stalkertank by bigbossredskullz

Painted by bigbossredskullz

I love the new Stalkertank and I have a fondness for traitor guard, so I love bigbossredskullz’ take on it. Not only is the weathering well done, but the little chaos bits are spot on.


Bolt action tank company

Photo by Greggles on Feed Your Nerd

Greggles has been doing some great battle reports, often getting into character, but always with a ton of pictures. This week he goes over a fun battle report of Bolt Action battle in South Africa that included lots of DM working. Check out the pictures for an amazing board and great looking models.


If you enjoyed the selection of posts above, let me know below!

Cool Tools: Testors Model Master Plastic Glue

testors-plastic-glue-banner

For anyone getting started in the hobby of building plastic miniatures you need three things: clippers, knife, and plastic glue. These things are so basic to our hobby that many of use still use the same tools and glue that we started with, often times the Games Workshop glue for those that started with their models.

For me, I started this hobby in the model airplane world which is ruled by Testors, well at least at the big box stores in the US. Those of you who followed a similar path probably remember the tubes of doom that Testors sold as their plastic glue, think of those tiny tubes of super glue, but much bigger, and much messier.

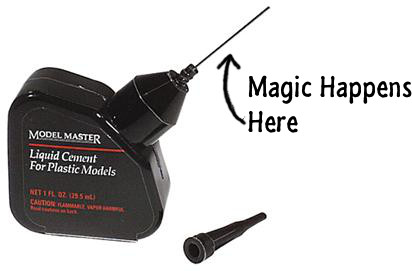
Fortunately at some point I bought the Model Master line of plastic glue instead that came in a nice applicator bottle and a metal tip. This changed everything. The tiny metal tip allowed precises control of where the glue would go, and since it wasn’t in a crinkly, old tube, it is also very easy to control how much glue is applied.

I personally haven’t used the GW glue much except for a few in-store repairs, but I know the older bottles were awful in applying anything but a blob of mess.

I did find out you have to be careful in buying Testors’ glue, as they have an identical looking package but with a plastic tip, which is plain ridiculous. To be sure, look for those metal skewers inside the package, which are part of the magic. If the tip is ever clogged with dried glue, those fit nicely into it and can push that gunk out of the way. Ever try that with a plastic tipped bottle?

Over the last 7 or so years of building GW models, I have bought only three of these plastic glue containers, it goes that far. That’s an army of Lizardmen, Dark Elves, Traitor Guard, Iron Warriors, Baneblade, Orks, Stompa, Knight Titan, Tyranids, and a few dozen terrain pieces with just three bottles of plastic glue (and a ton of super glue for all those metal/resin joins). Not too bad for a $8 bottle you can  grab it on Amazon.

So if you are tired of dealing with crinkly tubes, or hard to control plastic tips, do you and your little grey men a favor and upgrade!

  • Joe B.
Mentor Legion Company Command Banner

Mentor Legion Company Command Squad for the Second Company

Mentor Legion Company Command Banner

I have completed my Mentor Legion Company Command Squad led by the Master of the Watch, Captain Rothn Ryn.

Mentor Legion Captain, Master of the Watch

At one point Games Workshop released a four-pack of the ‘masters,’ four metal space marine captains that created an Apocalypse formation (before the current formation styles). This is the Captain of the Second Company, the Master of the Watch with subtle conversions such as the helmeted head and winged skull on the backpack.

Mentor Legion Captain, Master of the Watch

The Master of the Watch is responsible for the protection of the Fortress Monastery and the chapter’s relics. As such he is armed for defense with his storm shield and symbolic key to the keep.

Mentor Legion Second Captain

There is just something about Space Marines with capes.

Mentor Legion Captain, Master of the Watch

One of the cool things about the Mentor Legion is their vague background and history of working with other chapters. So when I was reading through the Space Marine codex for ideas on how to build out my chapter, I liked the idea of using the different chapter characters as baselines for each captain.

Being armed with a storm shield and massive power ax, I figured the Master of the Watch would be a good Vulkan of the Salamanders, the only thing missing was the heavy flamer.

Mentor Legion Command Company Servitor

Enter my closest ever Blanchistsu conversion, my heavy flamer servitor. This was a fun conversion as it is litter a pile of bits glued together. The main frame is a IG mortar stand flipped upside down with a heavy flamer stuck in the middle. The two props were press-molds of the Drop Pod jets with a bit of plastic tubing glued underneath. Those cool little scopes are the IG binoculars cut in half.

Mentor Legion Command Company Servitor

The computer and energy pack is just a vox caster and flamer canister with twisted copper wires. And yes that is an ork skull, because if you are looking to create a flamer servitor, why not utilize the craziness of orks?

Mentor Legion Command Company Servitor

To keep the second company running at full capacity, Apothecary Tons Jokor stands ready.

Mentor Legion Command Company Apothecary

The two minor conversions done for him was to use a scout bolt pistol cut and re-positioned at an outward angle, and twisting the lamp to match the angle. This twisting used to be a standard thing with metal models, but you can do it with plastic as well as long as you are slow, but using plastic glue to ‘melt’ the plastic can help too.

Mentor Legion Command Company Apothecary

This really opens the model up and gives more motion to his overall look.

Mentor Legion Command Company Apothecary

To protect the honor of the Second Company is the Company Champion, brother Heuk Kotrosmund.

Mentor Legion Command Company Champion

Overall this is the standard Company Champion build but with one main change: cutting the hand at the wrist and elbow to create the pairing pose. I think this gives some great strength to the character rather than the old-school sword in the air.

Mentor Legion Command Company Champion

Of course a few extra purity seals and the Mentors icon on the loincloth were required to show his extra dedication to the chapter.

Mentor Legion Command Company Champion

The command squad icon was also added from the decal sheet.

Mentor Legion Command Company Champion

Sporting the newest model of Mk VIII Power Armor is brother Garr Calisaera. While fulfilling no official role in the squad, I like to think that his is the close combat specialist, where-as the champion is the duelist.

Mentor Legion Command Company Veteran

The bionic arm is a nice little bit highlighting Calisaera’s faith and devotion.

Mentor Legion Command Company Veteran

As an bearer of the Crux Terminatus, his brothers are sure he will soon be joining the first company before returning to relieve Captain Ryn.

Mentor Legion Command Company Veteran

Taking up the defensive position is brother Erm Towishul with his storm shield and combi-plasma. The wreathed skull is a decal from the Space Marine vehicle set just painted over to fit my color scheme.

Mentor Legion Command Company Veteran

In the spirit of the nature of the command squad, I feel Towishul provides cover for his brothers and his Captain while providing over-watch fire.

Mentor Legion Command Company Veteran

As the Mentor Legion is often seen with the most modern war gear and cool toys, we have another set of the rare Mk VIII armor, multiple targeting scanners, and a well operating combi-plasma gun. Brother Towishul has also served a tour of duty through the Death Watch, earning him the Inquisitor seal.

Mentor Legion Command Company Veteran

Just so that the enemy knows who exactly is kicking their butt is honored brother Art Calishul carrying the Second Company’s Standard to battle.

Mentor Legion Command Company Standard Bearer

To ensure the enemy does not despoil the banner, Calishul is armed with a fearsome looking lightning claw, yet another set of Mk. VIII Power Armor, and improved optics to best locate the optimal location to wave the banner.

Mentor Legion Command Company Standard Bearer

Brother Calishul earned his Imperial Laurel by single handily taking down a rampaging carnifex while leading a Imperial Guard platoon under his command.

Mentor Legion Command Company Standard Bearer

I have another post in the works on how I went about painting the chapter banner including the various decals I used so stay tuned for that. But you can notice that I used the same winged skull icon for the banner top as the Captain’s backpack to tie them in a bit more.

Mentor Legion Command Company Standard Bearer

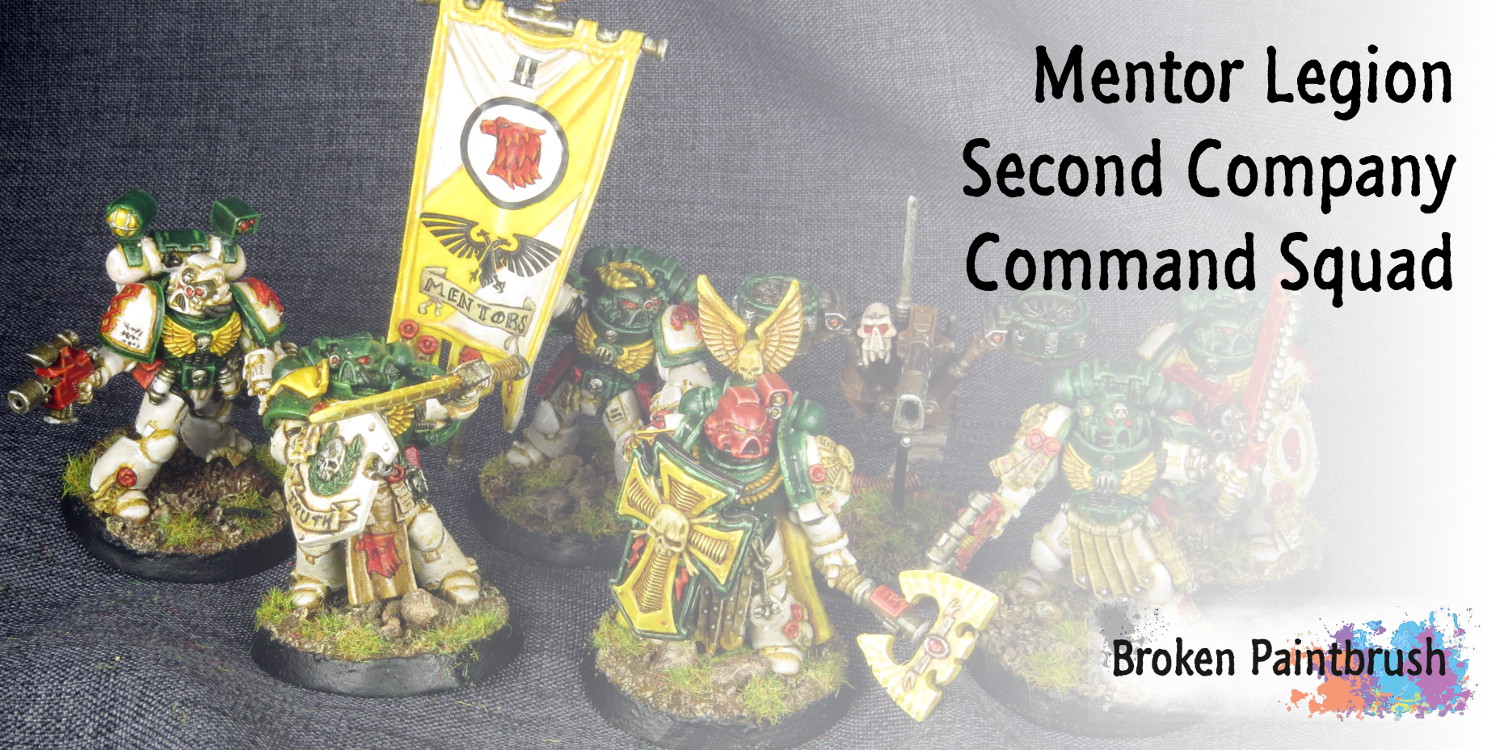
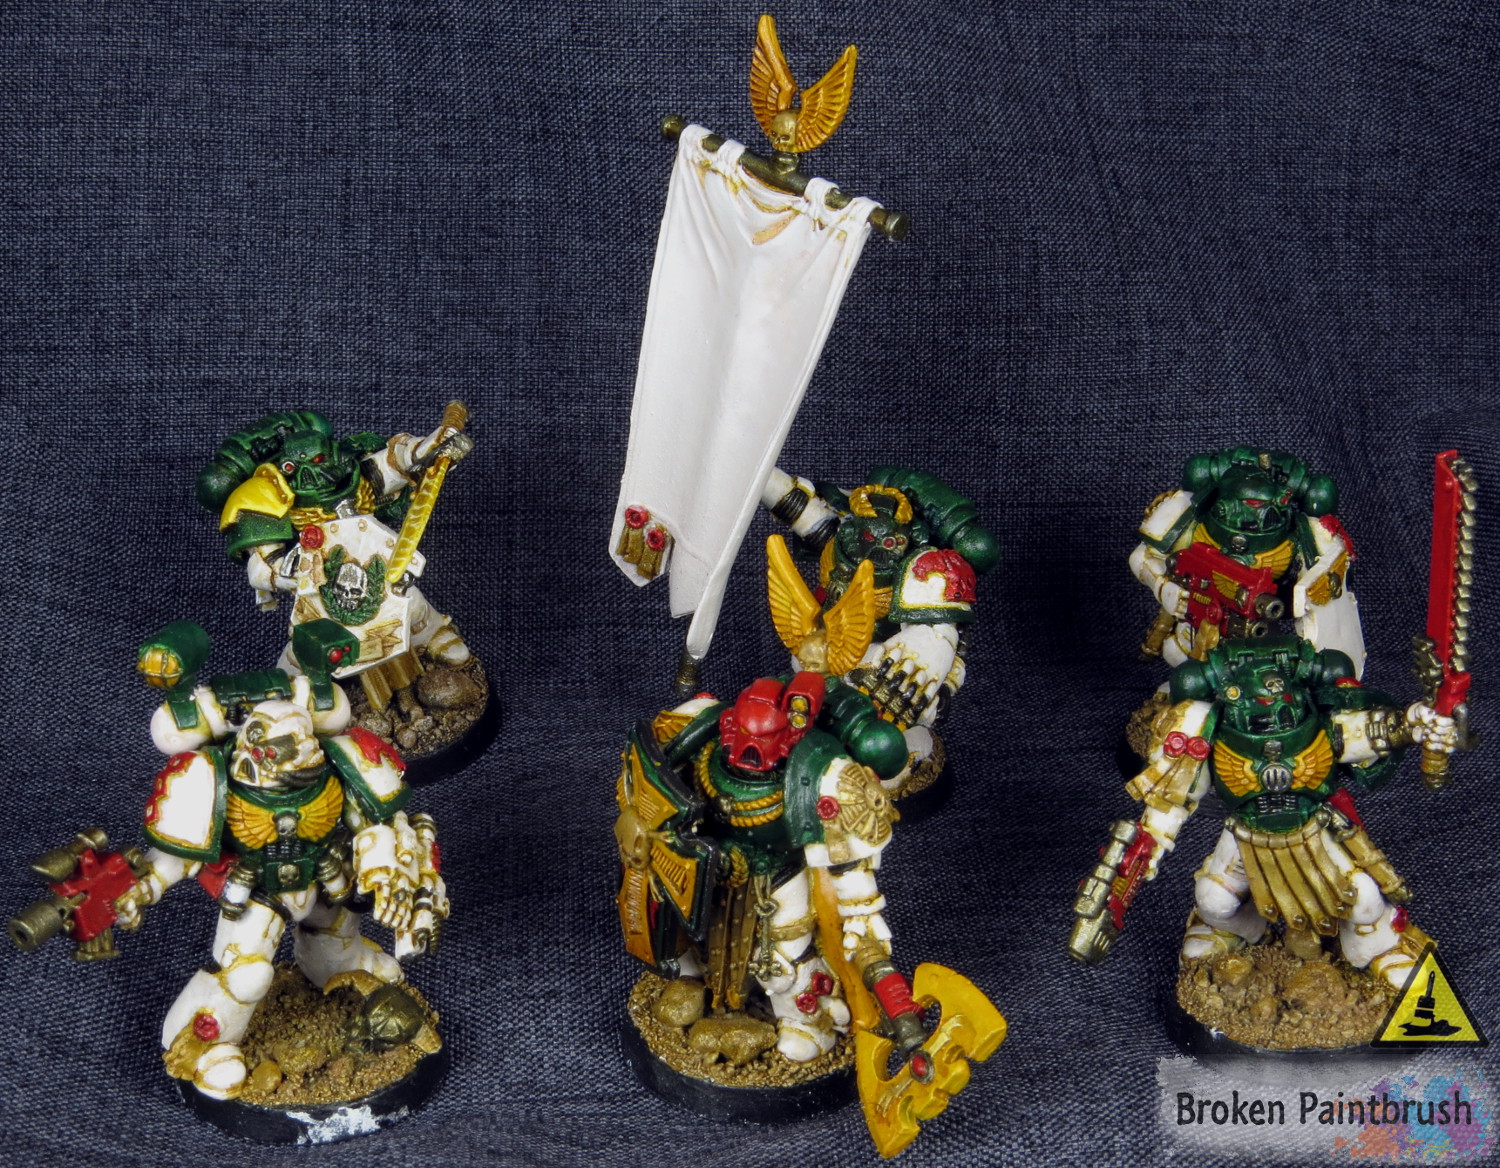
And finally, here is the completed Mentor Legion Company Command Squad in their full glory.

Mentor Legion Company Command Squad

I really enjoyed painting this squad and the different poses and war gear made it really challenging and interesting to complete.

So what do you guys think? Hit up the comments below and let me know!

Eversor painted by Redscorps

Good Reads 2015W22

Welcome to another week of some great blog posts from our little corner of the noosphere. Check out some of the great blog articles below and give your fellow war gammers, hobbyists, and bloggers some love.


inner circle knights by paint hammer

Painted by RJ_Payne on Paint Hammer

While I haven’t played fantasy in many, many years, I still enjoy seeing some of the amazing work people put into their units. RJ_Payne from Paint Hammer shows off his completed Inner Circle Knights that includes a great unit filler.

The little diorama depicting a Nurgle champion challenging Valten while the knights rush past.


The Rider by Klaus

Sculpted and painted by Klaus

Klaus is back with another amazing sculpt and painted creation, this time The Rider. After checking out the glorious pictures of the finished piece, make sure you go back through the build steps and watch as wire is turned into magic.


6-month-hobby-challenge

Admiral Drax had a post sharing a great hobby challenge hosted by the Spider Web of History named the 6 Month Mountain Reduction & Painting Challenge. The idea is a group support effort to reduce our mountain of grey plastic sprues by limiting ourselves to 3 purchases for the next 6 months and instead focus on building and painting what we already have. To help incentive completion they are also giving away gift cards to painting competitions.


Cadian Shock's WIP

Cadian Shock’s WIP

To help us all finish those mountains, Cadian Shock has a great post on batch painting and keeping yourself motivated to finish. For anyone that has tried to paint more than 10 guys at a time, make sure you read his tips to help you plow through.


Eversor painted by Redscorps

Eversor painted by Red Scorps

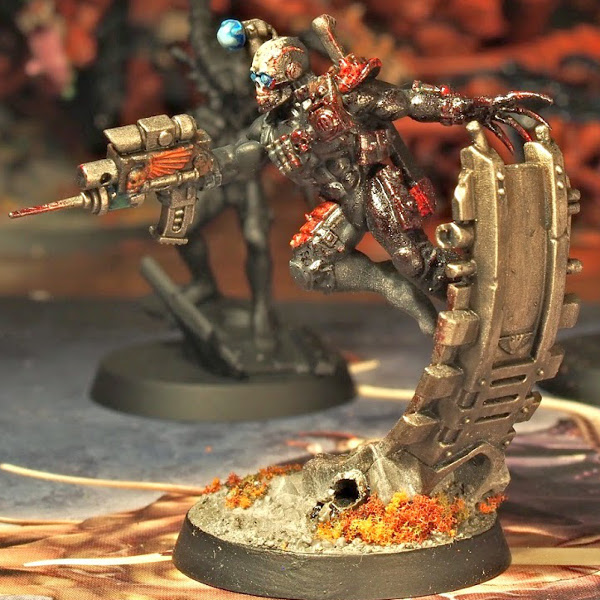
The new assassin models are very nice renditions of the classics and while I have seen some really well done models, Red Scropss is among my favorite. Between the well laid gore and the grittiness of the face-mask, the horror of this assassin really shines.

Hive Fleet Behemoth Broodlord

Tutorial: How to Paint A Broodlord from Hive Fleet Behemoth

painting-broodlord-banner

So after a good reception of my tutorial on painting a Hive Fleet Behemoth Carnifex, I’ve put together how I painted the Broodlord from the Shield of Baal box. My goal with these tutorials is two fold: first to document how I painted the model so I can repeat it for additional units in the army, and second, is to give back to the community.

I’ve learned so much from my fellow bloggers that I want to contribute my little piece to the greater whole. So if you are looking to paint up a Behemoth swarm, or just looking for ideas/inspiration for your own army, check out the steps below and see how straight forward it is to paint a decent looking army.

Broodlord Step 1 – Primer

The first step I have been doing with all my models is a two-stage primer. First I give it a nice coating of black followed by an top over-spray of white. The black undercoat provides a first level of shadows, any time I have tried to prime just white I end up with white primer still visible is some little cranny. The over-spray provides a lighter base color to start from while not going into the deep recesses. Kind of the best of both worlds.

Painting a Broodlord Step 1

Broodlord Step 2 – Red Spray

The next step is to use my spray gun to provide a nice base coat of Mephiston Red. I have done very little with air brushing, and have only the cheapest kinds that still blow paint, but they are enough to base coat which saves a huge amount of time when I do a couple of models at once.

This step does take a few layers to get a nice even coverage of red, but not too much that you loose any benefit of the two-stage primer. You want the red on top to be bright from the white undercoat and the red underneath to still be a bit dark from the black.

Painting a Broodlord Step 2

Broodlord Step 3 – Base Colors

I am a big fan of blocking in all the base colors before getting to far with any detail work. For me this helps provide an overall look between the different colors and gives a sense of where all the details are. So many times before I would be going along only to realize that I missed an entire section of skin or armor.

So for the Broodlord I based in the blue with Necron Abyss, the black with Abaddon, and the fleshy bits with Ratskin Flesh. Any mistakes were easy to recover at this point since there is no highlighting to work back in.

Painting a Broodlord Step 3

Broodlord step 4 – The Wash

Another reason I love blocking in the colors: applying a full body wash, in this case Vallejo Dark Brown Wash which you can pick up for $8 bucks on Amazon – trust me you won’t regret switching, a much better deal than Devlan Earth. Not only does the wash create the shadows we need, but it also provides a nice dark line between the colors, especially the light flesh.

The blue carapace also received an additional wash of black to make it extra dark.

Painting a Broodlord Step 4

Broodlord Step 5 – Starting the Red

So now we are starting the red highlights. For this I am using Evil Sunz Scarlet and basically painting everything that is not a recess. On the flat head I add some texture to create some interest but overall it is fairly straight forward highlight.

Painting a Broodlord Step 5

Broodlord Step 6 – Red Extreme and Fleshy Bits

Next I break back out the Ratskin Flesh for both the extreme highlight of the red and to re-layer the flesh areas. I like using the same color for both to help tie them both together a bit, they are both part of the ‘skin’ area after all. For the red areas this was used on the hard edges, upper areas of the smooth muscles, and the veins popping on the head.

Painting a Broodlord Step 6

Broodlord Step 7 Fleshy Bits Highlight

Next up the fleshy bits were highlighted with Ungor Flesh. This was also used on the teeth to provide their base coat. I tried to keep it to the upper ridges of the vents but some of those are too small to keep clean, but no worries, I take care of that in a later wash.

Painting a Broodlord Step 7

Broodlord Step 8 – Final Fleshy Bits

Pallid Wych Flesh was used for the extreme highlight of the fleshy areas and the teeth. The Brown Wash was again used to carefully add definition to the teeth and vent recesses. This wasn’t a ‘dunk it’ sort of wash but rather I used the fine detail brush to make sure it was applied only to the recesses.

Painting a Broodlord Step 8

Broodlord Step 9 – The First Blue Highlight

Now the fun begins. As Greggles pointed out in my Carnifex tutorial, the blue is what helps make the Behemoth models start to pop, even with just the first highlight. For this we start with Caledor Sky and keep it to the edges of the armor plates.

The genestealer armor is a bit different than the other tyranid models in that it doesn’t have the same overlapping plates, but the idea is the same: create long, thin strokes that taper toward the armor edge. This is also the same for the flutes along the back.

Painting a Broodlord Step 9

Broodlord Step 10 – Blue Mid-highlights

The mid-tones for the carapace was Calgar Blue. This was kept closer to the edges and in streaking patterns.

Painting a Broodlord Step 10

Broodlord Step 11 – The Final Blue

The extreme blue highlighting was done with Fernisian Grey and kept very close to the edges. This is an almost white blue and provides a nice strong contrast to the deep blue in the recesses.

Painting a Broodlord Step 11

Broodlord Step 12 – The Black

The black claws, talons, and horn were all edge highlighted with Mechanicus Standard Grey. This layer was kept fairly broad to accentuate the true black in the recess.

Painting a Broodlord Step 12

Broodlord Step 13 – Black Extreme Highlights

The black areas were then given additional layers of Administratum Grey followed by Ceramite White. The white was kept near the extreme edges to provide a nice, sharp look.

Painting a Broodlord Step 13

Broodlord Step 14 – The Eyes

The eyes were then painted using Yriel Yellow for the base coat followed by a layer of Flash Gitz Yellow. The brown wash was again used to back-line against the red and provide the pupil. I’ve been using the washes to create the pupils lately because it provides a softer look. Black can come across as cartoony because of the intensity, but a layer or two of dark brown wash works really well.

Painting a Broodlord Step 14

Broodlord Step 15 – The Base

I didn’t take any pictures of painting the Broodlord’s base, but you can check out my tutorial on painting the Carnifex’s base to get an idea on how it goes. This is clearly a personal thing as everybody has their own base style, but I like to save painting it to the end, in part because it signals me that I am almost done.

Painting a Large Base step 6

Broodlord Step 16 – The Final Product

And we are done! Well almost, after finishing the base I go back over the model and do any touch-ups from stray paintbrushes. I then do a layer or two of matte varnish to seal it up and protect the paint. ‘Ard Coat was then used on the water effects and tongue to give them a sheen.

Hive Fleet Behemoth Broodlord

See, that wasn’t too bad. I think that some times we see the end product and think we could never get there, without realizing that it is just a series of steps between here and there. I know I have a long way to go to get to the level of the painters I look up to, but as I follow their progress updates and tutorials I learn bit-by-bit.

If you found this tutorial helpful, do me a favor and hit up the share buttons and leave a comment below.

Thanks!

  • Joe B
25mm to 32mm Conversion Ring Review

25mm to 32mm Conversion Ring Review

25mm to 32mm Conversion Ring Review

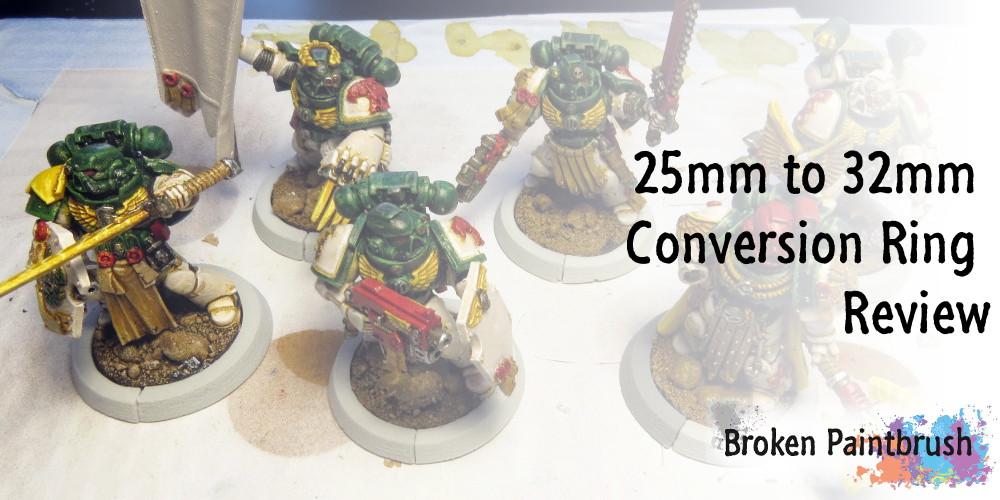
With Games Works change to Space Marine base sizes, I bought a set of Secret Weapon Miniatures 32mm Conversion Ring set to try out. I really like the end result, but the process was a bit of a pain so I figured it might be worth a tutorial post.

As with any molded product it is first important to clean off any flash. The rings had a few sections of longer flash like the picture below, but overall were well done. The main area that needed trimming was the bottom edge of each piece so it didn’t interfere with the original base.

25mm to 32mm Conversion Ring flash

Next up, I needed to drill out the hole a bit larger as it didn’t seem to be molded deep enough. I found a drill bit that fit within the hole and then used the xacto knife to round out the front edge.

25mm to 32mm Conversion Ring drill a hole

The big issue I had with the 32mm conversion rings are that they didn’t fit tightly against the base. To tighten it down a bit I sliced off a small section of each piece (the image below shows a bit too much).

Its important to trim a both pieces rather than a larger section on just one as it will help keep the pieces square to each other. Also, you will have to drill out the hole a bit more as well.

25mm to 32mm Conversion Ring trim end peice

Doing a quick fit check to make sure they line up.

25mm to 32mm Conversion Ring fit check

On the standard bearer I cut a bit too much and the pieces no longer touched on one end, but this could be fixed with green stuff, on the other hand the ring now fits tightly against the base.

25mm to 32mm Conversion Ring small gap

The completed squad with their 32mm conversion rings.

25mm to 32mm Conversion Ring glued

I then used liquid green stuff and shoved it into any gaps between the rings and the base to create a better fit. My concern was grabbing the base right were there was a gap and breaking material off the base when it squeezed.

25mm to 32mm Conversion Ring  adding in green stuff

Liquid Green Stuff was also used to fill the gap between the two pieces and the top gap.

25mm to 32mm Conversion Ring adding greenstuff

Since the models are currently being painted I needed to prime the rings with brush primer. It just so happened that I bought Imperial Primer at one point instead of regular black so this was brushed onto the rings.

25mm to 32mm Conversion Ring primed

Next up I used Stirling Mud texture paint on the top of the rings and into the existing base material.

25mm to 32mm Conversion Ring adding stirland mud

Once dried I used my base color of Baneblade brown to bring it back in line with the rest of the base.

25mm to 32mm Conversion Ring painting baneblade brown

The models are still work in progress, but the new rings make a huge difference. The marines are more imposing, much more stable (especially the standard), and will add a lot more opportunity for future bases.

So as I sad at the beginning, the rings were a bit of a pain, but they made a great improvement. For the rest of my marines, I’m not sure if I will buy more rings, rip off the base and start over, or some other means. The rings were only $5 for the set of 10 but so are blank bases from GW.

This does lead me to a question for my readers: I remember someone else having a great post about trimming the bottom of the base so it could be glued onto a new 32mm base, does anyone know where this is?

The next group of re-basing I plan to follow the excellent tutorial done on Ded ‘Ard that simply clips the bottom of the current base and glue it to the top of the new one. Thanks to Thor for that link 🙂

Mentor Legion Command Squad WIP Step 4

Mentor Legion Command Squad WIP

I normally don’t like posting work in progress shots as the in between steps can be a bit embarrassing for me. After watching prodigious posters such as Moridan7th or Greggles share every step, it made me more confident to go ahead with my own.

So after unpacking the first project I threw my self into was finally working on my Mentor Legion Command Squad. I built these guys up a few years back to lead my ‘side project’ of Mentors into a full blown company.

Step One – Primer

Mentor Legion Command Squad WIP Step 1

The models were primed black with white over spray. I have found this to be the best balance between creating deep shadows and being able to paint lighter colors.

Step Two – Base Colors

Mentor Legion Command Squad WIP Step 2

Next up all the base colors were blocked in. I like the block-in, wash, highlight steps as they help me see where the model is going and provide nice incentive to finish the model once the wash is in place.

The colors I used for each block:

  • Green: Caliban Green
  • White: Pallid Wych Flesh
  • Yellow: Averland Sunset
  • Black: Abaddon Black
  • Metal: Leadbelcher
  • Red: Mephiston Red
  • Leather/Base: Baneblade Brown

You may notice that the company champion is already nearly finished. I painted him up to get the colors right after not having painted any Mentors in a long while.

Step Three – The Wash

Mentor Legion Command Squad WIP Step 3

For the wash I used a mix of:

Once the wash dried I also put a layer of clear coat to seal in the current colors. This is especially helpful on the metal captain as the paint can easily chip off as I’m handling him.

Step Four – Highlight White

Mentor Legion Command Squad WIP Step 4

And this is where I currently am. I have gone back over all the white armor and re-layered the Pallid Wych Flesh. At this point the squad is ‘table ready’ but a ways yet to go until finished.

So what do you guys think? Hit up the comments below 🙂

Tale of Painters How to Paint Death Company

Good Reads 6 with a focus on painting tutorials

Now that moving is settling down and Nurgle’s plague has ravaged our house, I can get back to posting up some great blog articles I have found around the net.

This week I’m trying something a bit different. Rather than using just posts from the last week I’ve been gathers them into different categories on Trello such as the one here for painting tutorials. I’m hoping this does two things: reduces the stress on me to post every week, and provide more focused reading for my readers. Let me know what you think in the comments below.


Let’s start off with Tale of PaintersHow to Paint Blood Angles Death Company.

Tale of Painters How to Paint Death Company

Death Company by Stahly on Tale of Painters

Stahly has a great, very in depth tutorial on how he painted his Death Company marines. Black can be deceptively difficult to paint so his tutorial is helpful for any black armored soldier.


Next up Adam on Sprue Grey has a great tutorial on painting his Farseer.

Far Seer by Adam on Grey Sprue

Farseer by Adam on Sprue Grey

Not only does Adam give some great tips on painting the robes and free-hand designs, he also provides some background on his journey in the hobby and how he fell in love with the Eldar. I really like his list of tips on freehand, especially the last one: just do it.


Meg from Arcane Paintworks does a blasphemous thing and uses white to highlight red in her tutorial on painting red robes.

Bust by Meg Maples on Arcane Paintworks

Bust by Meg Maples on Arcane Paintworks

As she is painting her bust of Tywin Lannister from Game of Thrones, she provided a really nice step-by-step of how she painted the amazing red robe and armor. They notable thing is, she recommends using white in the highlights, which turns the paint into a very gnarly shade of pink. The magic happens with her use of washes and glazes.


And we close off with Mordian’s beginning of a multi-part series on his blog Mordian7th where he is helping new painters.

Mordian7th's workspace

Mordian7th’s workspace

Mordian is known among the blog world as a high-output painter – finishing projects before others (like myself) finish a squad. Here he has started a series shining light on how he does his magic. In Step 1 he goes through all the tools he uses.


Enjoy the good reads, share the word with your fellow bloggers!

Hive Fleet Behemoth Broodlord

Tyranid Broodlord of Hive Fleet Behemoth

painting-broodlord-banner

So one of the main selling points of Games Workshop’s limited edition Deathstorm box set was the special edition Broodlord. Much like the one in the Space Hulk box, this guy is huge and way cooler looking than the old metal model.

Hive Fleet Behemoth Broodlord

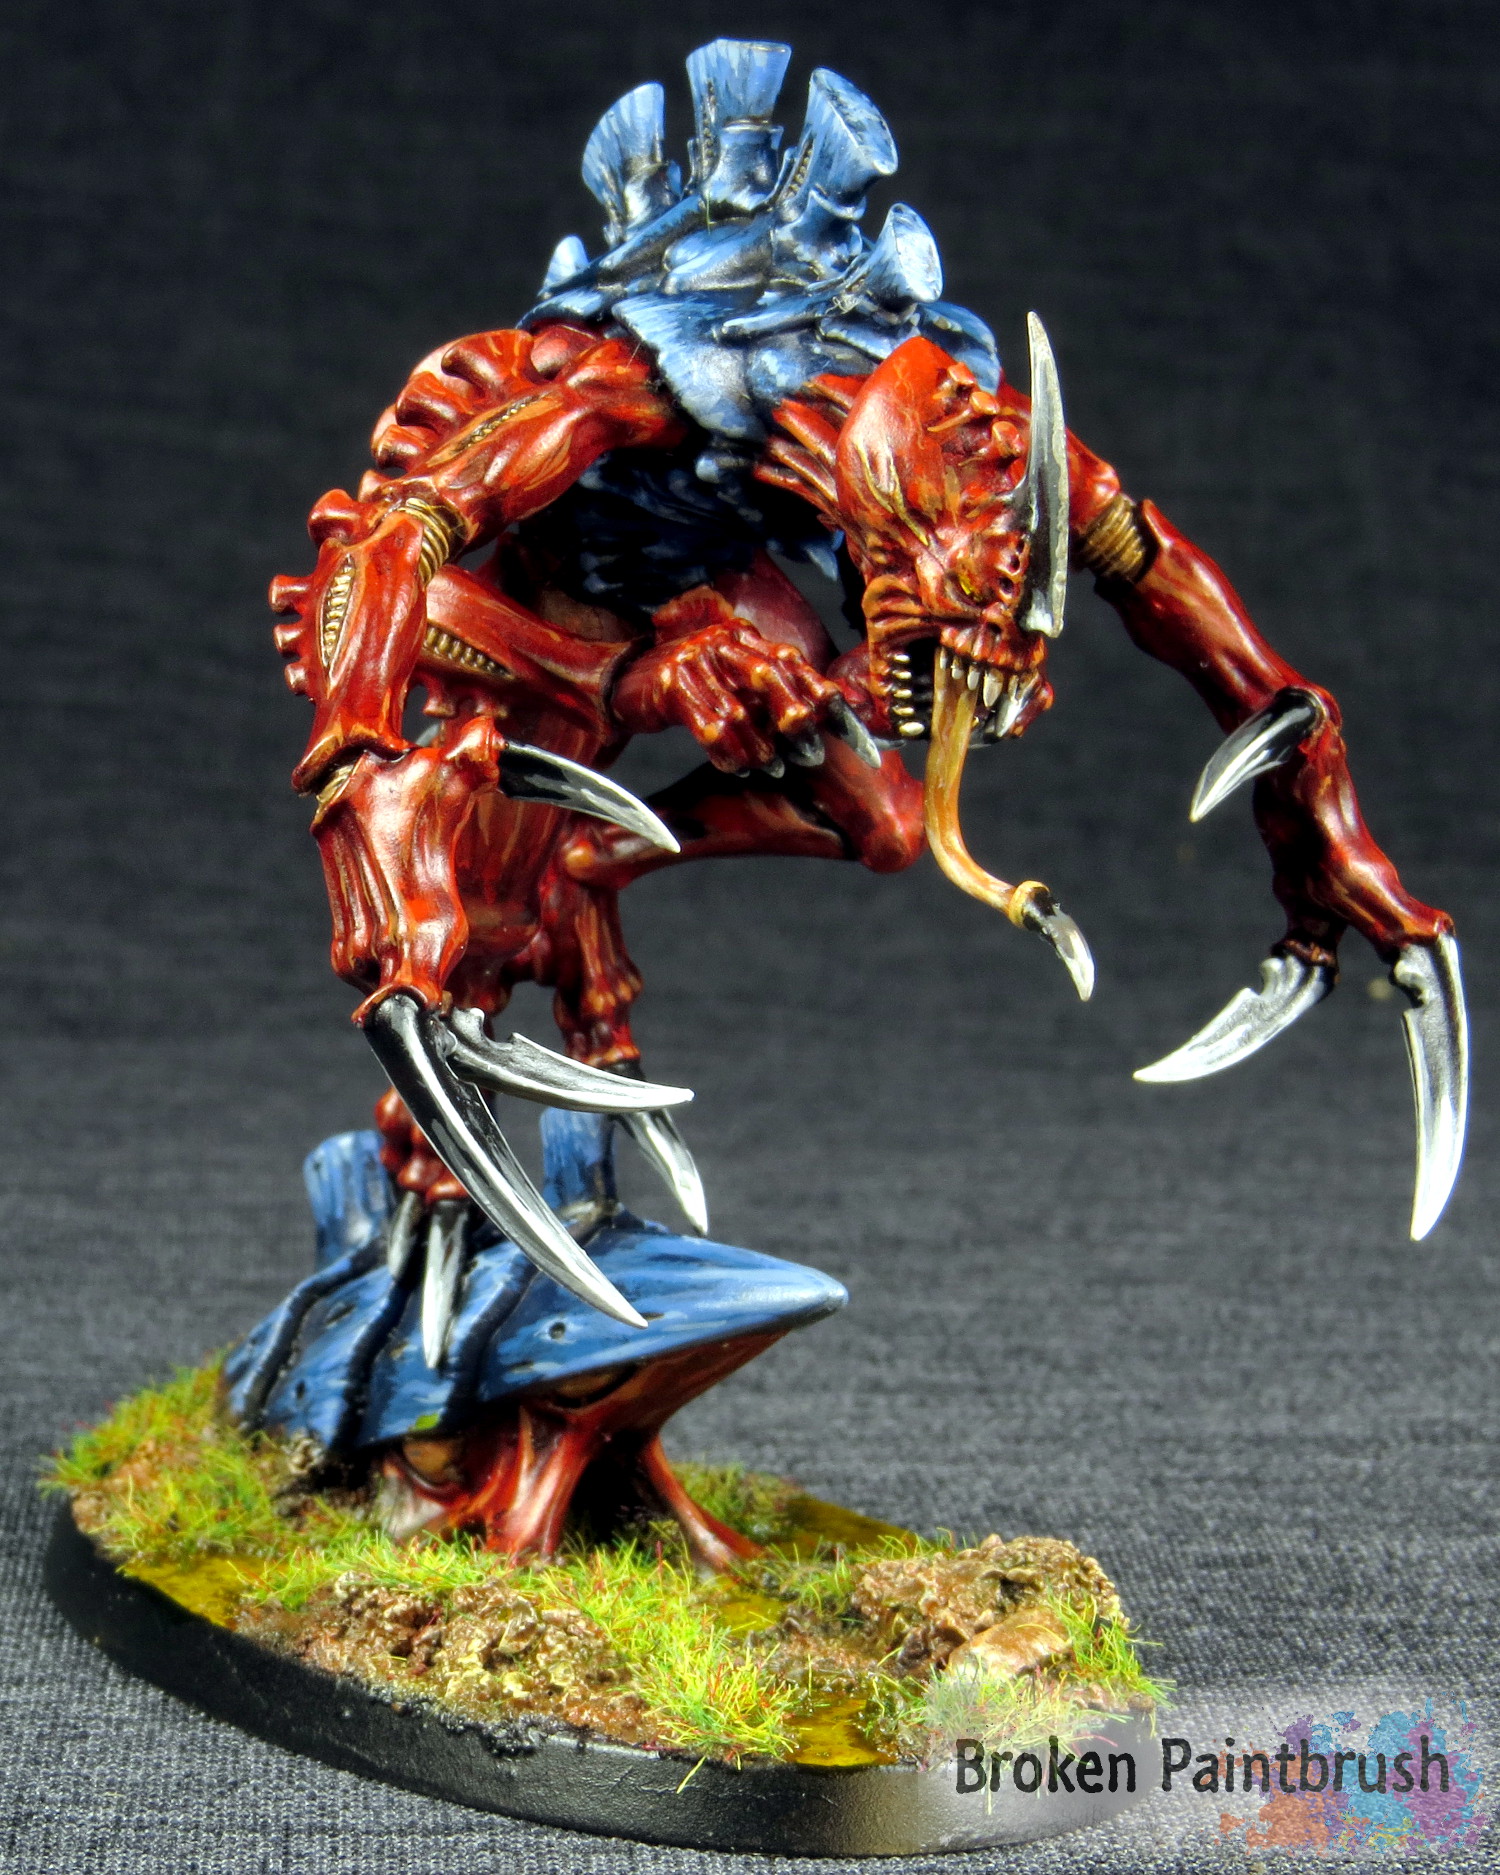
He is painted up for Hive Fleet Behemoth to go along with the other monsters from beyond the stars on my shelf. I think the dark red skin gives him a kind of bloody rage which is in contrast to the cool blues of his carapace.

Hive Fleet Behemoth Broodlord

The base was one of the first of the new, smaller oval bases that GW put out to mess with all of us, but I like it. It fits the model much better than trying to fit it on a 40mm circle base and helps emphasis his movement forward in a way.

Hive Fleet Behemoth Broodlord

Another cool aspect of this Broodlord is the Tyranid Spire he is leaping off of. Not only does it give this impressively huge genestealer more height but it adds more to the story of the Tyranids taking over the planet from within.

Hive Fleet Behemoth Broodlord

On the darker background you can see the really long claws a bit better. This guy really has some wicked limbs, even the lower arms have some creepy, grasping claws and the tongue has its own blade as well – I guess no french kissing for this guy.

Hive Fleet Behemoth Broodlord

I really hope GW puts out more of these special edition models into mainstream production because they are such cool models that it is a shame they aren’t produced still.

Hive Fleet Behemoth Broodlord

As always, hit me up if you have any questions, comments, or rants in the comments below.

Cool Tools Wet Palette

Cool Tools: Wet Palette

Cool Tools Wet Palette

A tool you will hear from many different painters in our hobby is the mighty wet palette. As much as it sounds like the start of some juvenile joke, a wet palette is simple a container holding a sponge with a paper material sitting on top. The sponge is kept full of water which keeps the paper moist, and in turn keeps the paint sitting on the paper moist. The theory is that you can use the paper as your pallet and it will stay usable as long as the sponge stays wet.

Using a Wet Palette

Using a wet palette isn’t too different than using a normal palette in the sense you take your paint out of the pot/tube and place it on the palette. The difference is first wetting the sponge with a nice bath of water, enough to make the sponge soggy but not so much that you have free standing water in your container.

Adding Palette Paper to Wet Palette

The paper material is then placed on top and allowed to soak. It is often advisable to flip the paper over as it starts to soak which helps prevent it from rolling up. Once paper is nice and wet, take a tissue and wipe off any standing water on its surface. You can then start adding your paints, but realize that you shouldn’t thin them down as much as you might on a typical palette, the water will soak though the paper a bit and water them down.

As the paper starts to dry it will begin to curl away from the sponge, causing all sorts of problems. To remedy this make sure the sponge stays moist but adding additional water throughout your painting session. You can also force the paper back down to re-wet it and prevent it from curling.

Wet Palettes and Paint Retarders

I’ve talked before about using acrylic painter retarder to keep your paint usable for longer, but a wet palette provides a different, but complementary solution.

Using a Wet Palette

The wet palette keeps your paints usable on the palette from long periods of time, in fact if you seal the container it can leave the mix on the palette usable for weeks. This is great to save special paint mixes or blends that you are working with.

The paint retarder keeps paints wet even off the palette. This is useful for wet blending on the model where you add a bit of one color to an area and a different tone to another while they are both still wet. You can use a brush to them mix them together on the model. Paint retarder allows for more time to accomplish this.

By using both the retarder and the wet palette you get the best of both. The palette keeps the paint usable for long stretches and the retarder allows for mixing after it has left the palette.

Wet Palette Options

Ok, so I’ve sold you on the importance of using a wet palette, but how do you go about getting one? You have two options here, build your own or buy a ready made one.

I started with one I built my self using a Tupperware container, an old blister pack sponge, and baking parchment. If you are looking for some inspiration, check out Thor’s wet palette tutorial, Tobi’s Minis article or Full Borer’s, all of which have great step-by-steps on building your own.

Privateer Press Wet Palette

I personally got tired of cutting the parchment up and having it never fit correctly on the sponge. I actually bought the Privateer Press P3 Wet Palette for only $17 buck on Amazon which included a pad of pre-cut paper. When I bought it, I actually bought a second pad of paper as well thinking that I would use it up quickly, but I haven’t finished half of my first pad after using it over two years now.

I like the Privateer Press version because it is relatively small (6.5 x 5.5 x 1.5 inches) – much smaller than my Tupperware, and it snaps closed which keeps the paint wet for nearly a week.

Company Command Squad

Traitor Guard Command Company

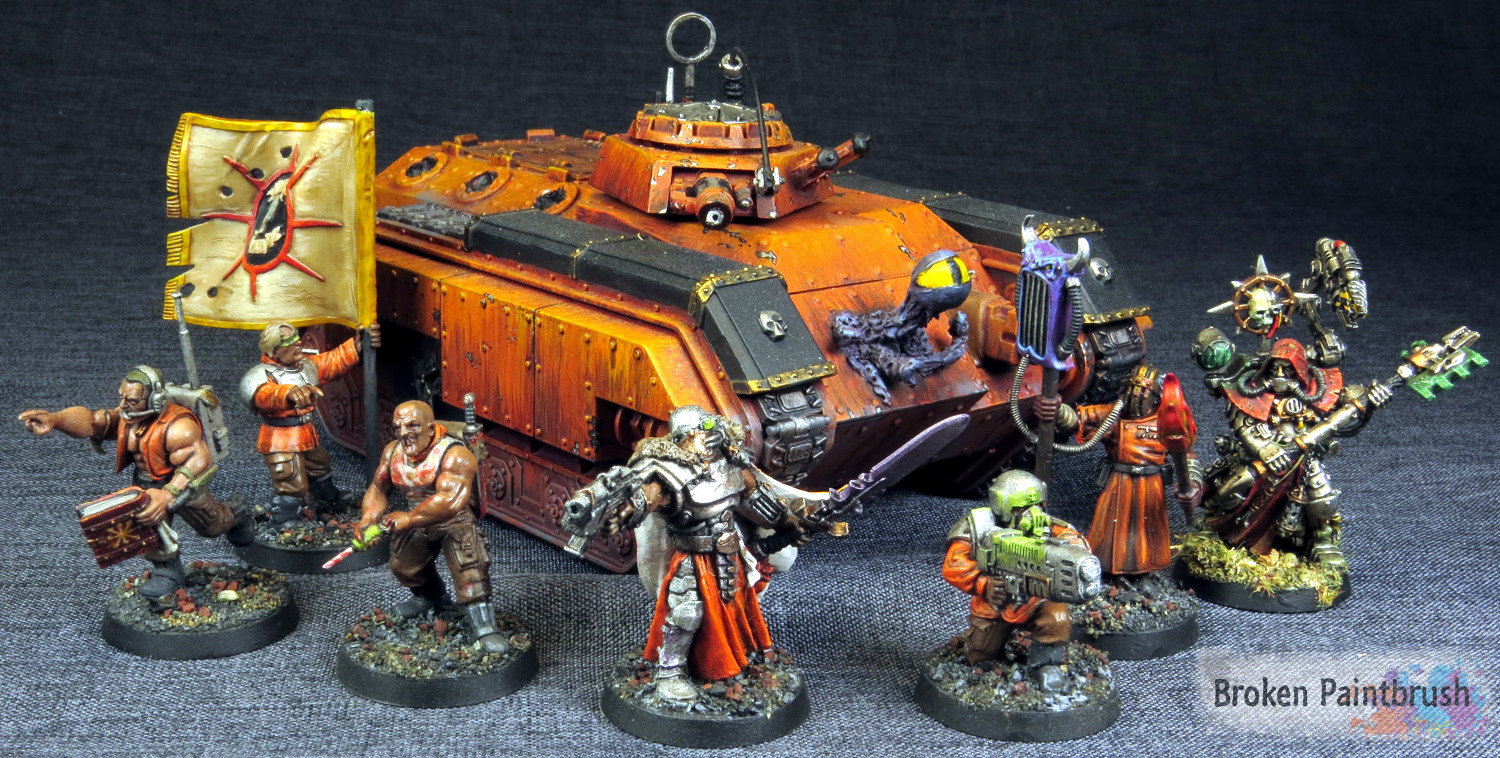
At the very twisted heart of the Traitor Guard is the Command Company. From here the villainous orders can be issued forth and enemy armies sundered. — lets get real here, the IG Command Company squad is an extremely fragile piece of work, they usually ride around in their Chimera issuing orders and avoiding getting shot, but they look darn cool doing it.

Company Command Squad

To keep the ride moving, and because who doesn’t like AdMech we have Dark Mechanicus Tech Priest joining the team. Whats great about the Ad Mech guys is that they already look really sinister, so just adding a simple chaos star servo skull was all that was needed.

Dark Mechanicus Tech Priest

I added some object source lighting on both his front facing lamp and the glowing energy source on his back.

Dark Mechanicus Tech Priest

Another sinister looking model with very little work needed was this Inquisitor model turned company commander. In fact they only thing I did was remove the [==|==] from his chest. Clearly he isn’t a very good what-you-see model, as the IG can’t just upgrade the commander’s armor. I’ll often play him as Creed which does give the improved armor, but now has a sword instead of a second gun… perhaps at some point I should rework this idea.

Company Commander

I kept the cape in the same line of color graduation as the tanks but in reverse order. So the bright orange/yellow at the ends with the deep reds at the top.

Company Commander

To lead the crazy army through the warp is my take on the astropath. Its a great mash-up of the Baneblade commander, Flagellant head and arms, and an old chaos tank accessory for the PA. To tie the arms back into the nice looking jacket I added some green stuff sleeves in tatters.

Traitor Guard Astropath

And their infamous ride. For me the fragility of the command company is in great contrast the amazing orders that the command can give – especially when upgraded to Creed. To get past this issue, their faithful Chimera APC shuttles them about while providing at least another layer of protection.

Traitor Guard Chimera

The blind bearer has the honor of being the Company Standard Bearer and dutifully pointing some random direction. The banner is from the Cadian Command Squad [on Amazon] with careful filing off of the eagles it makes for a nice Chaos Star.

Company Banner

The butcher – I mean doctor – is a gory mess that somehow helps keep the squad alive a bit longer. He is an expensive upgrade but so worth those few extra hits they can survive. The guy is actually from the Catachan Command box, for my army I’ve using a bit of both mixed together.

medic

The faithful, yet naive, plasma gunner. He’s already taken one hit from his own gun and yet he keeps firing away hoping to please the boss.

plasma gun

The vox caster doubles as the squad’s preacher. The book is from the Flagellant kit, so many great bits well worth the price just for things like this book with bones as a bookmark. Using a Catachan arm meant to hold his las-gun, it worked perfectly to hold the tomb of heretic knowledge.

Vox caster

So what are your guy’s thoughts on the company command squad – a must have or a fluffy wish-it-worked-better unit? Let me know in the comments below.