Author: Joe B

Good Reads – Blogs You May Have Missed – 2015W10

I follow a lot of hobby blogs, and while there is always a great slew of content that comes through my feed reader, there are usually a few that stand out for me. I’m going to call these Good Reads because trying to do a top 10 of the week, or my favorite posts never end well. So instead I will pick a few posts that I thought had great content or inspirational work and provide a curated list for you. So for the 10th Week of 2015 here are some good reads: First up is a cute little robot painted by Dave Taylor, well little may be a wrong adjective as it stands as tall as his Thallax. And yes, I may have accidentally called it a rust bucket in the comments, those leg parts are brass – hard to see on a small phone screen. Rebel Grot by Kamui from Creative TwilightKamui from Creative Twilight has finished up a great custom built Grot Commissar if you haven’t seen his Rebel Grot army you should …
Hive Tyrant of Hive Fleet Behemoth Close up

Tyranid Hive Tyrant for Hive Fleet Behemoth

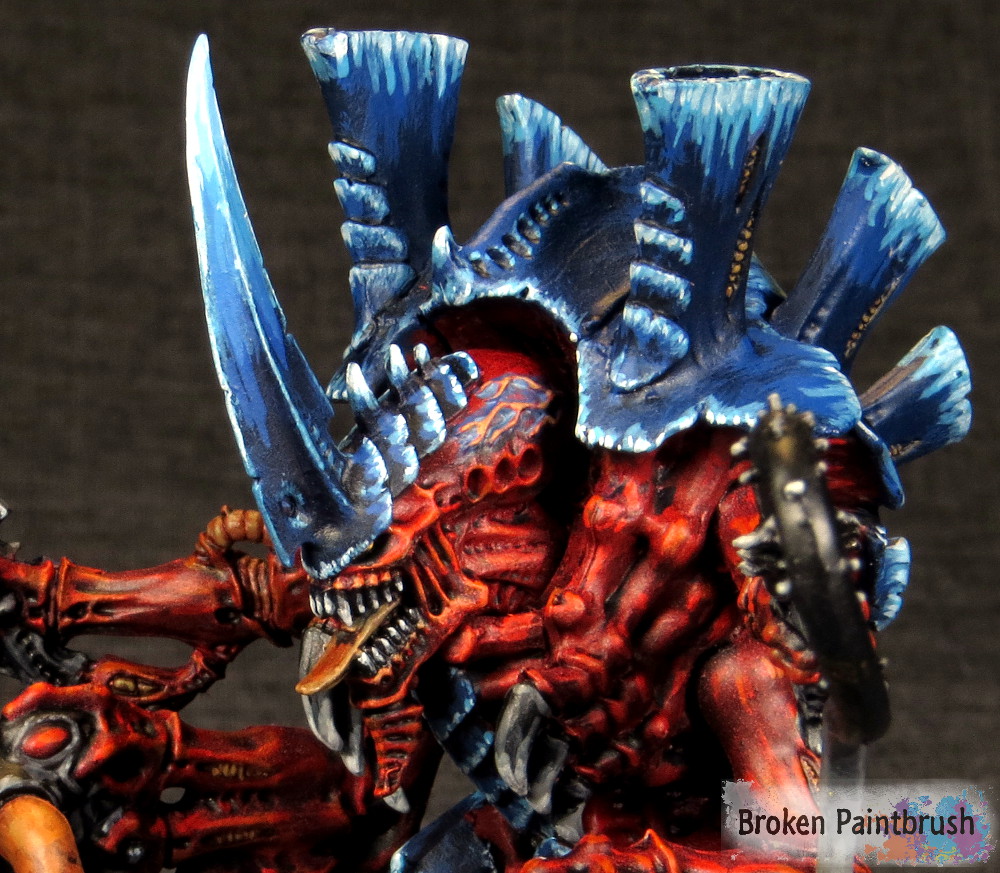
All armies need a powerful leader, and the galactic swarm of the Tyranids is no exception. So to lead my brother-in-law’s Hive Fleet Behemoth army growing on my shelf is a Tyranid Hive Tyrant – in this case, the old metal beast. Much like my other Tyranids of Behemoth, the blue carapace goes nearly white rather the GW teal and the weapons are a black to white look. This shows through on the darker background here that I made with some black/gray cloth. I tried using the basic white background, but the tips of the weapons got lost. The barbed strangler is a plastic bit from the Carnifex box to give some long range punch to the guy. It is one of the things I have always liked about GW products is that they put in that effort to make the kits inter-operable to give both the flexibility to bit swap but also keeps a uniform look between generations. Even when you look at the new Tyranid Hive Tyrant, the general look and feel are the …

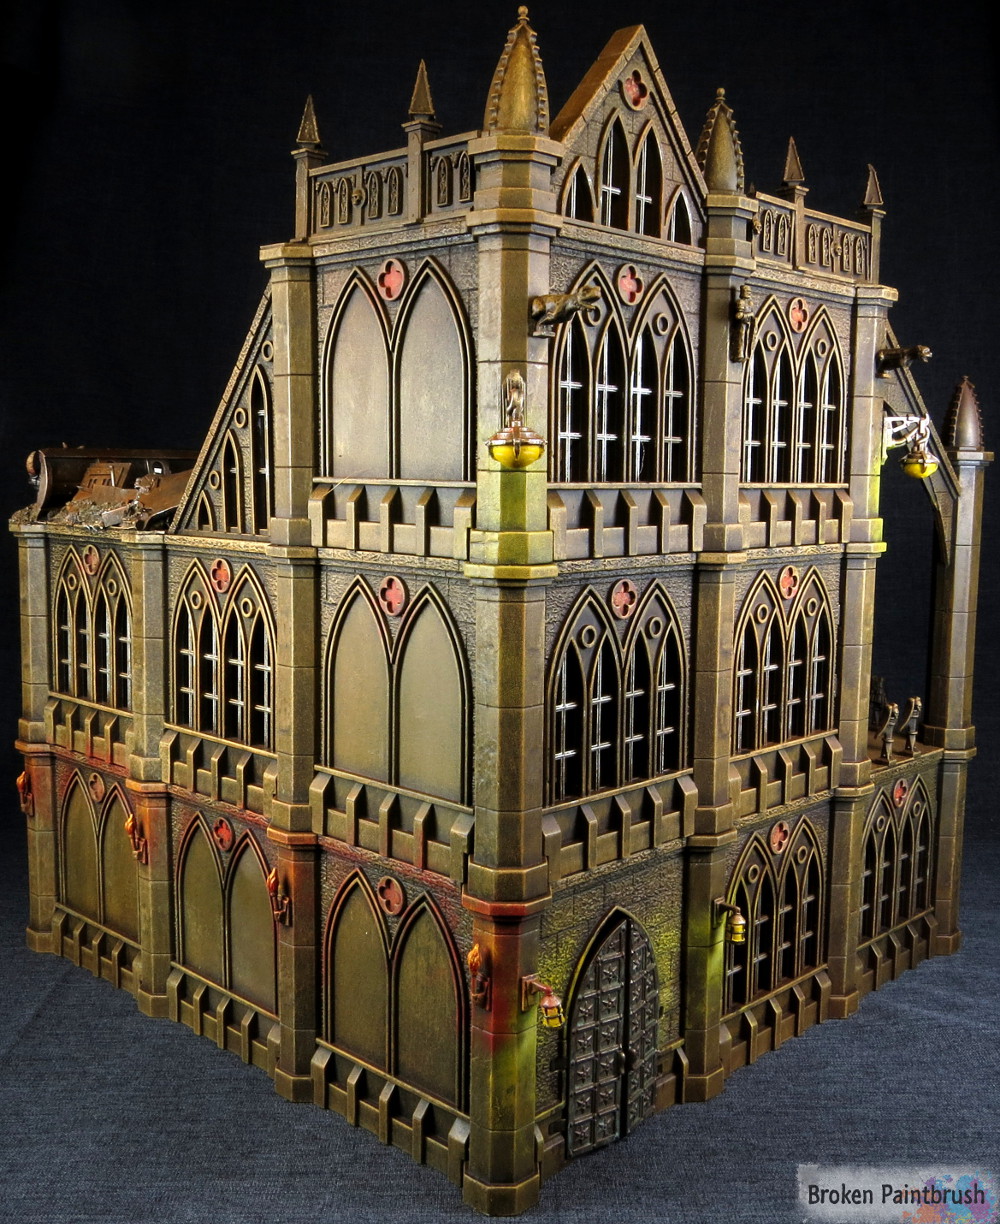
tall Pegasus Gothic Buildings for 40k

Pegasus Gothic Buildings for 40k Terrain

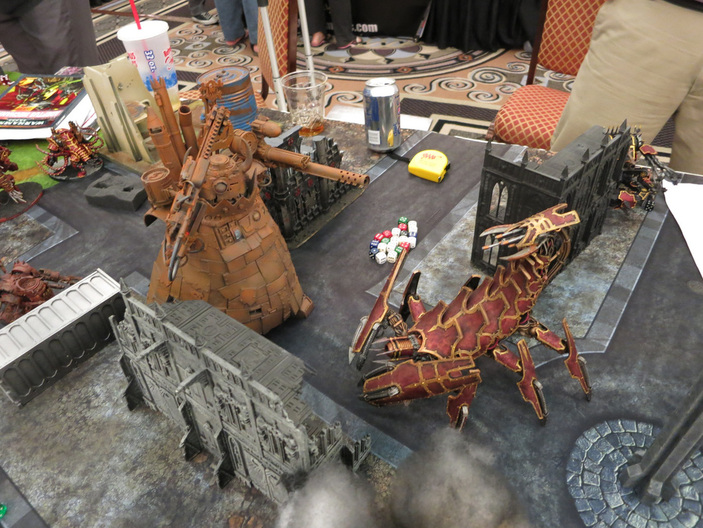
So when I first saw people use Pegasus Gothic Buildings for 40k, I thought it was a fantastic alternative/union with the Games Workshop kits, so I ordered a whole bunch of them to add some tall terrain for my Knight Titan to hide behind. While I finished these a while ago, I’ve been waiting for a way to take pictures of them as they wouldn’t fit in my home-made light box. After buying some dark cloth and flood lights from Home Depot, I am in business! These are fantastic kits and only $25 or so on Amazon: Pegasus Gothic Building Kit. I think I ordered two of the Gothic Ruin sets, both of the Small Sets, and two of the Large sets which not only built both of these buildings, but I have pieces reserved for an extended cathedral, so they go a very long way. One of the neat little bits that come with the kits is a bunch of lamps and torches which I practiced my object source lighting on to mixed effect. One thing …

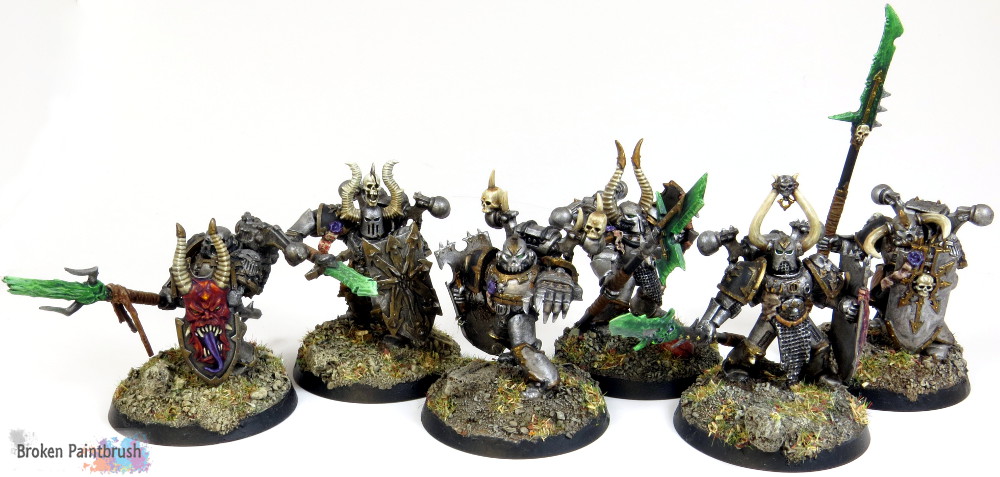
Iron Warriors Chosen Squad

Iron Warriors Chosen – The Warsmith’s Champions

When I was building out my Iron Warriors army, I wanted to create a protector squad for the Warsmith. I felt that Iron Warriors Chosen wouldn’t be full of mutations and craziness since they disdain the weakness of the flesh. So instead, I took bits from the Chaos Knights and built a custom squad with force weapons and storm shields. While this load out does not exist in the Chaos Codex, with the new flexible way Games Workshop is building out the armies, I have played these as Wolf Guard or even Honor Guard. The core of the model is just select bits of normal Chaos Space Marines, but the arms are from the Chaos Knights for fantasy. To also help set them off as special, they are on the 40mm bases as well with some added height. The selection of shields from the kit is fantastic and a good mix. The champion’s shield was actually from the Juggernaut Lord that I used for the base of my Warsmith, but since he wasn’t using it, …

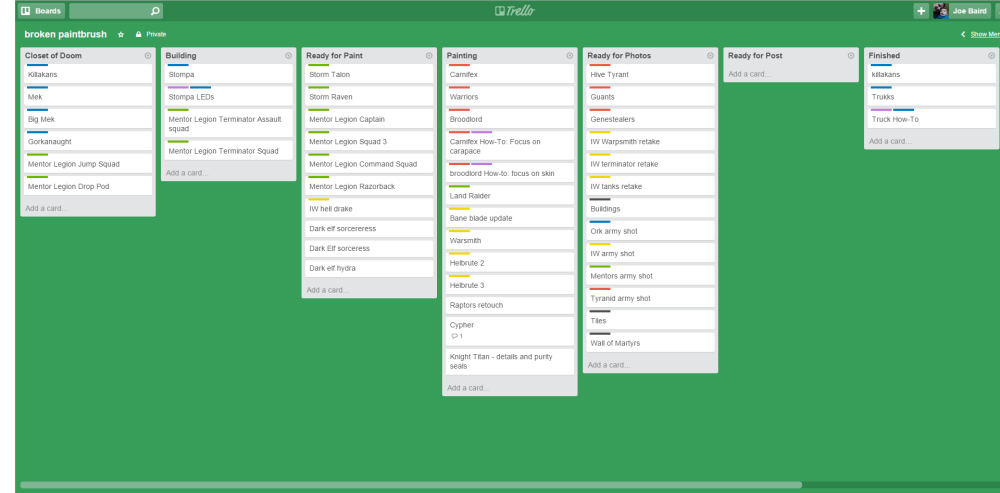
Using Trello For Hobby Progress

Using Trello to Organize my Painting Hobby

The Problem So I have noticed over the years that I am a hobby butterfly – much like many of you out there – especially the great Mordian7th :-) But as my life is getting busier between work, my son, grad school, and other projects I have been trying to get some organization to my progress. So I want to share how I am using Trello to organize my painting hobby and make sure I keep posts ready for this blog. I’ve tried the excellent painting charts made famous by Mordian and Admiral Drax using Excel and color charts, but it ended up being more work for me to know when something was ‘almost done,’ ‘done,’ and posted to the blog. It apparently works for them, but I needed something a bit simpler and general – as I have multiple projects going at once (as you can see in the picture above!). Using Trello to Organize my Painting Hobby For some of my other projects, I started using a tool called Trello that organizes your tasks into cards that you …

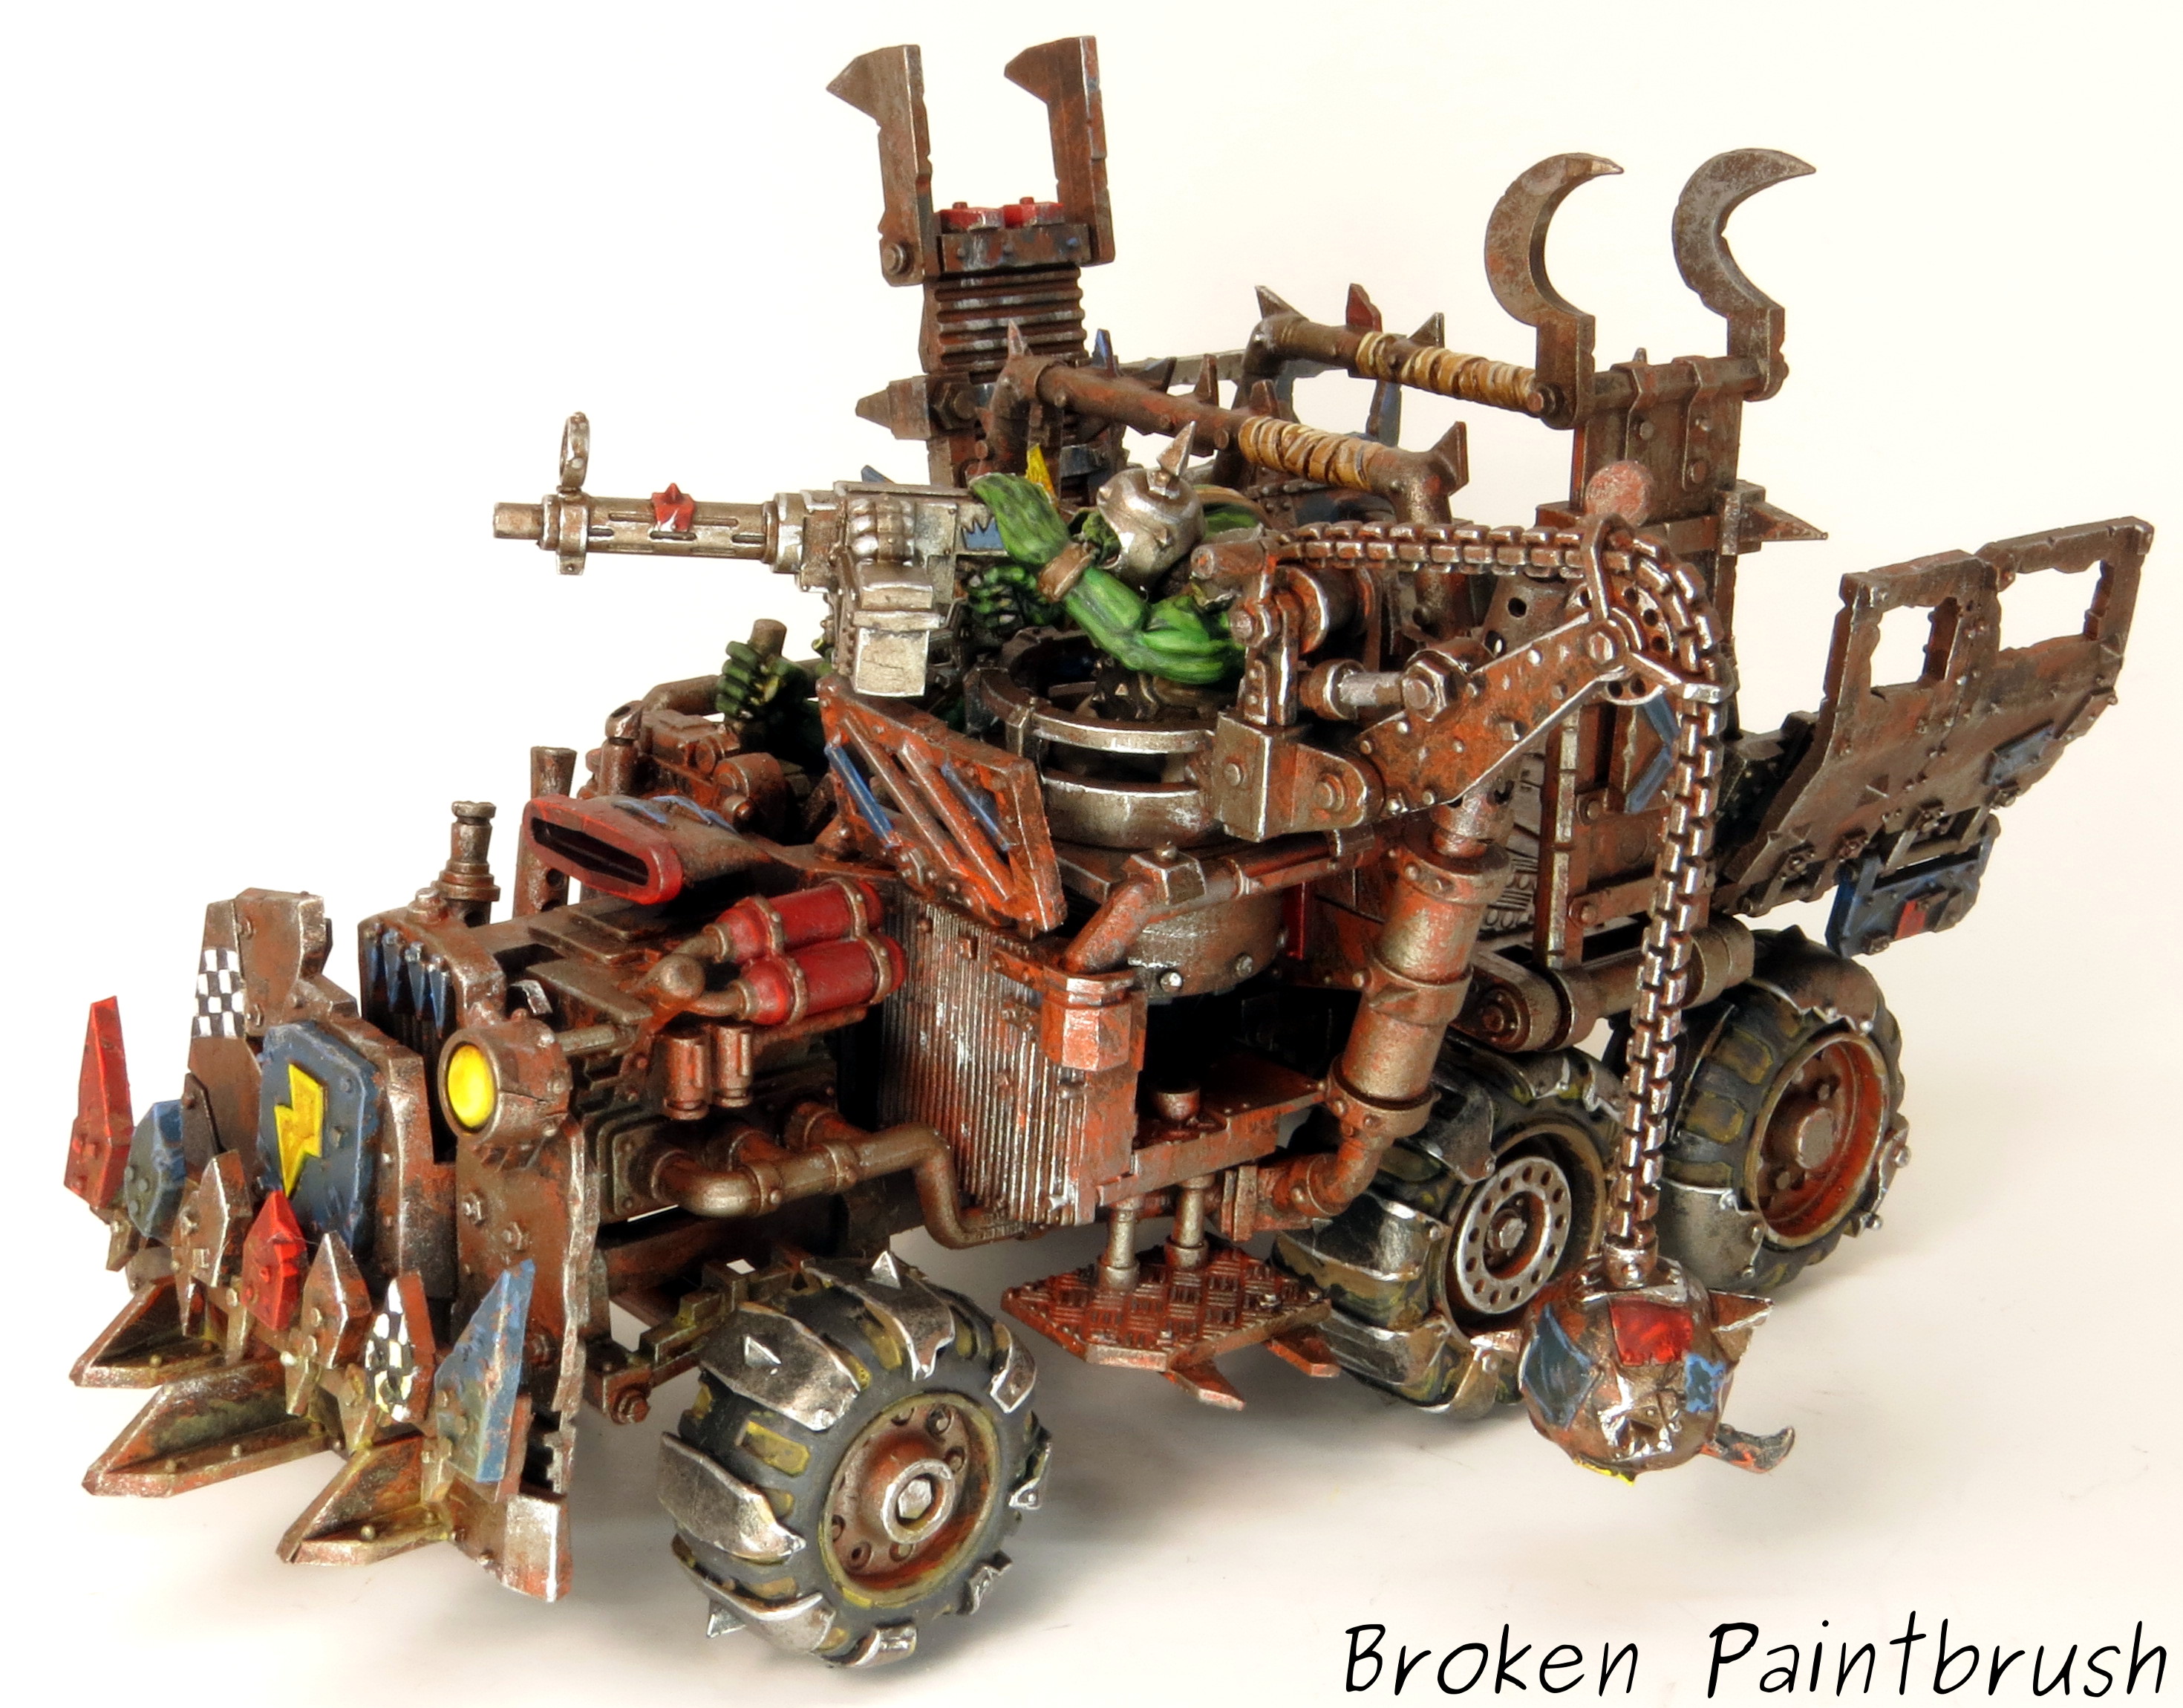
Death Skull Ork Trukk

How to Paint an Ork Trukk

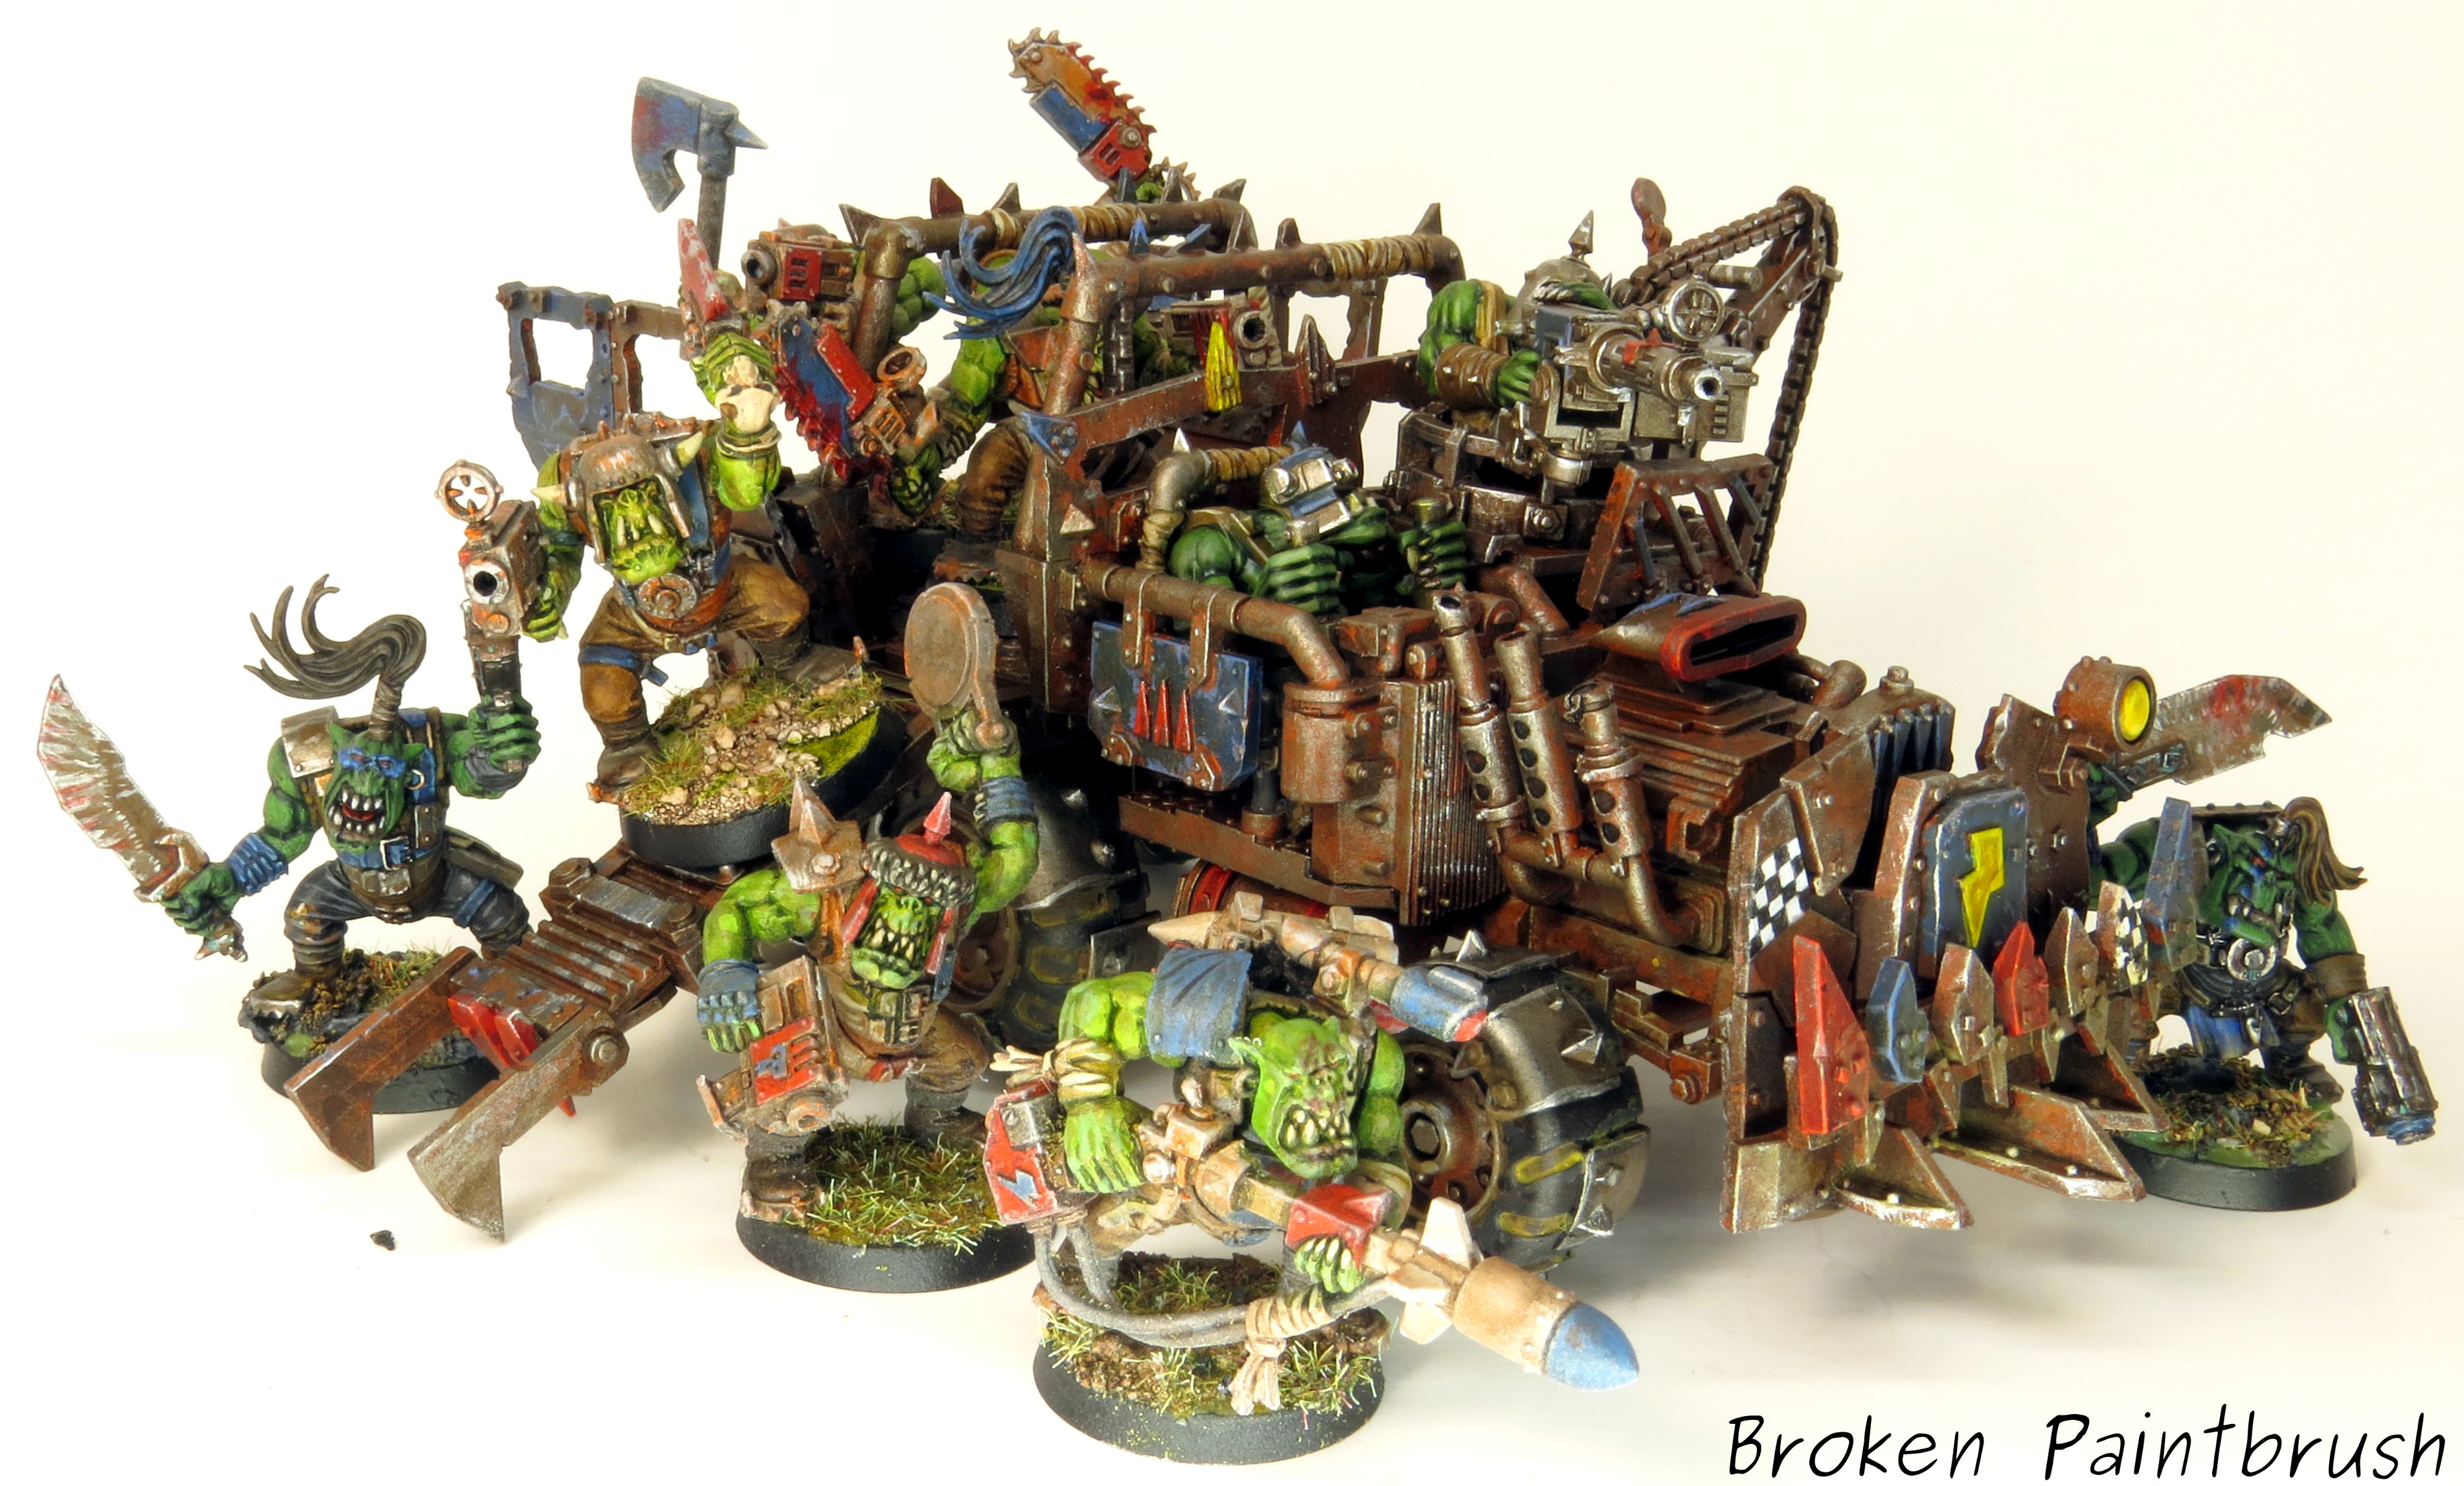
So after painting up my Killa Kans, Deffdread, and two trucks – I’ve put together my process on how I how to paint an Ork Trukk. My goal for painting the ork vehicles was to be quick, rusty, and characterful. To make it quick I used lots of dry brushing, and very little highlighting. They clearly won’t win any painting awards, but I like how they turned out and I was able to finish them quickly. The rusty metal look was from combinations of brown and orange beneath the metal dry brush and the characterful-ness is the various colored panels that make it orky. Step 1: Brown Spray Paint. As you can see in the photo below I left out the driver, gunner, and wrecking ball assembly. The wheels were also left of and painted separately. The model was primed with black primer to give a nice dark shadow. After drying I then hit the top side with an over-spray of white to just lighten it up a bit. The whole model was then given a …

Death Skull Ork Trukk Boyz

Second Death Skull Trukk

Here is the second Ork Trukk I painted for my Death Skulls. I built and painted this at the same time as my first trukk, which gave me a chance to not only keep the scheme similar, but also maximize the build to be as different as possible with the kit – which mostly involved switching the driver and gunner. The bed of the trukk featured the same blue paint splatters from the Boyz gearing up for the fight. I did this by splashing the blue paint about and then taking my finger to wipe off the raised areas. This gave the look of spilled paint with worn metal tread showing through. The front grill probably shows the most colorful arrangement of looted piece but still predominately blue. The challenge I was working on was using the other clan colors, but make sure that the Death Skull blue was still predominate and clear where it came from. The top view not only shows how ramshackle the kit is, but how squeezed in the crew are …

How to Weather Wheels and Tires

How to Paint Ork Trukk Wheels

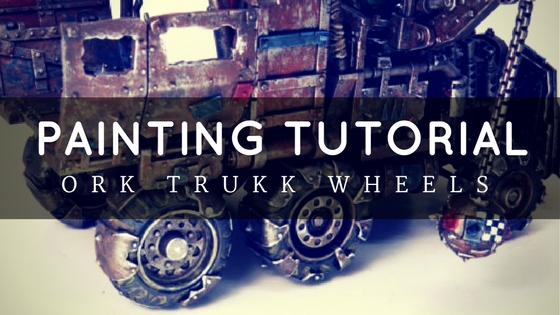
Over the years I have been painting, I love coming across a tutorial on something I haven’t done yet and gleaning just a little bit of information off of it. So here is my second how-to of the year – following up on my Ork Warboss – and a chance to give a little something back t0 the community. I have another tutorial on the rest of the Trukk, but here I want to focus on the wheels. As you can see below, I kept the wheels, crew, and wrecking ball separate from the main truck body to make it easier to paint. The crew and wrecking ball were lightly glued to scrap bases, and I found the wheels hubs were the perfect fit for the penny nails I use for pinning. Using some old corks I could paint the wheels and allow them to dry without touching any painted surface. Painting the Trukk Wheels Step 1: The Metal The wheel was left black from the primer, and all the metal areas were coated with Leadbelcher. Ryza rust was …

Close up of Ork Trukk Grill

Ork Death Skulls Trukk Number 1

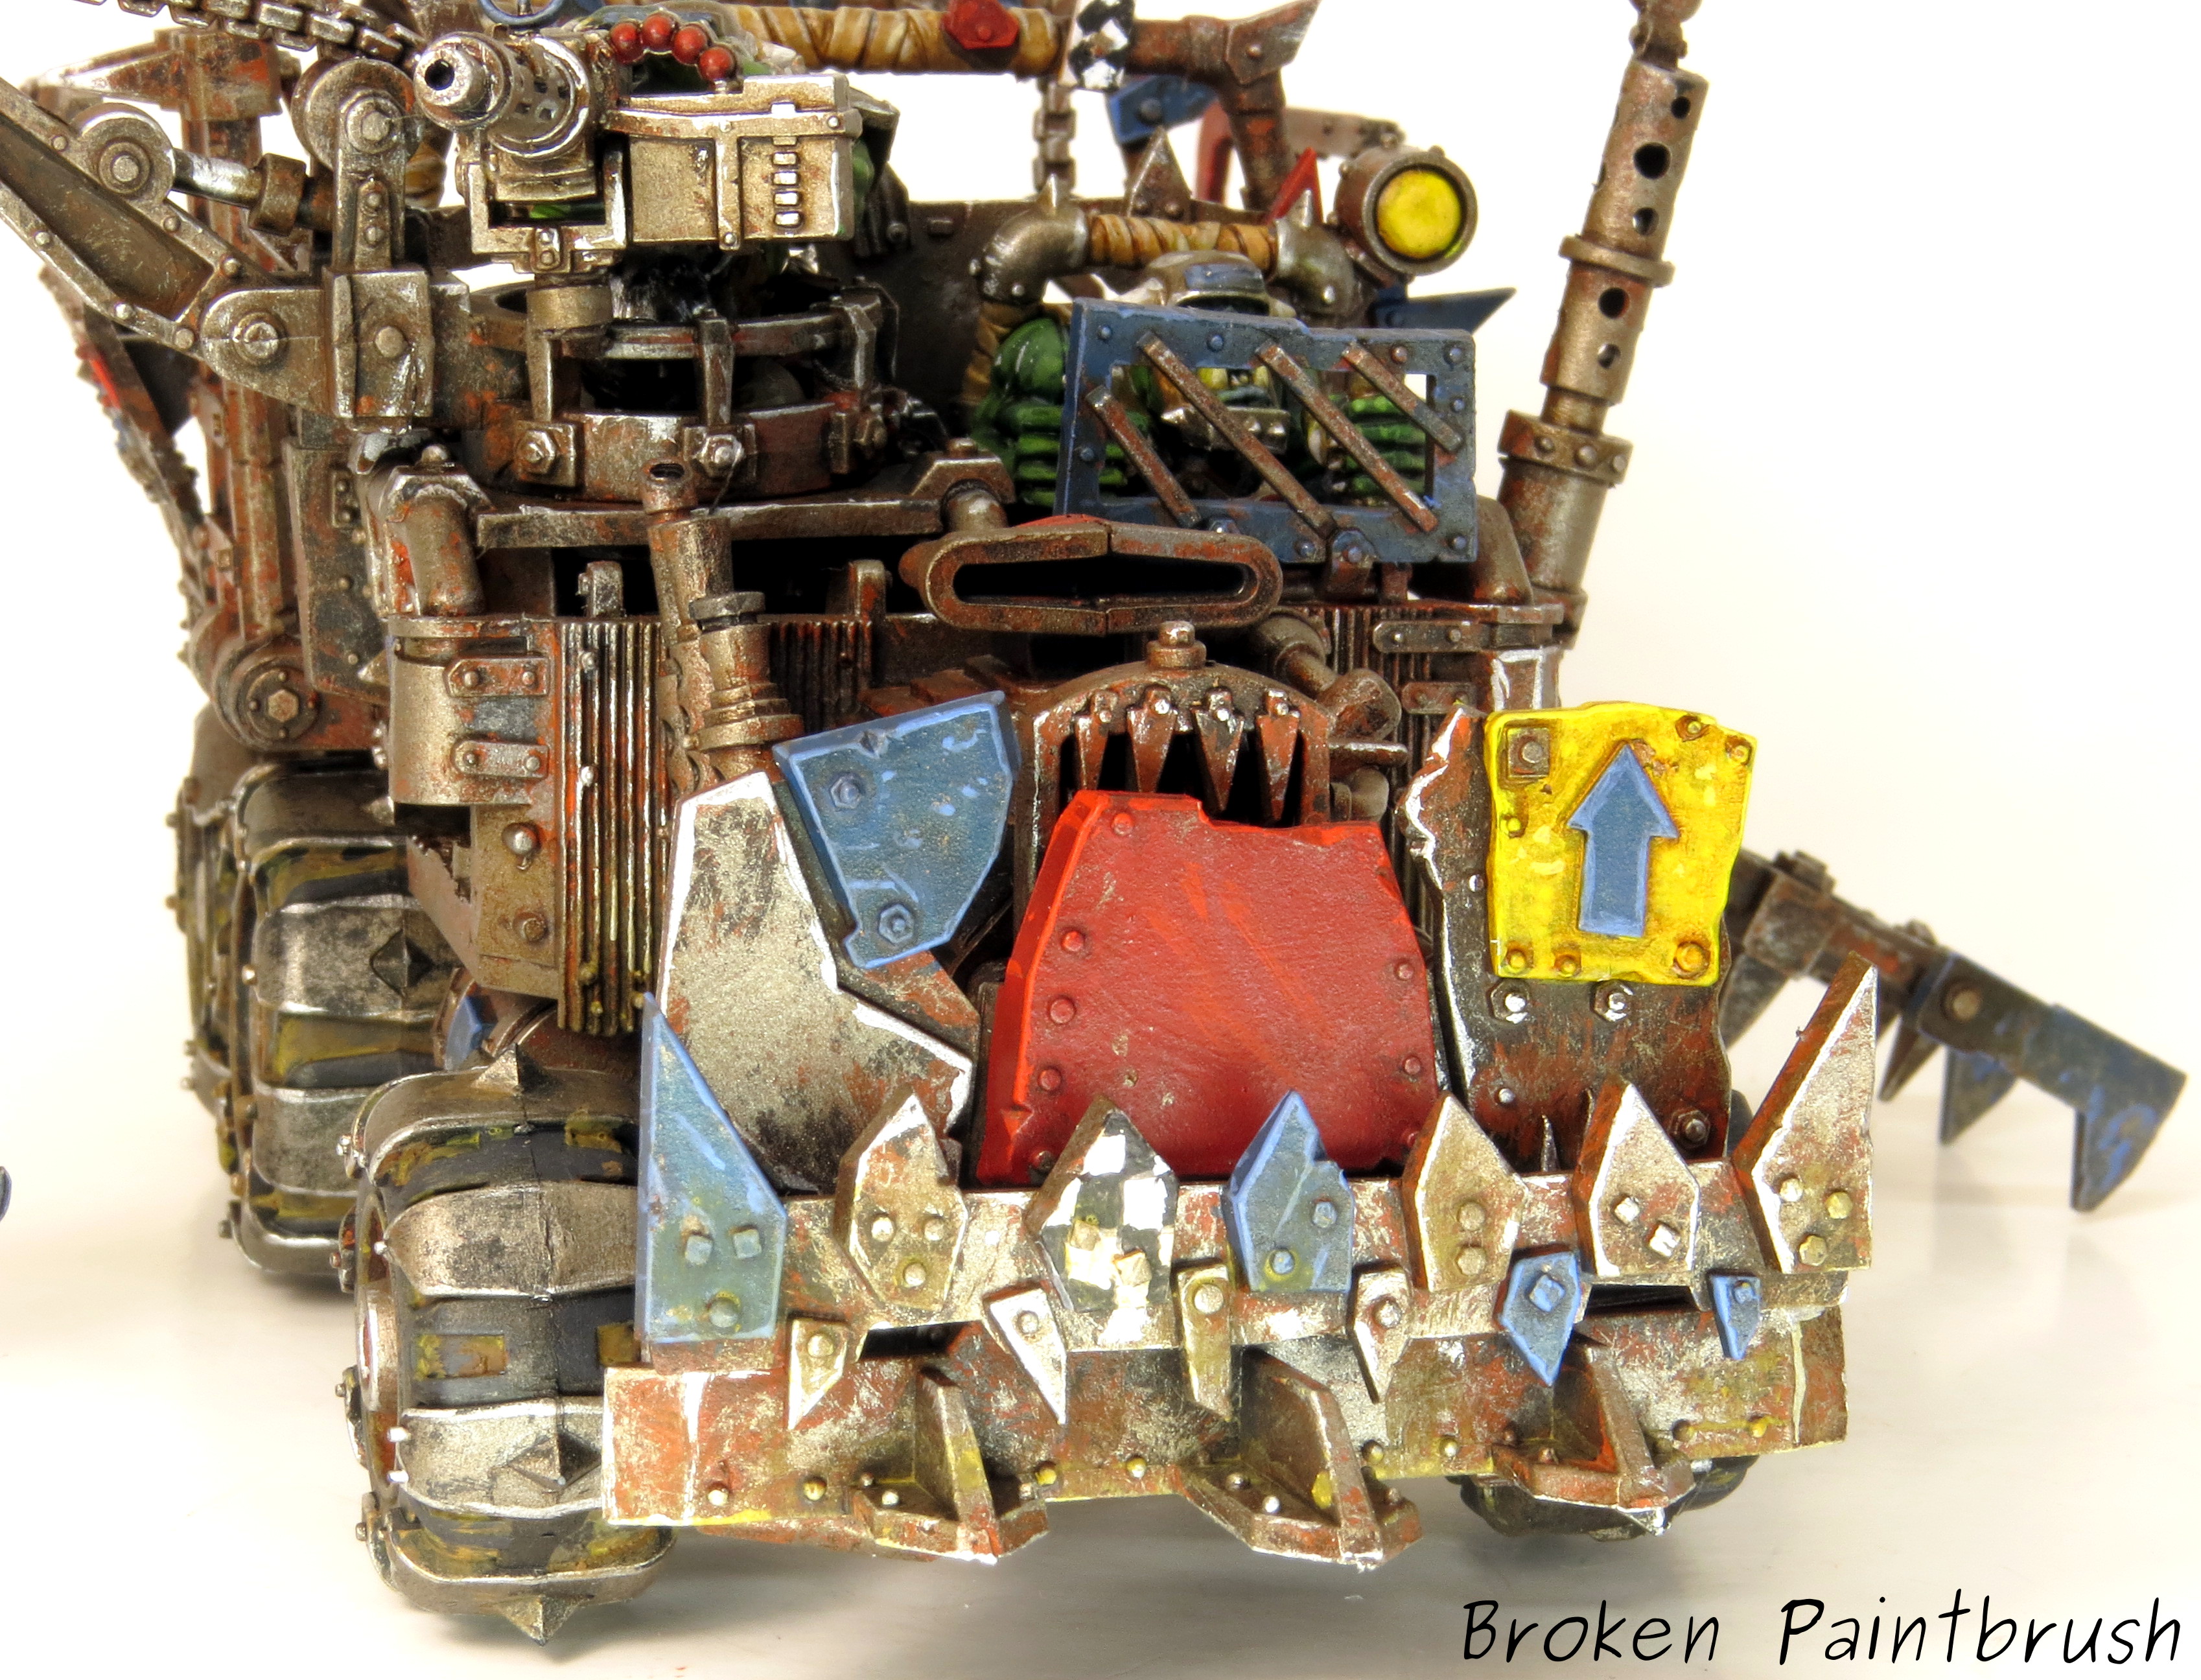
With all those Ork Walkers mucking about, the Boyz needed some upgrades of their own to get them to the fray. Fortunately, I had two trucks (or Trukks) sitting in the closet of doom. While being a bit fiddly to assemble (I knocked the side panels off constantly!), I left the wheels, crew, and the wrecking ball separate to allow simpler painting. Following in the junkyard look of my walkers, I painted the trucks to look like they had just been cobbled together and covered in just enough blue paint to get them to the fighting. I mix of the dark Gothic rust mixed with the Ork comically bright colors. Among the blue panels, you can see segments of other Ork clans like the yellow Flash Gitz, red Speed Freaks, and checkered Goffs. Because there are so many great tidbits all over the truck, I felt the need to highlight them in different colors, patterns, and chipping. Take for instance the side panels here; you’ve got little dags bolted on the top, arrows and lighting …

Killa Kan with big shoota - front

Little Stompies: Killa Kans

Adding some numbers to my growing ork machines are a rag-tag squad of Killa Kans from the Sanctus Reach box set. Say hello to Hickory, Dickory, and Doc! (names via my very supportive wife) These are in line with my Deffdread: lots of rusty armor, sections of ‘lucky’ blue and the odd section of stolen icons here and there. I put together a painting guide with my second squad of Killa Kans if you want to see how I did the colors. First up is Hickory with this big shoota and buzz saw. Probably the worst choice of weapons in the box and someday will need to switch it to a missile launch or something. I built all three models without their base so I could paint it separate. After finishing the Killa Kans, I found a base that matched best with each model. Hickory got a base with a large step that matched well with his gait. The bases are from Secret Weapon Miniatures‘ Iron Deck series. The Killa Kans have such great, cobbled together look, they were …

Deffskullz Ork Deffdread

Ork Deffdread

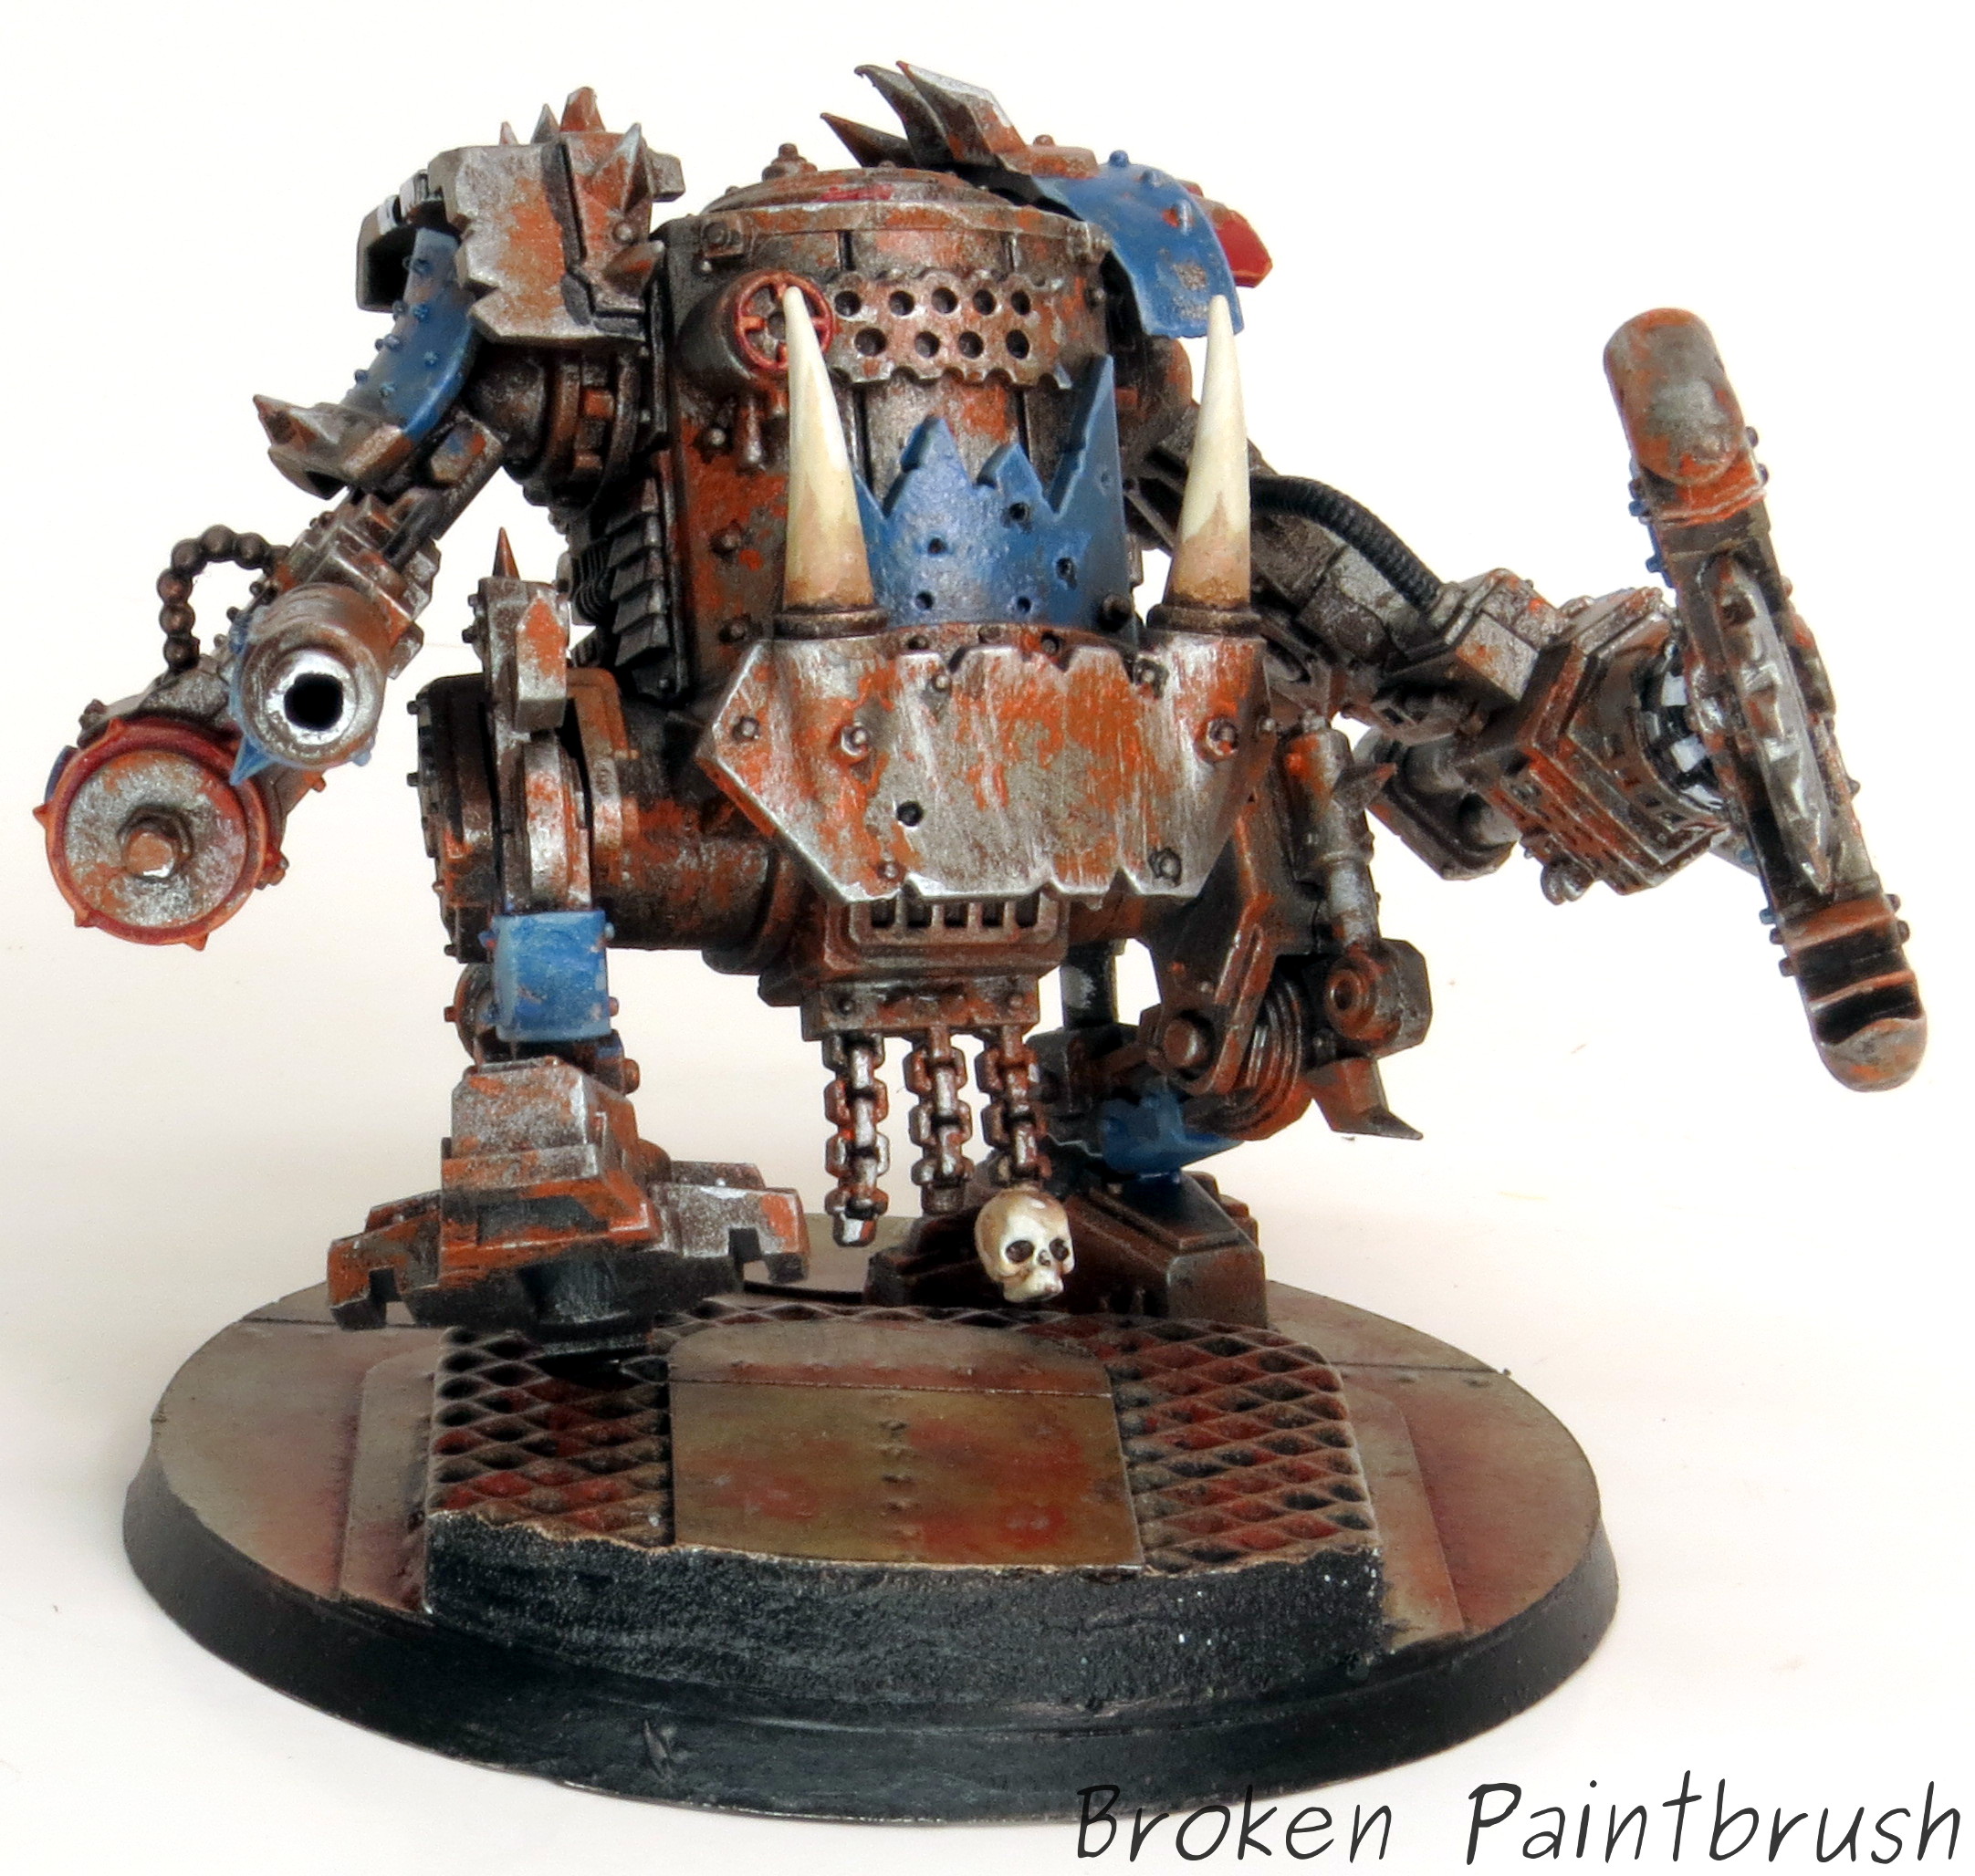
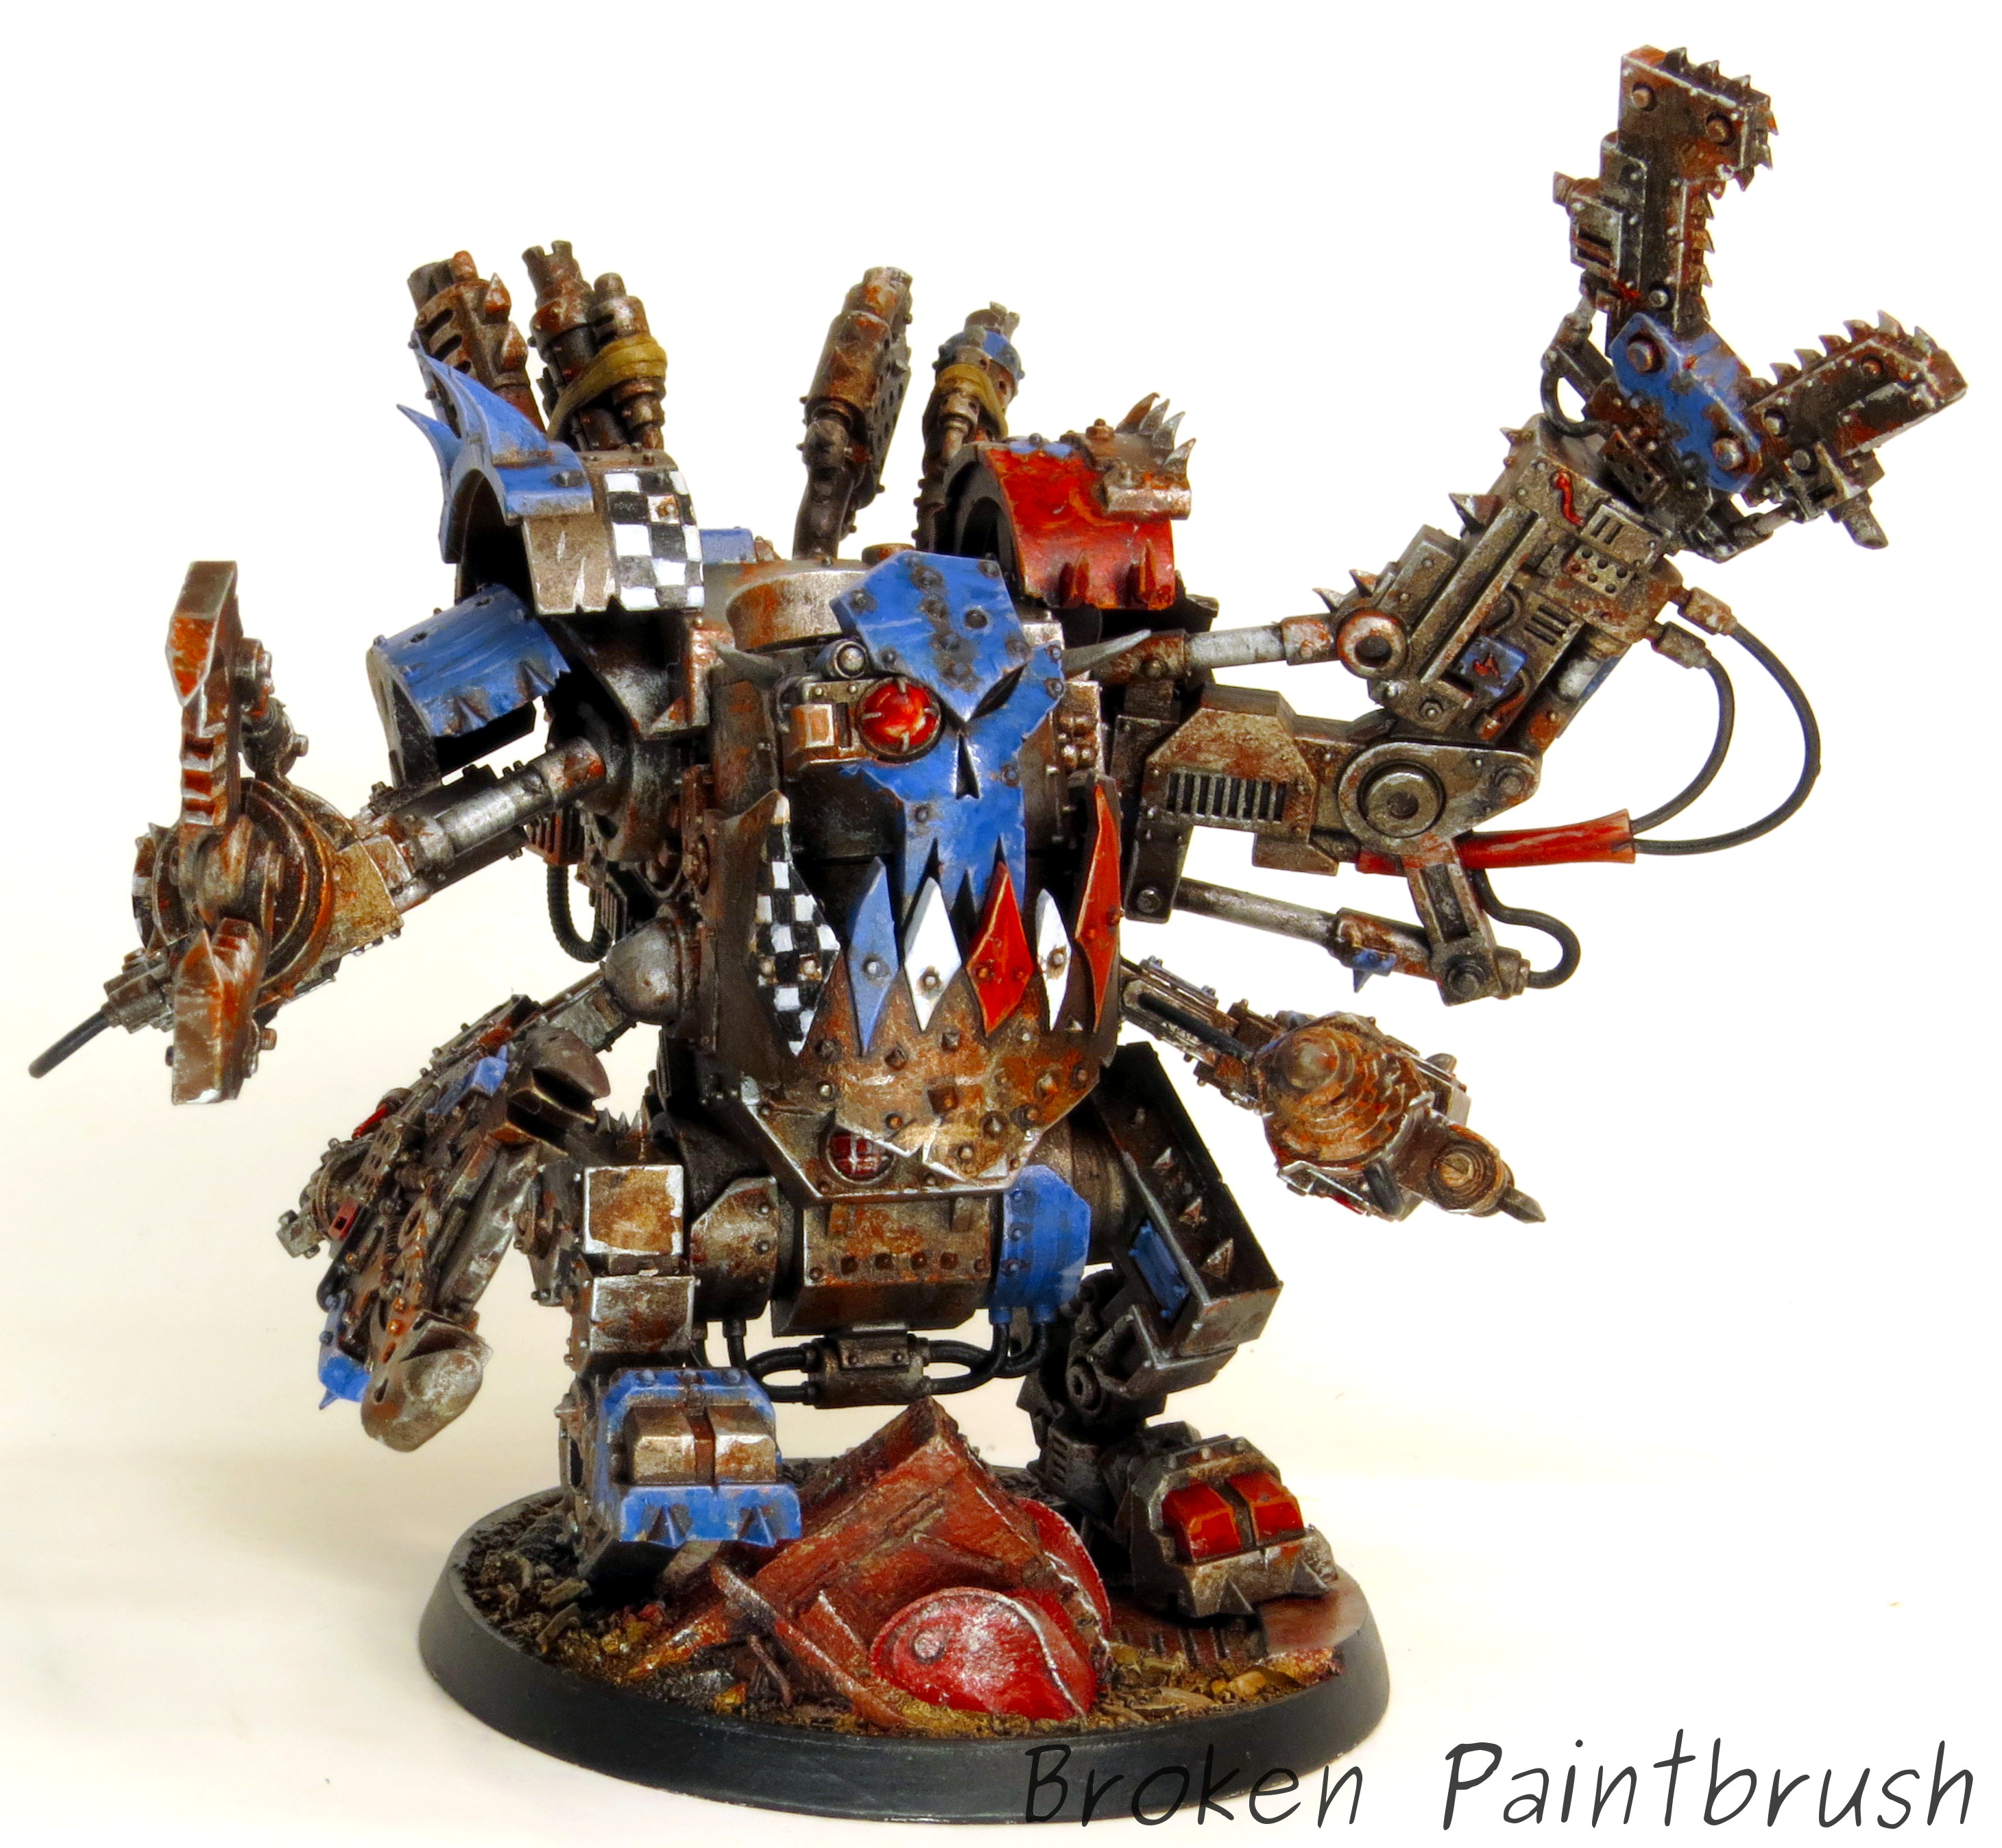
Adding some beef to my ork hoard is a nice, choppy, Deffdread with lots of buzzing, hacking, and drilling. I love the comical look of all those arms full of wacky weapons and hacked on plates. I’m keeping with the theme of the Death Skulls being scrapers that slap blue on everything and hammer it together. Throughout the model I have Evil Sunz red, and Goff black and whites. Painting Rusty Metal The rest of the model is a nice rusty metal which was done in a number of layers: Black primer with a quick white over spray Brown spray Dry brush of Lead Belcher Orange with rust pigment stippled Dry brush with silver The crazy, cobbled together look of the Deffdread made it so much fun to paint and highlight specific panels with the blues and reds. The base is another Secret Weapon Miniature from their Junk Yard line. They have a fantastic range of bases, and I have decided to move towards pre-made bases for the simplicity and time. I get so little hobby time nowadays …

Painting Death Skull Warboss

Painting the Ork Warboss

For my recently posted Ork Warboss, I took a few in progress shots to provide some how-to content. I hope this post on painting a Death Skull Warboss helps get your Wagghh! going. Step 1 – White Base Coat First up is a nice, white base coat. White is nice for creating those bright blues and gory reds. The problem with a full white undercoat is that you need to paint EVERY thing, otherwise it is very stark and apparent, black base coats are able to hide this by making ‘shadows’ Step 2 – Green Skin Next up is painting the various base coats such as the Warboss Green for the skin. All the colors are kept fairly bright at this point to allow for shades that will darken the look. Step 3 – Blue Base Coat The blues were also blocked in with Alaitoc Blue, it doesn’t need to be tidy as the shades and highlights will clean up the mess. Step 4-10: More Base Coats and Wash This is where I must apologize, I skipped …